Making homemade cottage cheese, or Russian tvorog, is easy to make and requires only two ingredients. It's used to make the famous Russian cottage cheese fritters called syrniki, popular in most Slavic countries. It's also delicious as a filling for pastries or served on toasted sourdough bread with homemade orange marmalade or strawberry jam.
On its own, tvorog is a healthy fermented dairy product-easily digestible, high in protein, and low in fat.
Jump to:
What is it?
Cottage cheese(tvorog) is young, fresh, unaged cheese made by combining milk with acid or a live-culture dairy product like kefir or yogurt. I'll show you both the quick method and the slightly longer method. The longer method takes about 12 hours and gives you traditional tvorog with that unique tangy taste, while the quick method takes less than an hour but lacks the tang from natural soured.
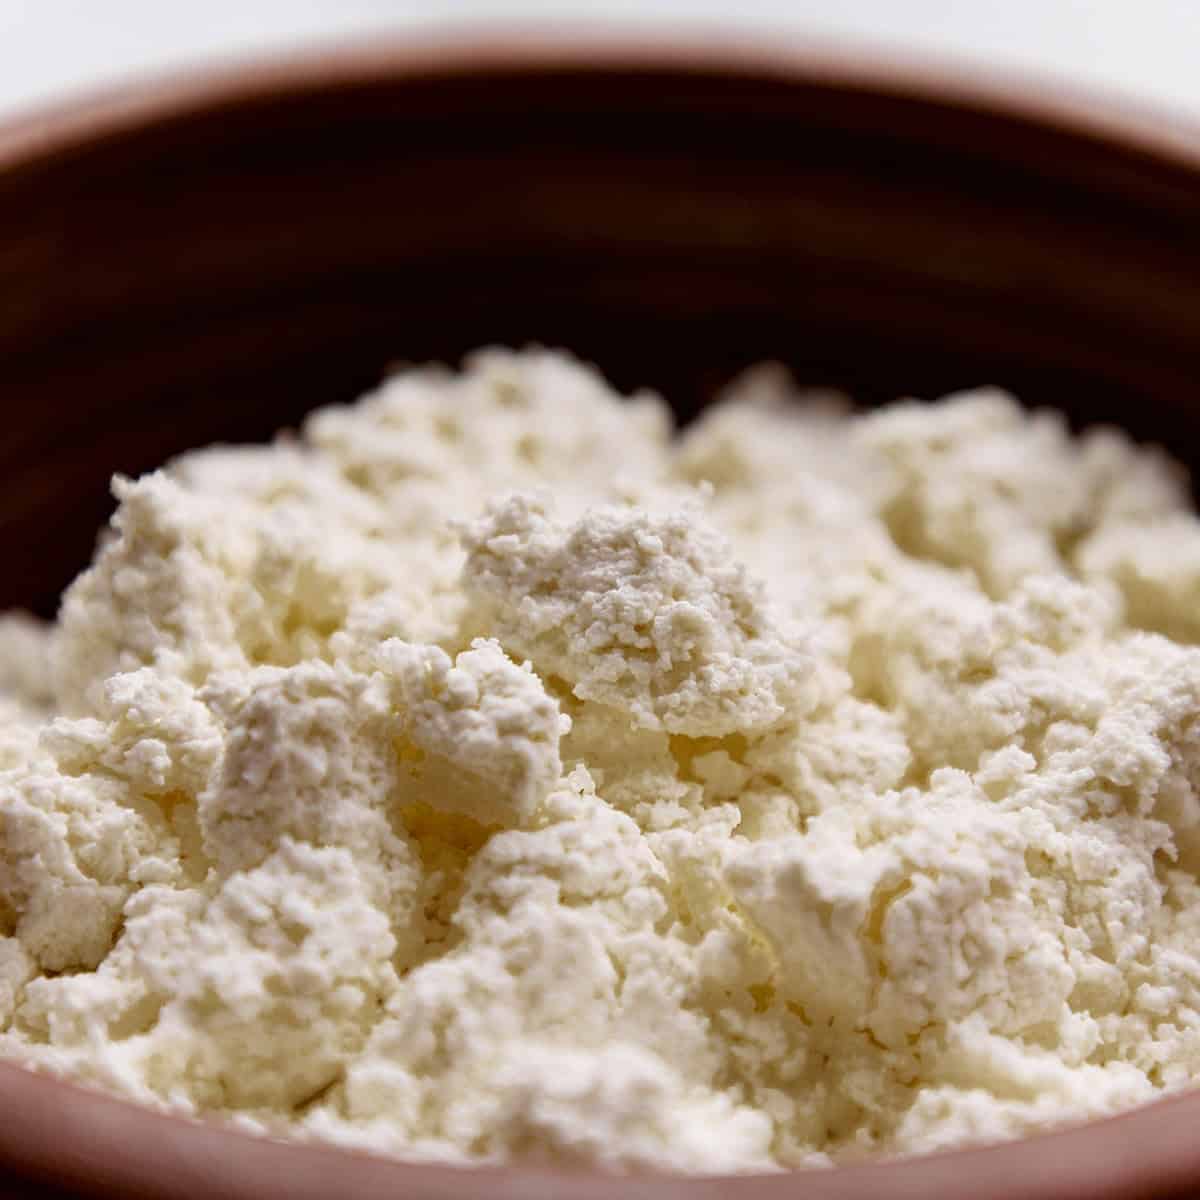
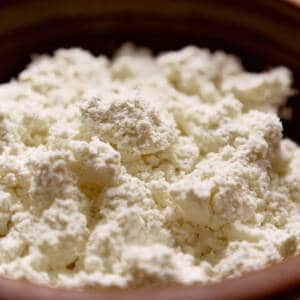
Historically, cottage cheese(tvorog/farmer's cheese) was made by simply letting milk naturally ferment, but that practice has gone out of fashion because of safety and consistency concerns. The texture of the curds is soft and granular, with a slightly creamy and tangy taste. Although cottage cheese and tvorog are essentially the same, tvorog has a slightly tangier naturally soured taste because of the live bacterial cultures used to curdle the milk.
Ingredients
- Milk - Whole, low-fat, or nonfat dairy milk will all work. Pasteurized is fine. Use full-fat for the creamiest texture. UHT milk or vegan milk will not work.
- Kefir or Yogurt - This is our "starter." It contains live bacteria that naturally ferment milk by turning lactose into lactic acid.
- Quick Version - Lemon juice or vinegar instead of kefir or yogurt.
See the recipe card for quantities.
Instructions
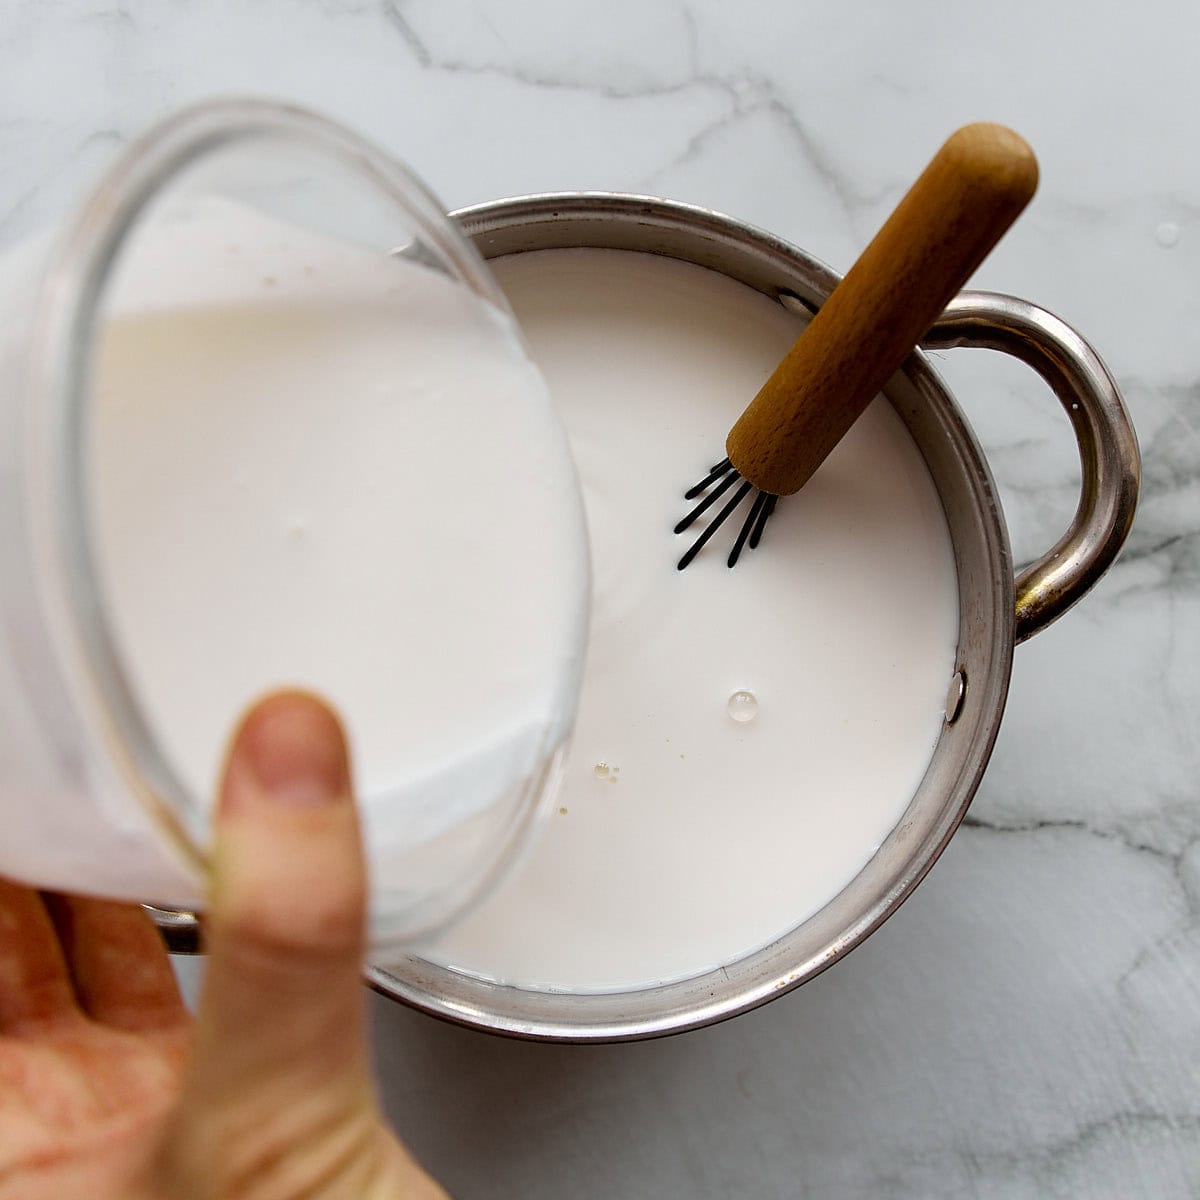
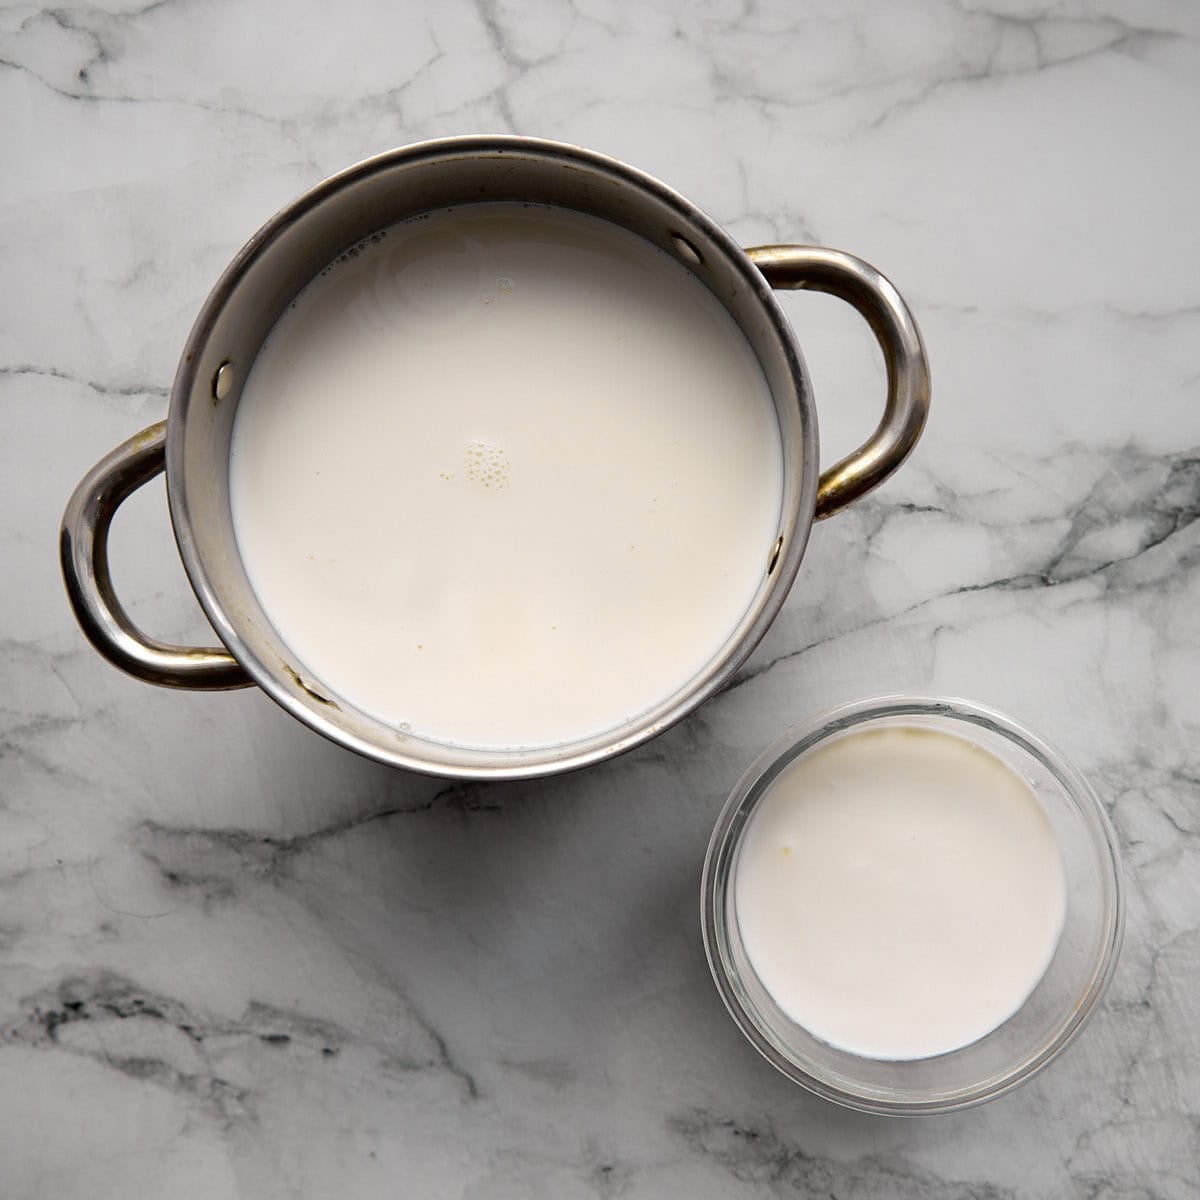
- Mix ingredients - Mix live cultures from kefir or yogurt with milk.
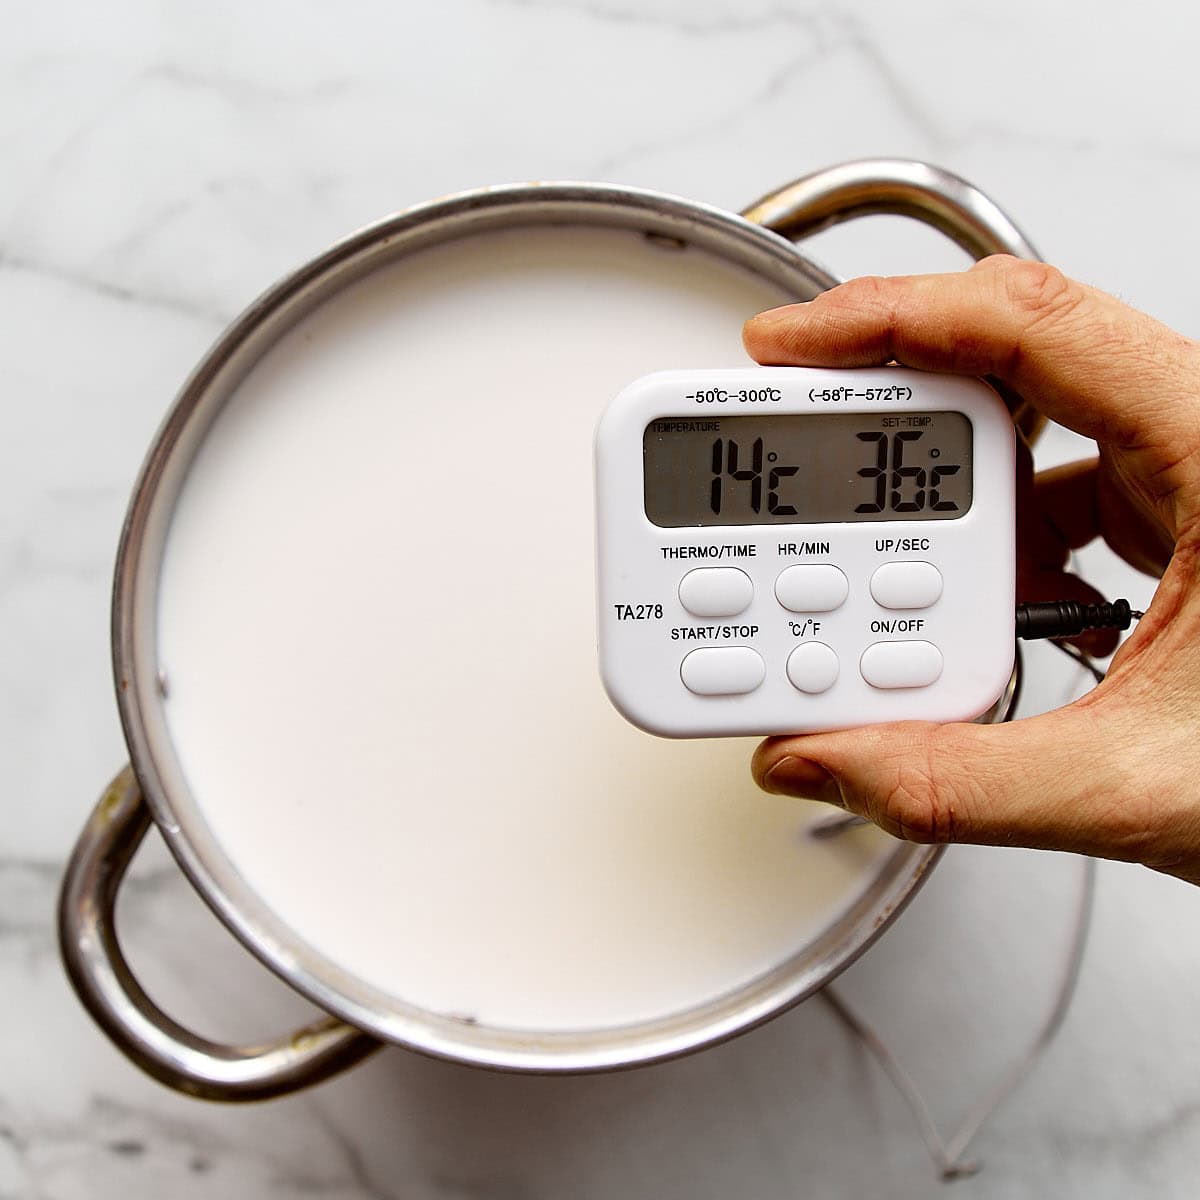
- Ferment - Leave in a warm place around 36°C (96.8°F) for 8 to 12 hours.
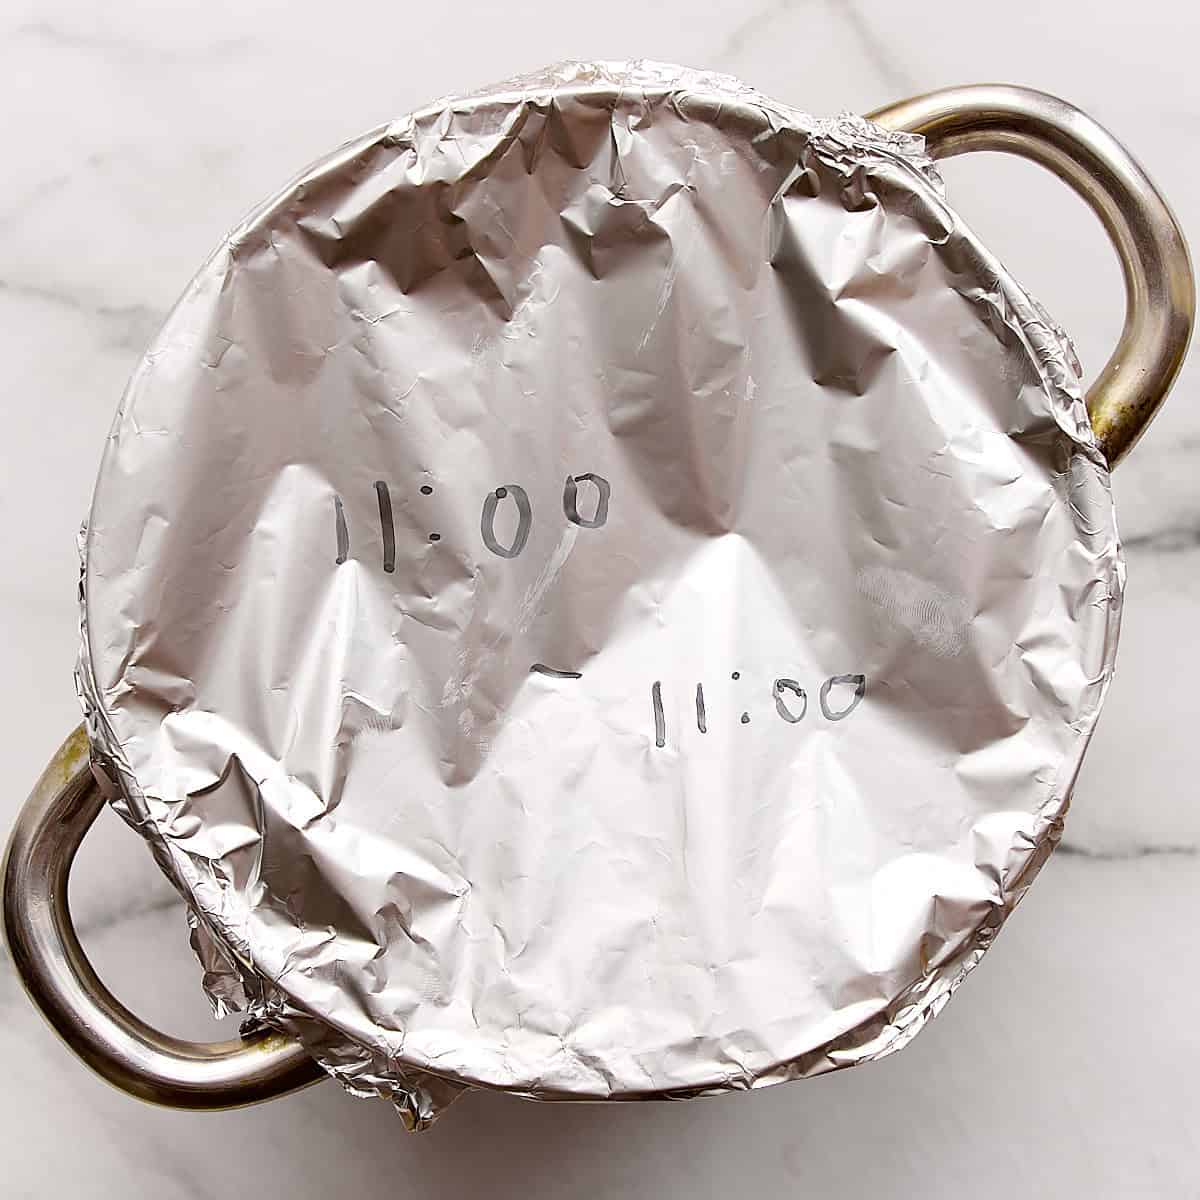
- Pro Tip - An easy way is to turn on the oven to 212°F (100°C), then turn it off. Cover the pot with a lid and leave it there for the required time.
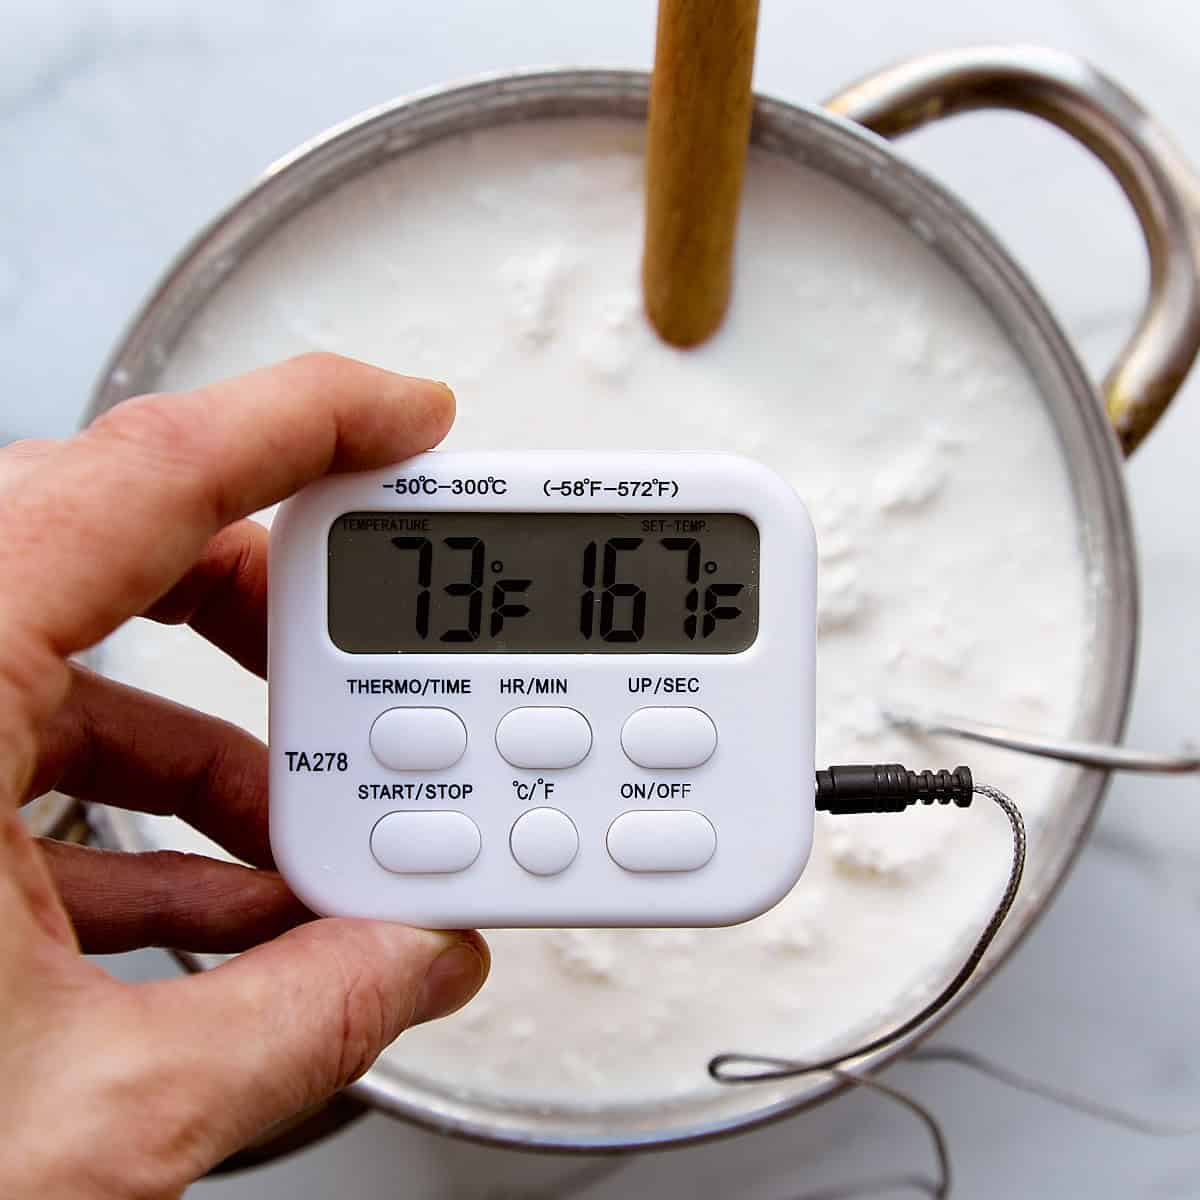
- Cut the curds and heat - After the needed time, you should have a solid mass of curds and whey. Carefully cut it with a knife. Slowly heat the curds and whey to 75°C (167°F). Gently stir occasionally so it heats evenly. It should not boil.
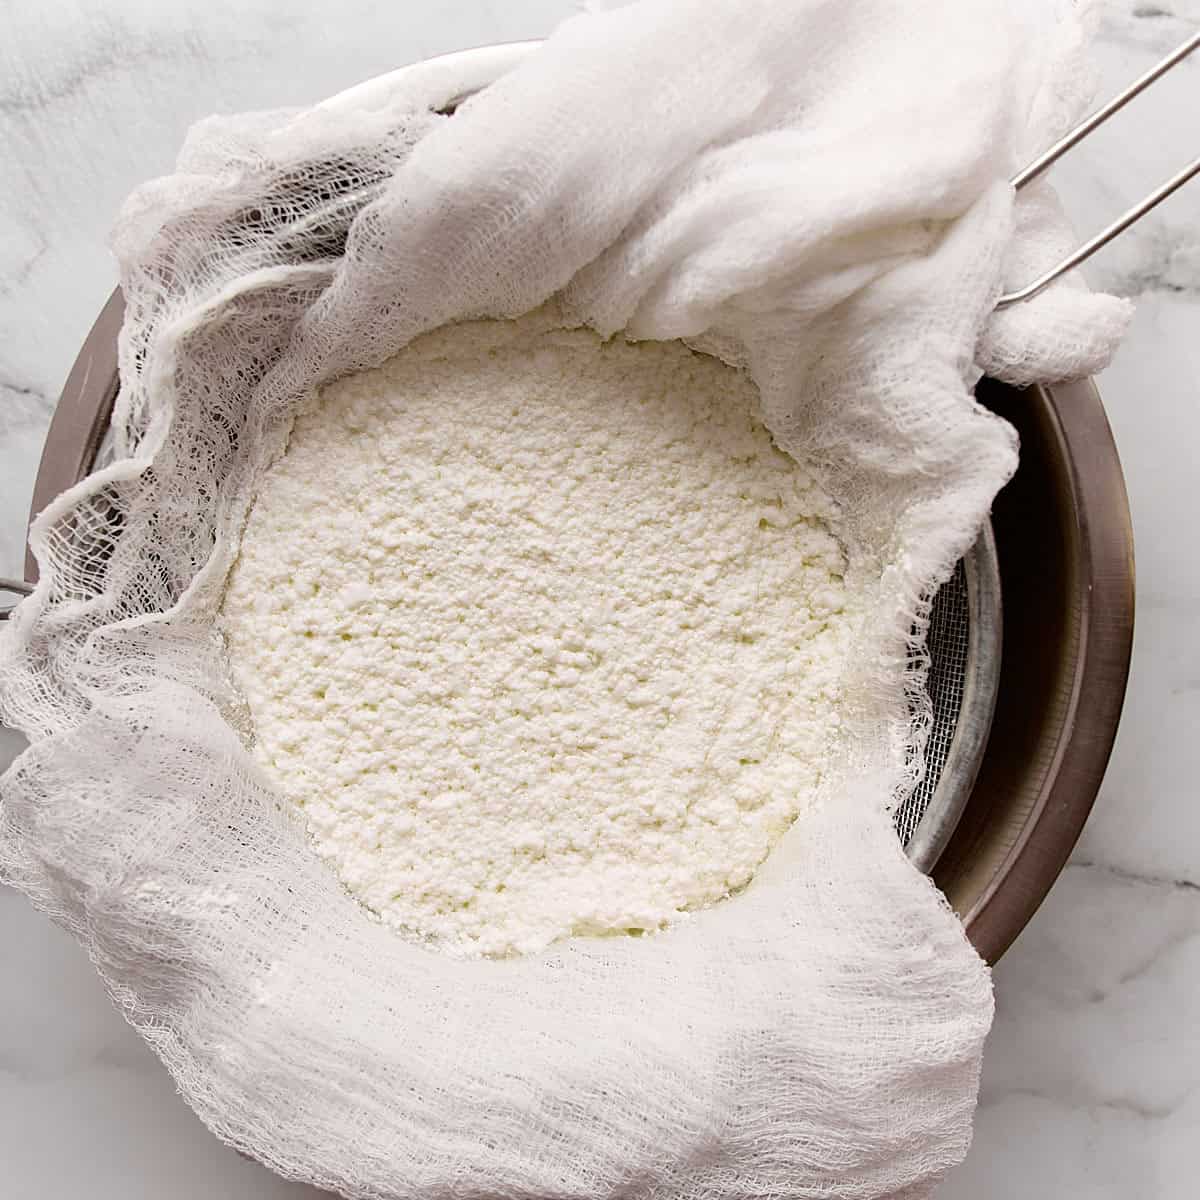
- Drain out the whey - Once heated, the curds and whey will be completely separate. Strain it through a cheesecloth-lined sieve or colander into a bowl. Let it drain at room temperature for 2 hours, and place a light weight on top to help it along.
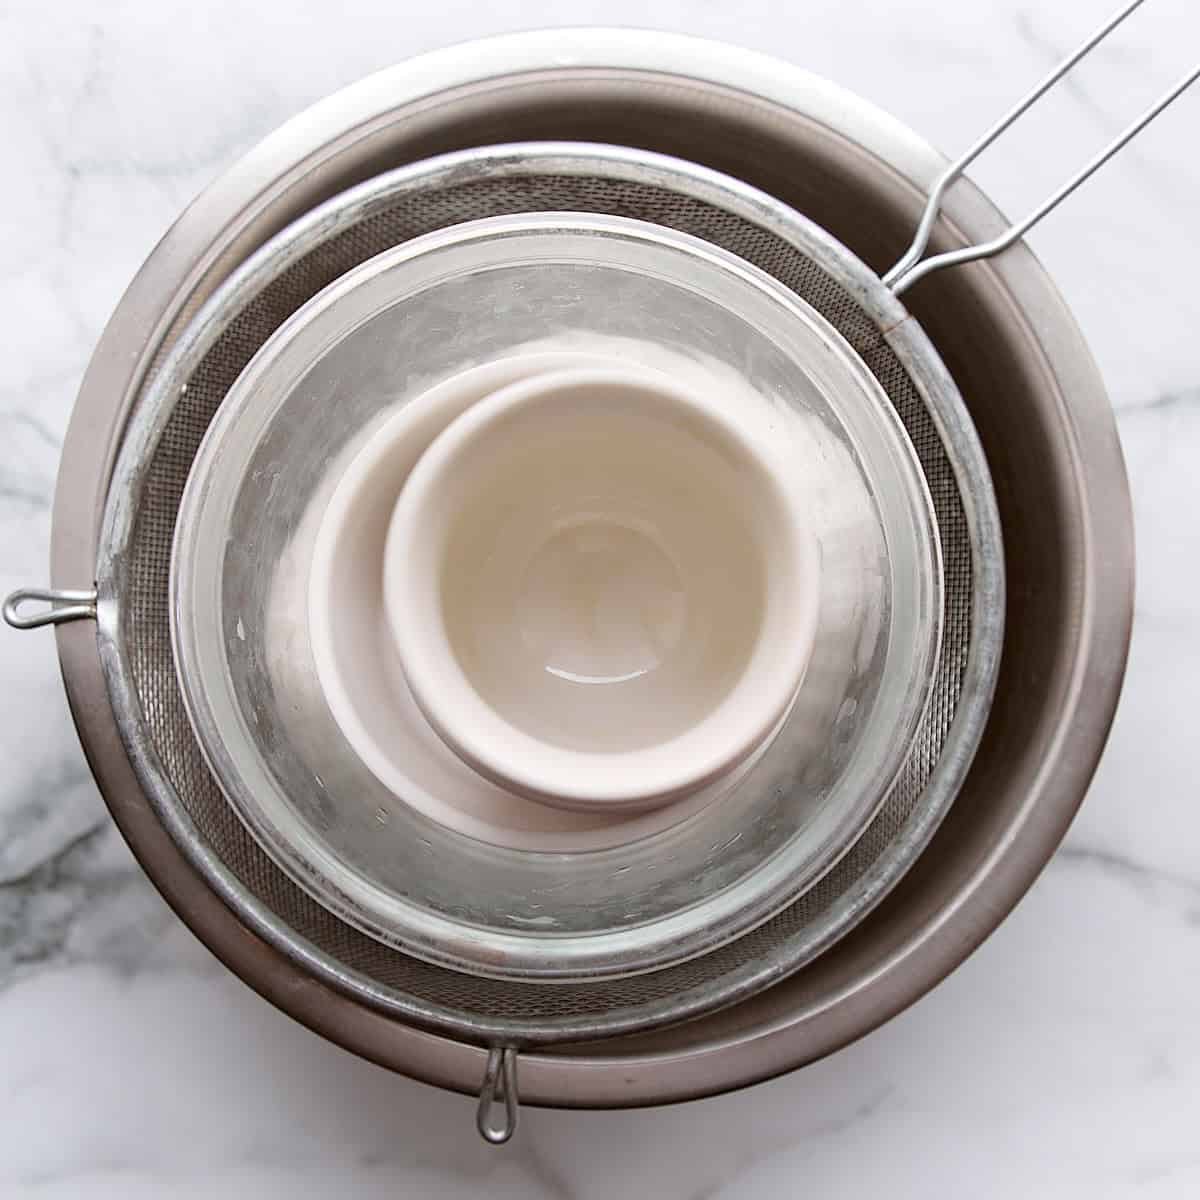
- Tip - You can use something simple like a few bowls stacked on each other. The longer you drain it, the drier it will become. Once ready, store in the fridge or freezer if not using straight away. Do not throw out the whey. I'll tell you how to use that in a second.
Quick method
Instead of kefir or yogurt, use ¼ cup or 60 grams of lemon juice or vinegar to separate the whey from the curds. Replace the yogurt or kefir volume with milk, or use half-and-half cream and milk.
Skip the long wait and go straight to gently heating the milk. The rest of the process stays the same. Once you have the curds, wash them under water to get rid of the acid. Lemon juice and vinegar do not taste that great when left unwashed.
The quick way to make cottage cheese won't deliver that authentic tangy taste you get from the slowly fermented version. You will end up with about 15% less curds, but it will still be delicious and can be used in the same way.
Tips for success
- Temperature - It's highly advised you use a low-cost cooking thermometer to accurately monitor the temperature. The yield and texture will depend on how well you control this.
- Milk - Use only cow's milk or goat's milk.
- Careful with the Curds - Be gentle when you cut the curds, heat them, and handle them. The more you break them up, the smaller and grainier the cottage cheese will be. Try and keep them uniform and handle as little as possible for larger, softer, and creamier grains.
- Use Cheesecloth - Use a fine mesh cloth to catch the curds when draining out the whey. If you just use a regular sieve, you will lose a lot of the smaller cheese curds, resulting in a lower yield.
- Rinse the Curds if Using the Quick Method - Avoid overly sour cheese by rinsing the curds under water after the whey has drained.
How to use it
- In Sweet Dishes - Mix with honey or fruit for a quick breakfast or snack. It's perfect for making syrniki(Russian cheese pancakes) or as a filling for dumplings called vareniki.
- In Savory Dishes - In savory pastries like pirozhki, or mix it into salads. You can also spread it on toast or crackers and add herbs or spices like Egyptian dukkah for a light dip.
- As a Spread - Tvorog makes a great spread on toast, sandwiches, or crackers. Blend with garlic, herbs, or sun-dried tomatoes for a savory option, or top with jam for a sweet version.
- In salads - Sprinkle onto boiled beets, roasted pumpkin, or caramelized carrots for a nutritious simple salad.
- Smooth tvorog - Blend the curds in a high-speed blender with a touch of cream to make it smooth similar to yogurt.
Using the whey
Once the cheese curds are drained, you'll be left with a yellowish liquid called whey. Don't throw it out.
- In Baking - You can use it instead of water when making sourdough baguettes or English muffins.
- As a stock - Use whey instead of broth when making potato and leek soup or spiced red lentil soup.
- Smoothies - Use it to add extra protein to your smoothies.
- Marinades - The acidity of the whey is great for tenderizing meat.
- Fertilizer - Dilute whey with water and use it on plants as a natural fertilizer.
Storage options
Homemade tvorog lasts up to 4 days when stored in an airtight container in the fridge.
Avoid freezing it, as the texture will change significantly upon thawing.
Common issues and fixes
- Too much liquid - Let the curds drain longer for a firmer texture.
- Curds are too grainy - Stirred too aggressively or overheated. Keep the temperature low and stir gently.
- Curds didn't form - Likely due to improper milk temperature, too little acid, or using UHT milk. Make sure the temperature stays within the proper range and always use pasteurized milk.
FAQ
No, both are young unaged cheeses, but the methods differ as well as the texture and taste.
It's high in protein and low in fat, which makes it a great option for those looking to lose weight or follow a calorie-restricted diet. It also has a lot of gut-friendly probiotics.
Yes, you can use any dairy with live cultures. The Lactic acid bacteria will feed off the lactose and turn it into lactic acid.
No, plant-based milks lack the proteins necessary for curdling properly.
Although they are almost identical, tvorog is firmer, drier, and more tangy than traditional cottage cheese, making it ideal for recipes like syrniki and baked goods. The method used makes all the difference.
Equipment
More fermentation recipes


If you found this post helpful or have learned something, please comment, subscribe, and follow me on social media for more delicious recipes.
This site contains affiliate links. I may earn a tiny commission on qualifying purchases at no extra cost to you. By bookmarking these links you help support the upkeep of this site.
Recipe
Homemade Tvorog - Farmer's Cheese
Ingredients
- 1500 g (6 cups) whole milk - pasteurized, not UHT
- 500 g (2 cups) kefir or live yogurt
- 60 g (4 tablespoon) lemon juice or vinegar - for the quick version, instead of kefir or yogurt
Instructions
- Mix Ingredients - Combine the milk and kefir (or yogurt) in a large pot, stirring well to mix.
- Ferment - Leave the mixture in a warm place at 36°C (96.8°F) for 8 to 12 hours. A good spot is inside an oven with the light turned on or above a radiator.
- Pro Tip - For a controlled temperature, preheat the oven to 100°C (212°F), then turn it off. Place the covered pot inside for the required time.
- Cut the Curds and Heat - After fermentation, the mixture should have separated into curds and whey. Cut the curds gently with a knife. Heat the curds and whey slowly to 75°C (167°F), stirring occasionally. Do not allow it to boil.
- Drain the Whey - Once heated, pour the curds and whey through a cheesecloth-lined sieve. Let it drain at room temperature for 2 hours, placing a light weight on top to help the whey drain faster.
- Tip - You can use a few stacked bowls as a weight to press the curds. The longer you drain, the firmer the texture will be. Once done, store the tvorog in the fridge or freezer if not using immediately. Do not discard the whey-it's useful in many recipes.
Notes
- Milk Choice: Always use pasteurized milk (avoid UHT) for best results. Full-fat milk will give you a creamier texture, but low-fat or nonfat milk will also work.
- Kefir/Yogurt: Make sure the kefir or yogurt you use contains live bacteria cultures to properly ferment the milk.
- Fermentation Temperature: The ideal temperature for fermentation is around 36°C (96.8°F). If it's too cold, the curds won't form properly. If you don't have an oven with a light, try placing the pot near a warm radiator or in a warm cupboard.
- Quick Method: For the quicker version, lemon juice or vinegar can be used to curdle the milk. However, this method will produce a less tangy flavor compared to the traditional method.
- Curd Handling: Be gentle when cutting and stirring the curds. Over-stirring or aggressively cutting can result in a grainier texture.
- Whey: Don't throw away the whey! It has several uses in cooking, such as in baking, smoothies, and even as a marinade for meats.
Storage Instructions
- Refrigeration: Store homemade tvorog in an airtight container in the fridge. It will last up to 4 days.
- Freezing: Avoid freezing tvorog, as the texture will change significantly once thawed. It's best enjoyed fresh or within a few days.
- Whey: Save the whey in a separate container in the fridge for up to 1 week. It can be used in smoothies, baking, soups, or as a fertilizer for plants.


Comments
No Comments