

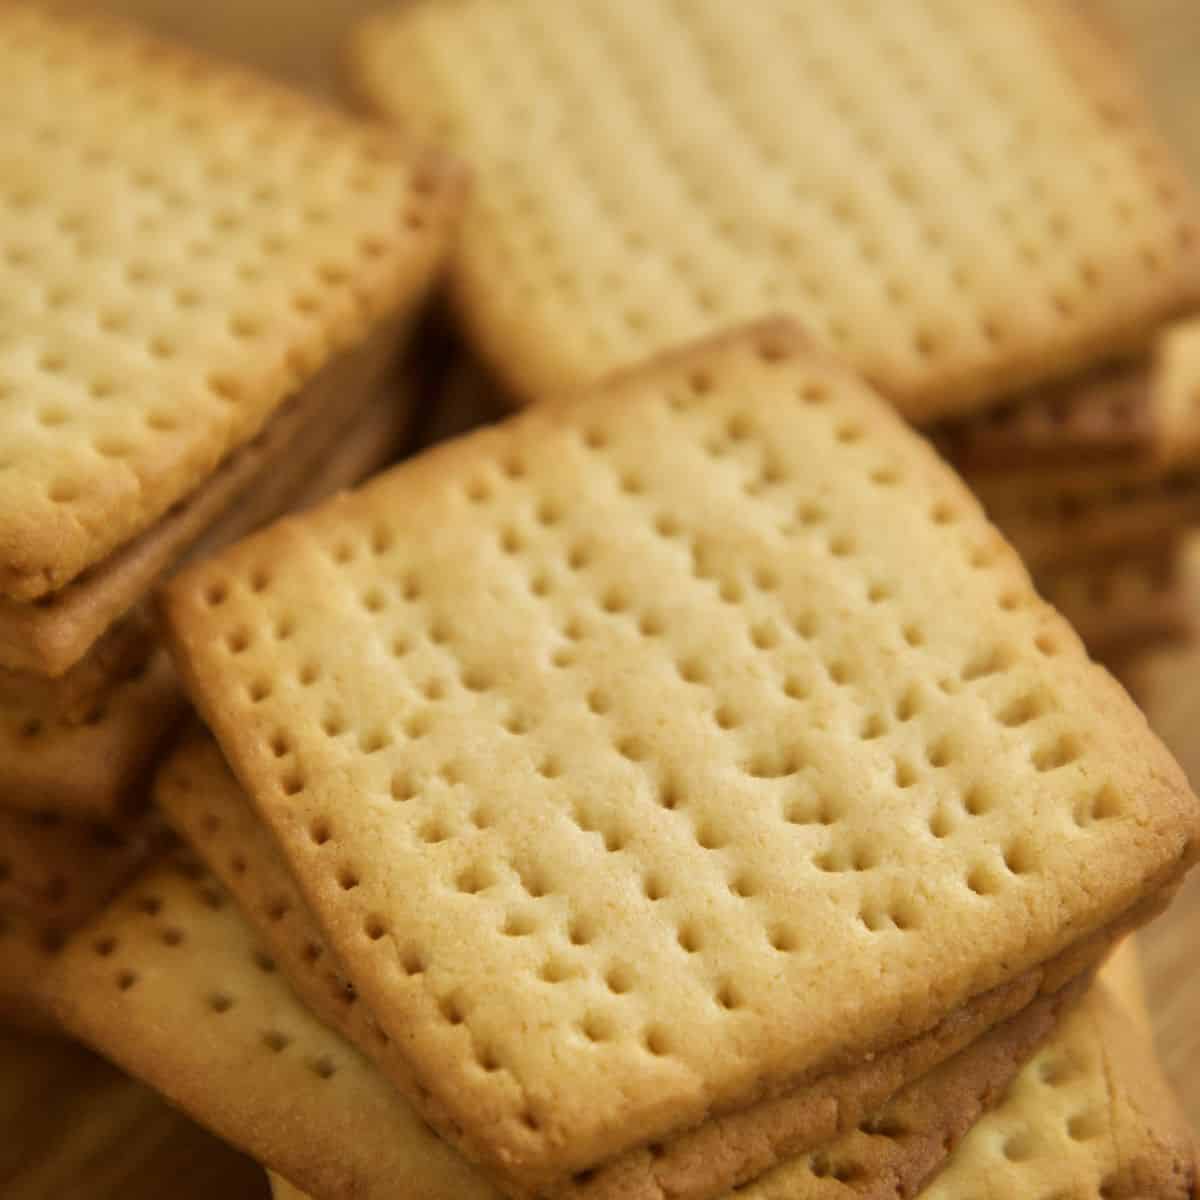
Tennis biscuits are a South African household staple used in peppermint crisp tart and other South African fridge desserts. Making a great base mixed with butter for fridge milk tart, but they're also delicious dunked in rooibos tea or coffee.
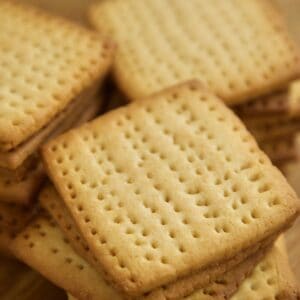
They are thin, crisp coconut shortbread squares traditionally bought in the white-and-red Bakers packet from the store.
I've made these for South African clients who wanted the real thing from scratch, and this method delivers a tennis biscuit way better than the store-bought ones. They are made with real butter, and we treat the coconut just right, so it releases maximum flavor while keeping the texture perfectly short and buttery.
Jump to:
Ingredients
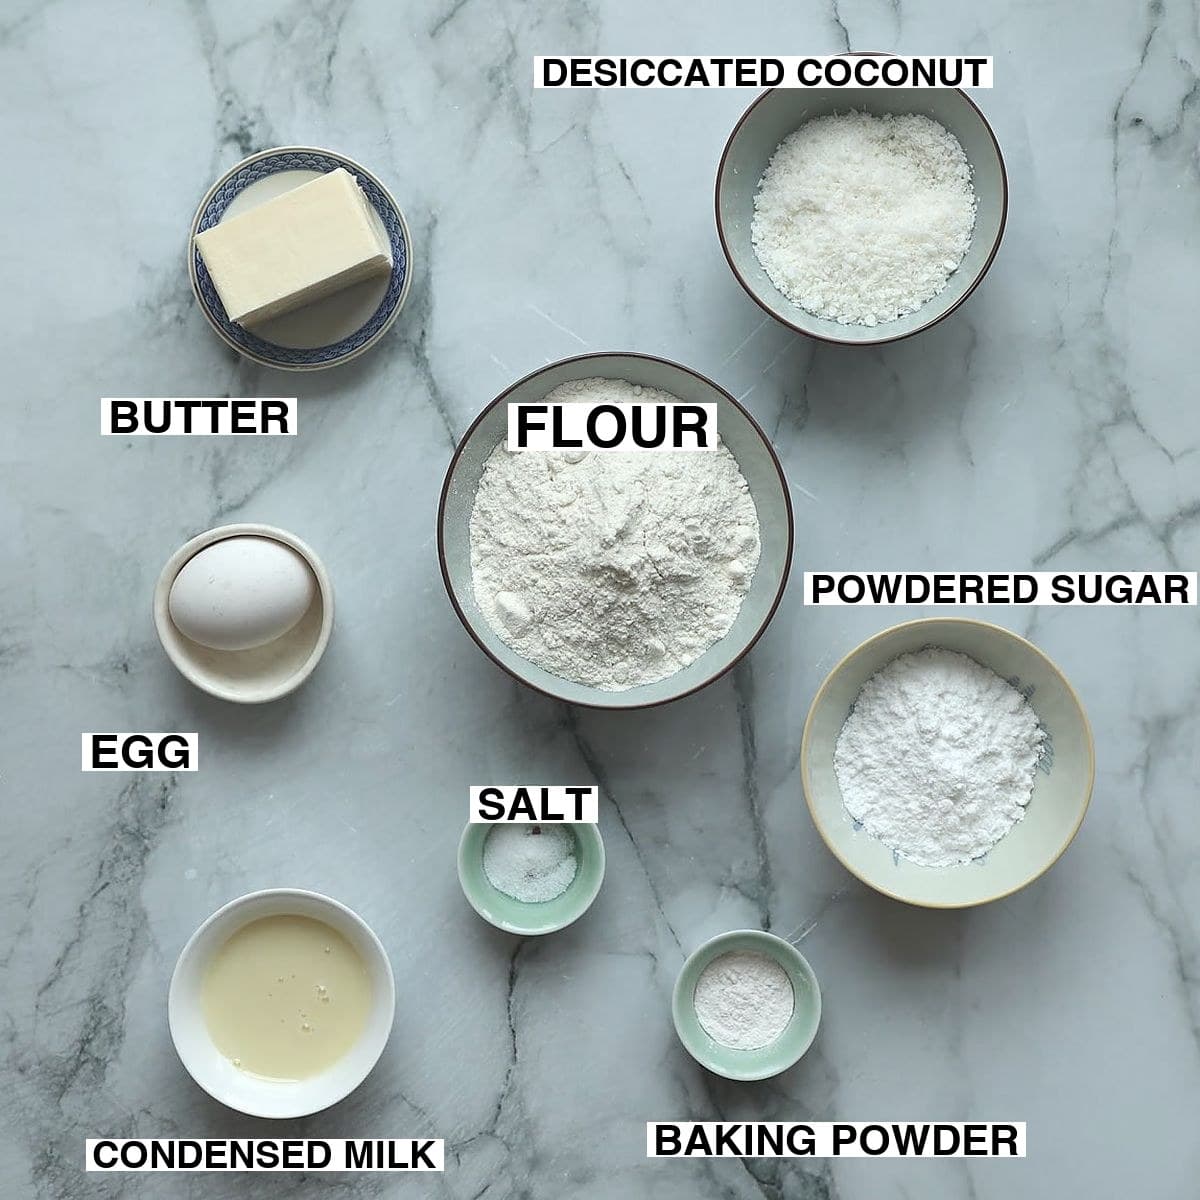
- Desiccated coconut - Briefly pulsed in a food processor until the oils just start to release. This increases coconut flavor without turning it into coconut butter. If you skip this step, the biscuits taste milder.
- Flour - All-purpose flour or cake flour works best, as they have the lowest gluten level. This helps to prevent tough cookies.
- Condensed milk - The commercial Tennis biscuit recipe contains golden syrup and milk powder. For convenience, we use condensed milk, which adds the needed lactose and sugar.
- Butter - Real butter gives the best taste. Store-bought ones contain unnatural fats that do not add any flavor.
- Baking powder - These are not leavened cookies, so don't expect much rise. We use just enough to lift them a touch, which makes them nice and light.
- Egg - Whole large egg.
- Sugar - I use powdered sugar for best incorporation, but caster or extra fine sugar will also work.
- Salt - A tiny pinch is essential in all sweet bakery products. It brings out and balances the flavor.
See the recipe card for quantities.
Instructions
One batch makes approximately 22 square biscuits in 8 cm (3 inch) size.
Making the dough
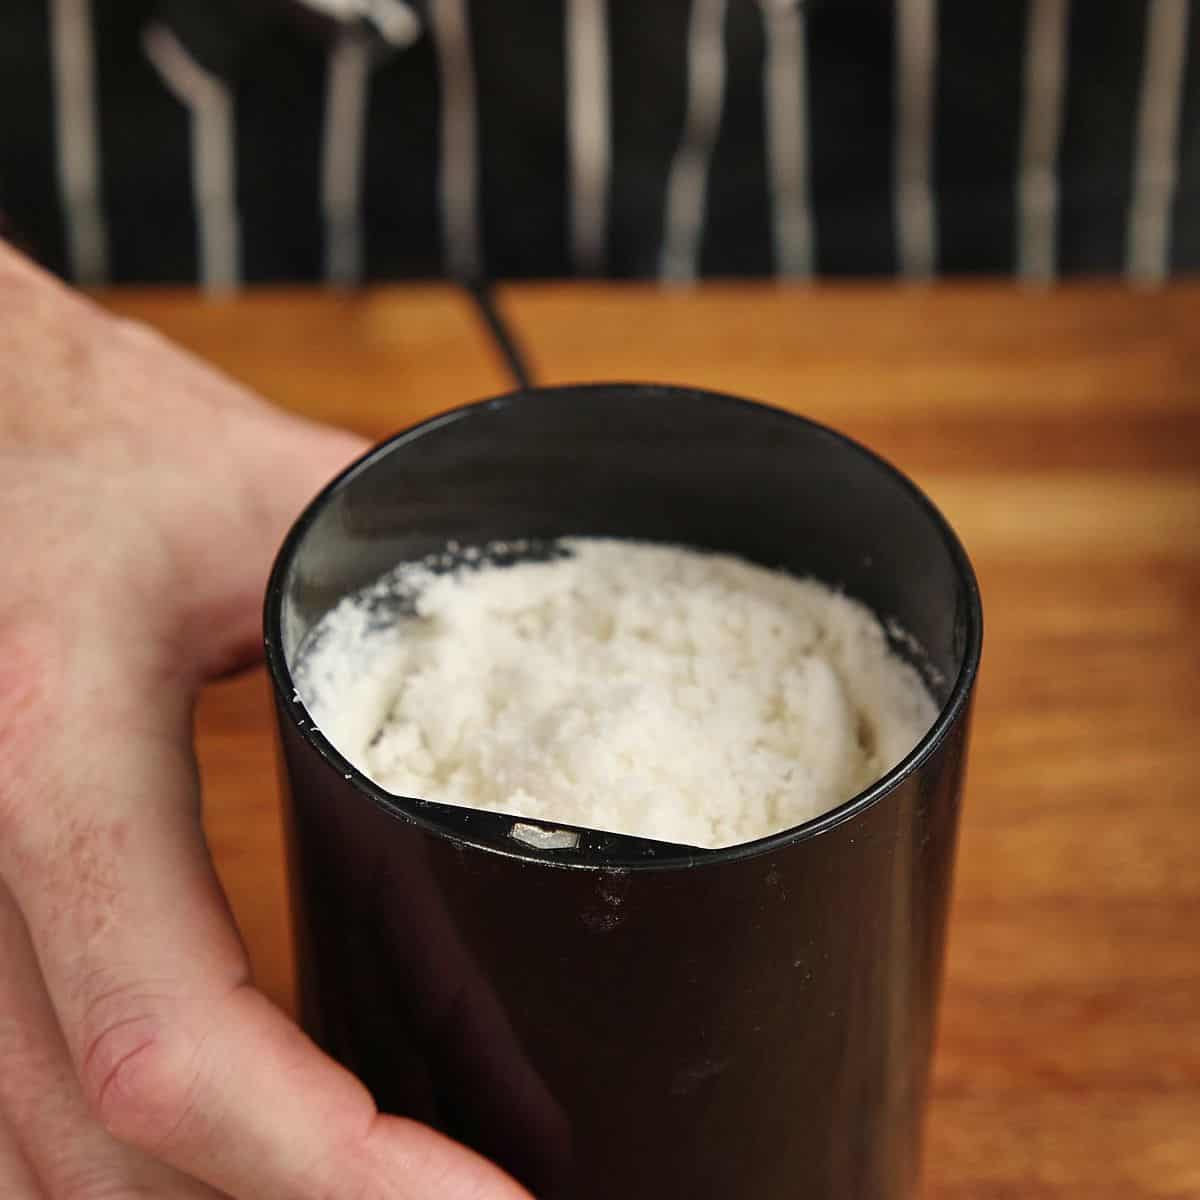
- Blend the desiccated coconut in a food processor, pulsing briefly until the oils start to release - about 5-10 seconds. Stop before it becomes a paste. This releases flavor without adding moisture.
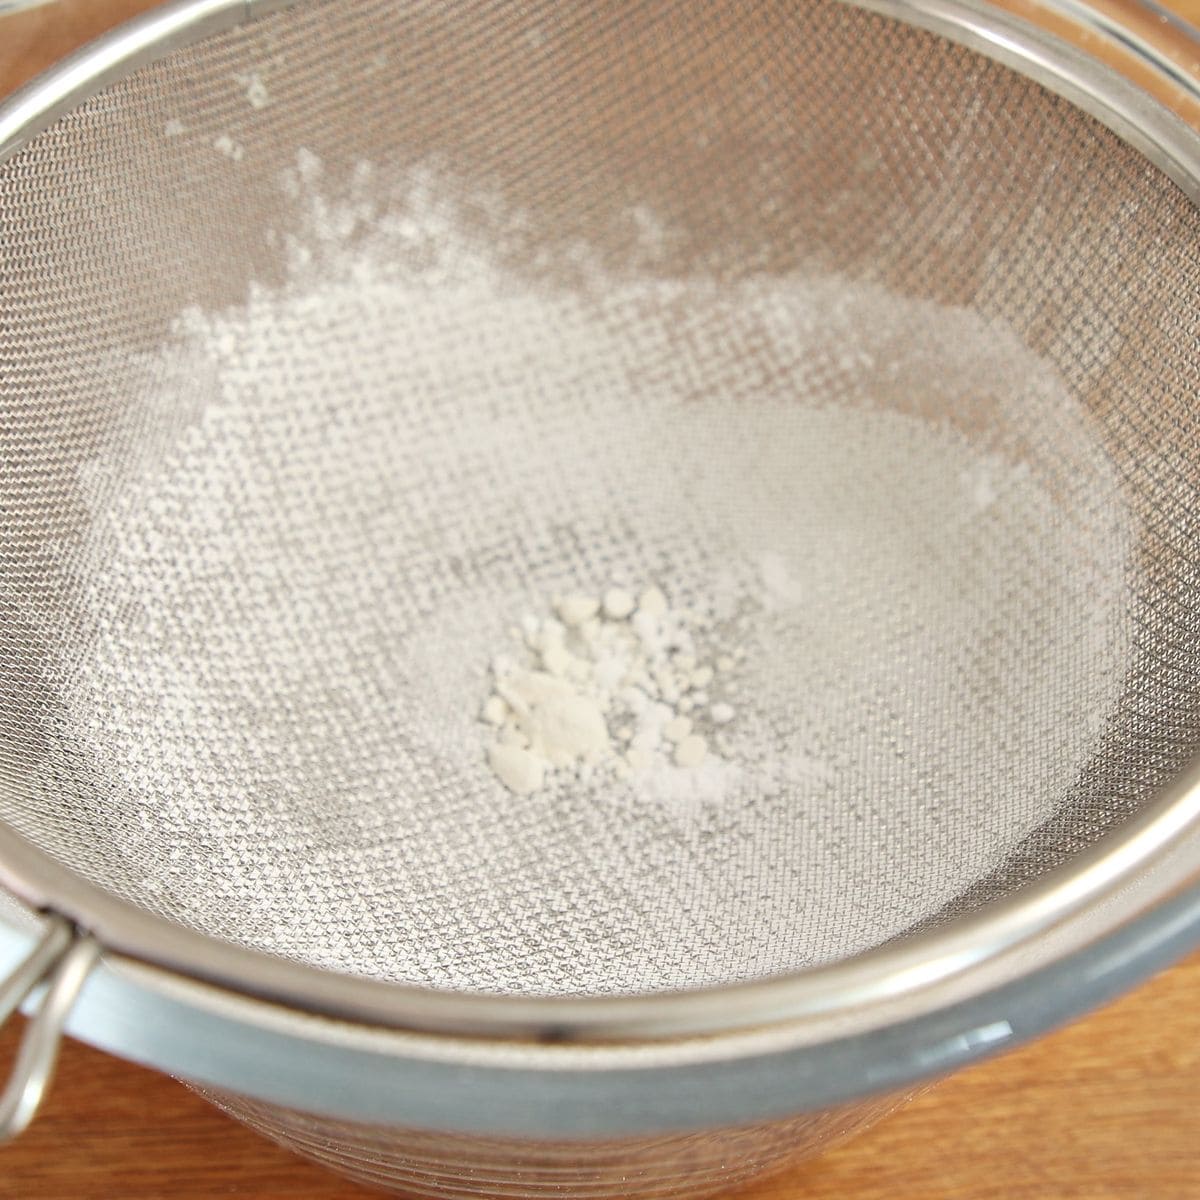
- Sieve the cake flour, powdered sugar, and baking powder into a large bowl. Add the salt and blended coconut to the dry ingredients, then whisk briefly to combine.
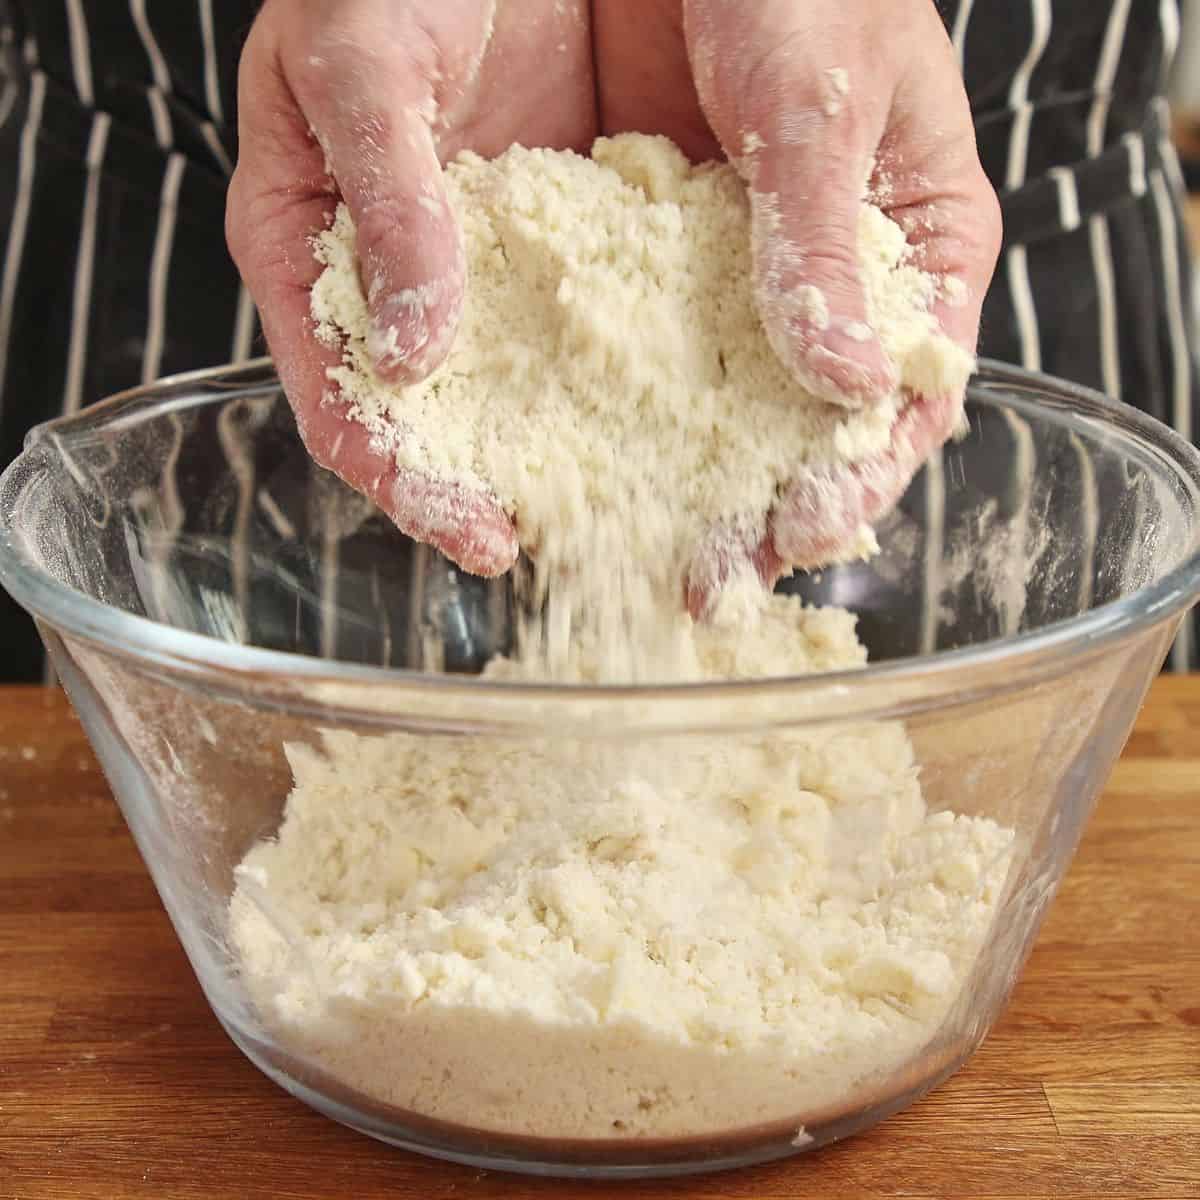
- Rub in the butter using your hands, working swiftly until the mixture resembles sand.
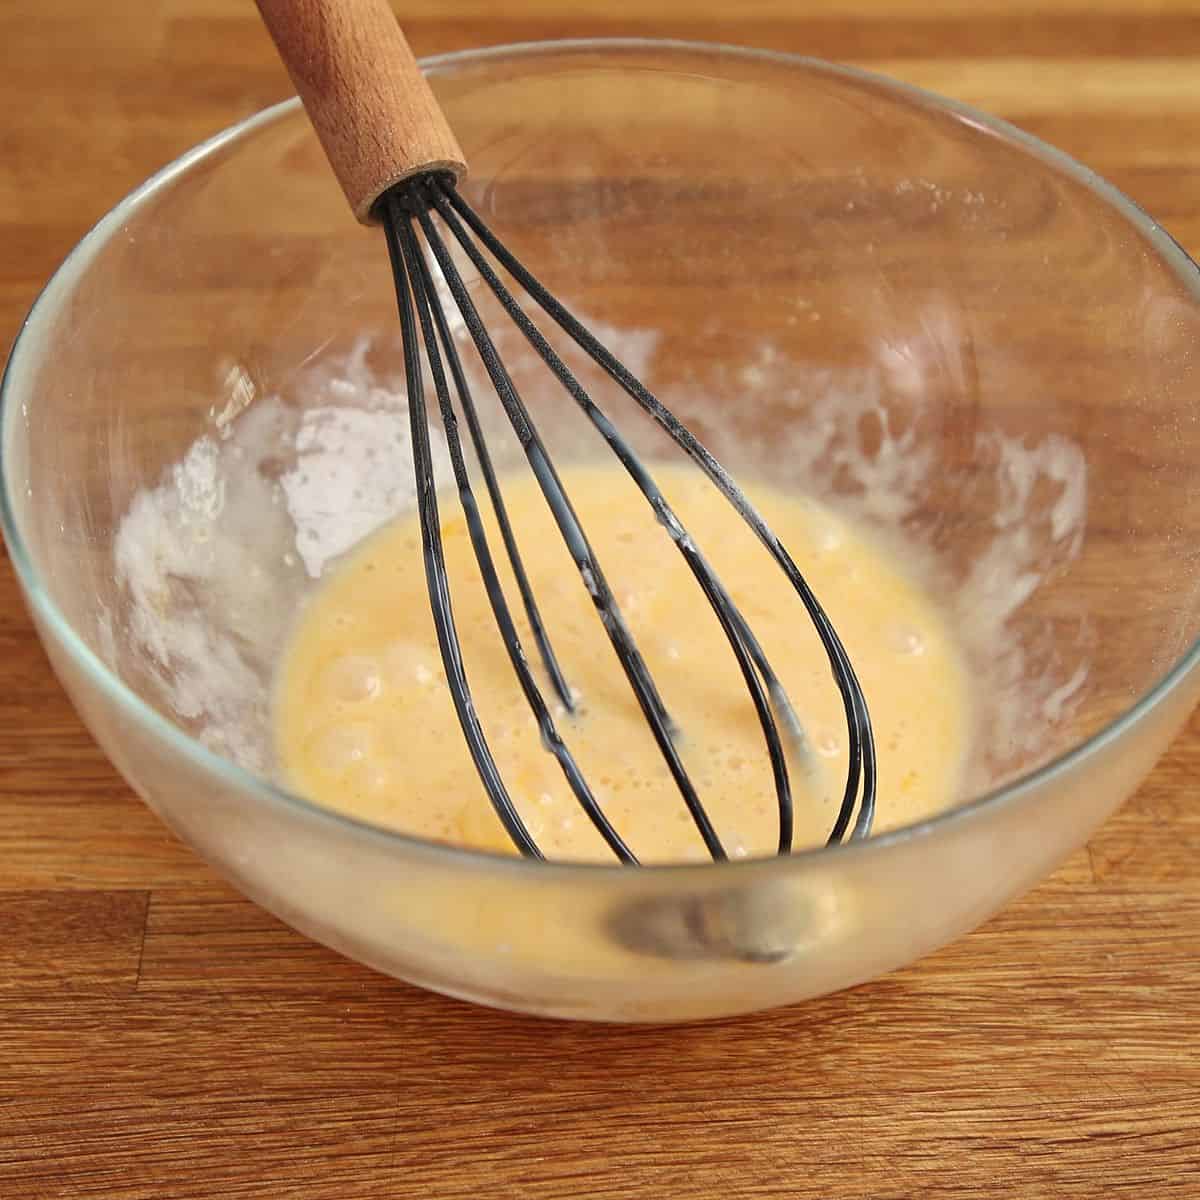
- Beat the egg and condensed milk together in a separate bowl until smooth and combined.
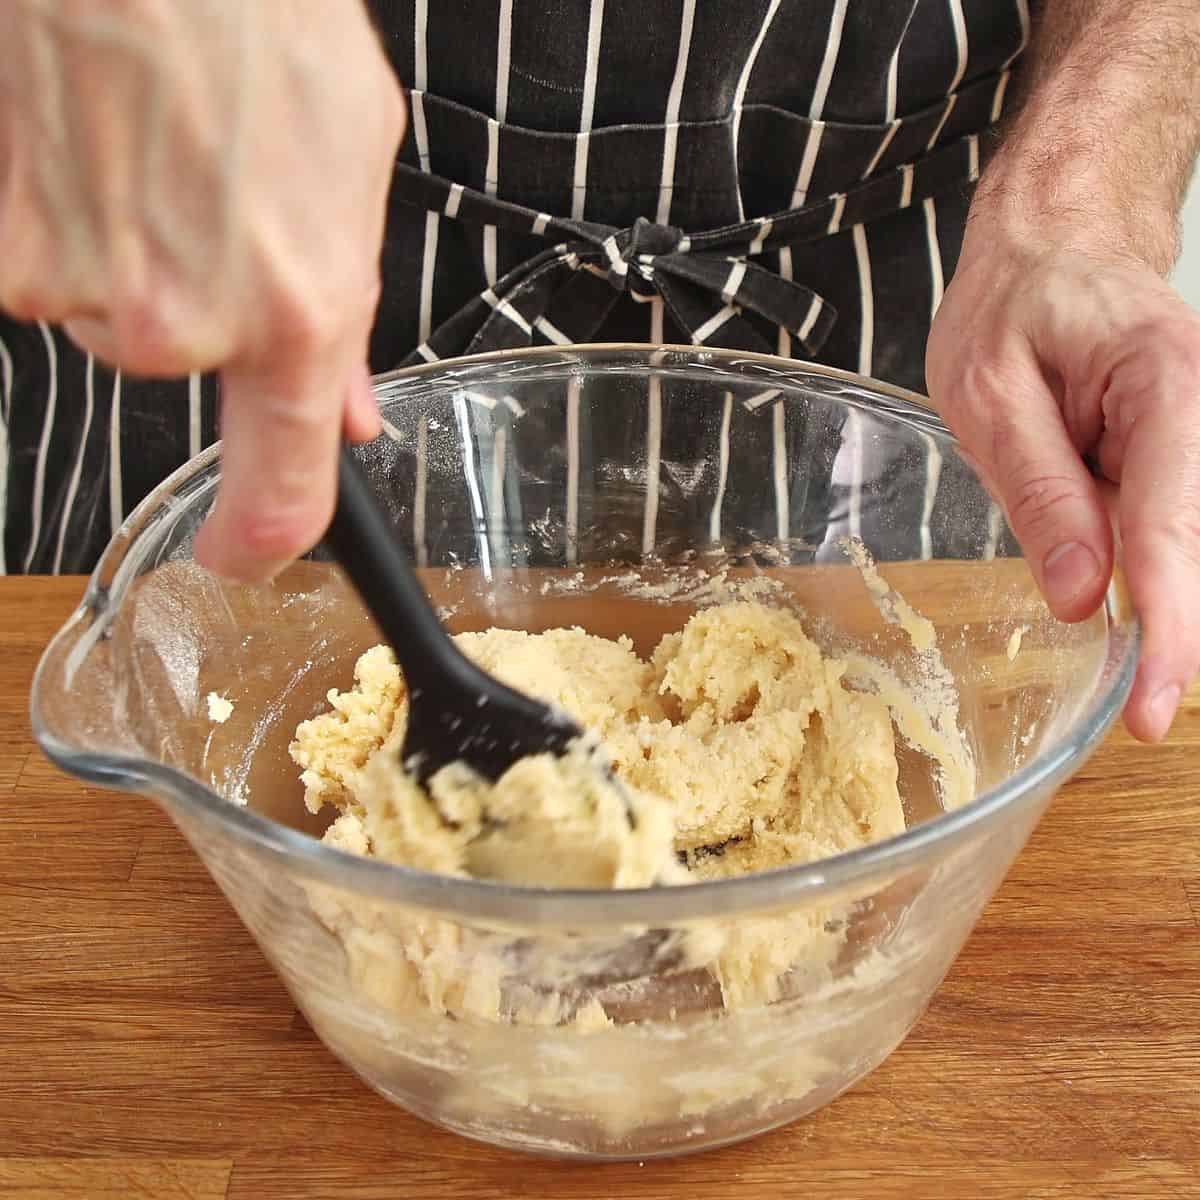
- Add the wet ingredients to the dry mixture and stir until you have a shaggy, sticky dough.
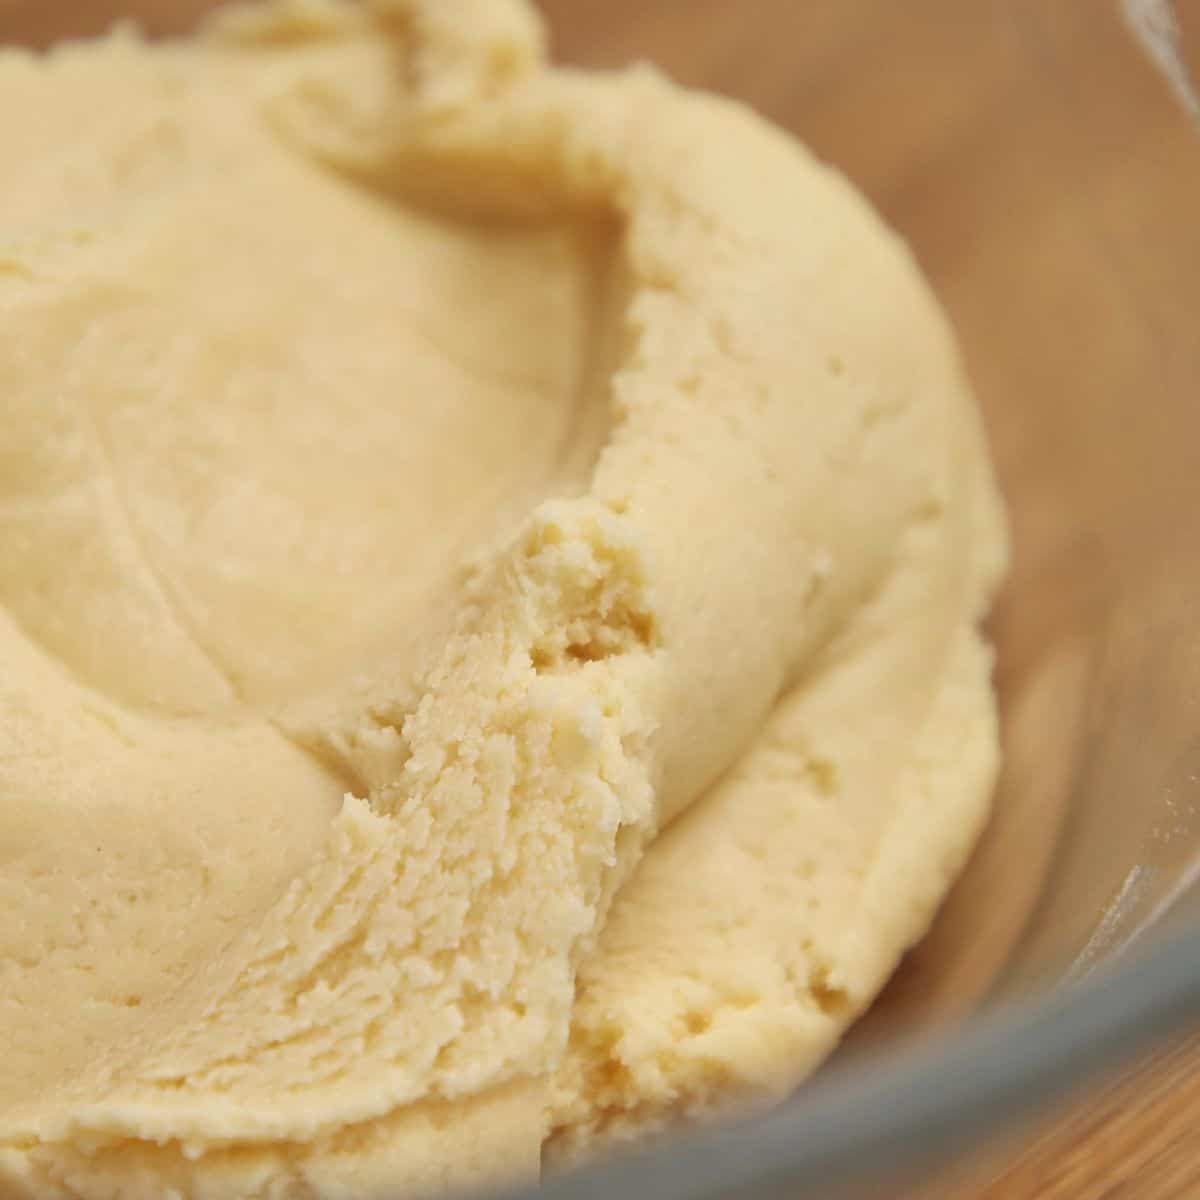
- Bring the dough together, working it briefly until it becomes a smooth, cohesive paste. Don't add extra flour to compensate - let it come together naturally.
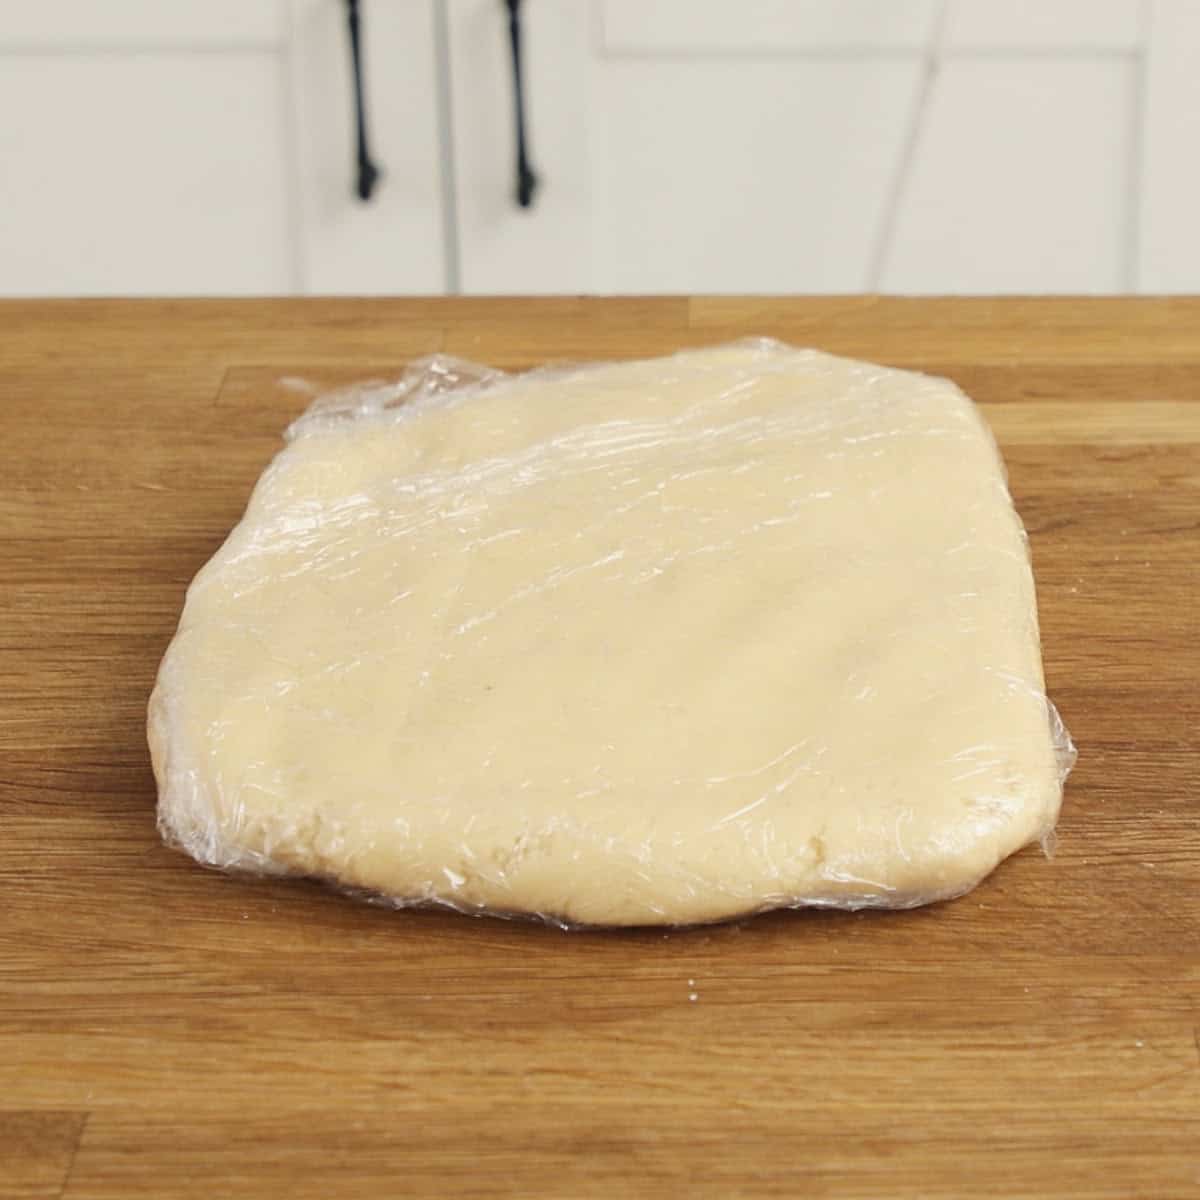
- Wrap the dough in plastic wrap or parchment paper and refrigerate for at least 30 minutes to firm up.
Rolling, cutting, and baking
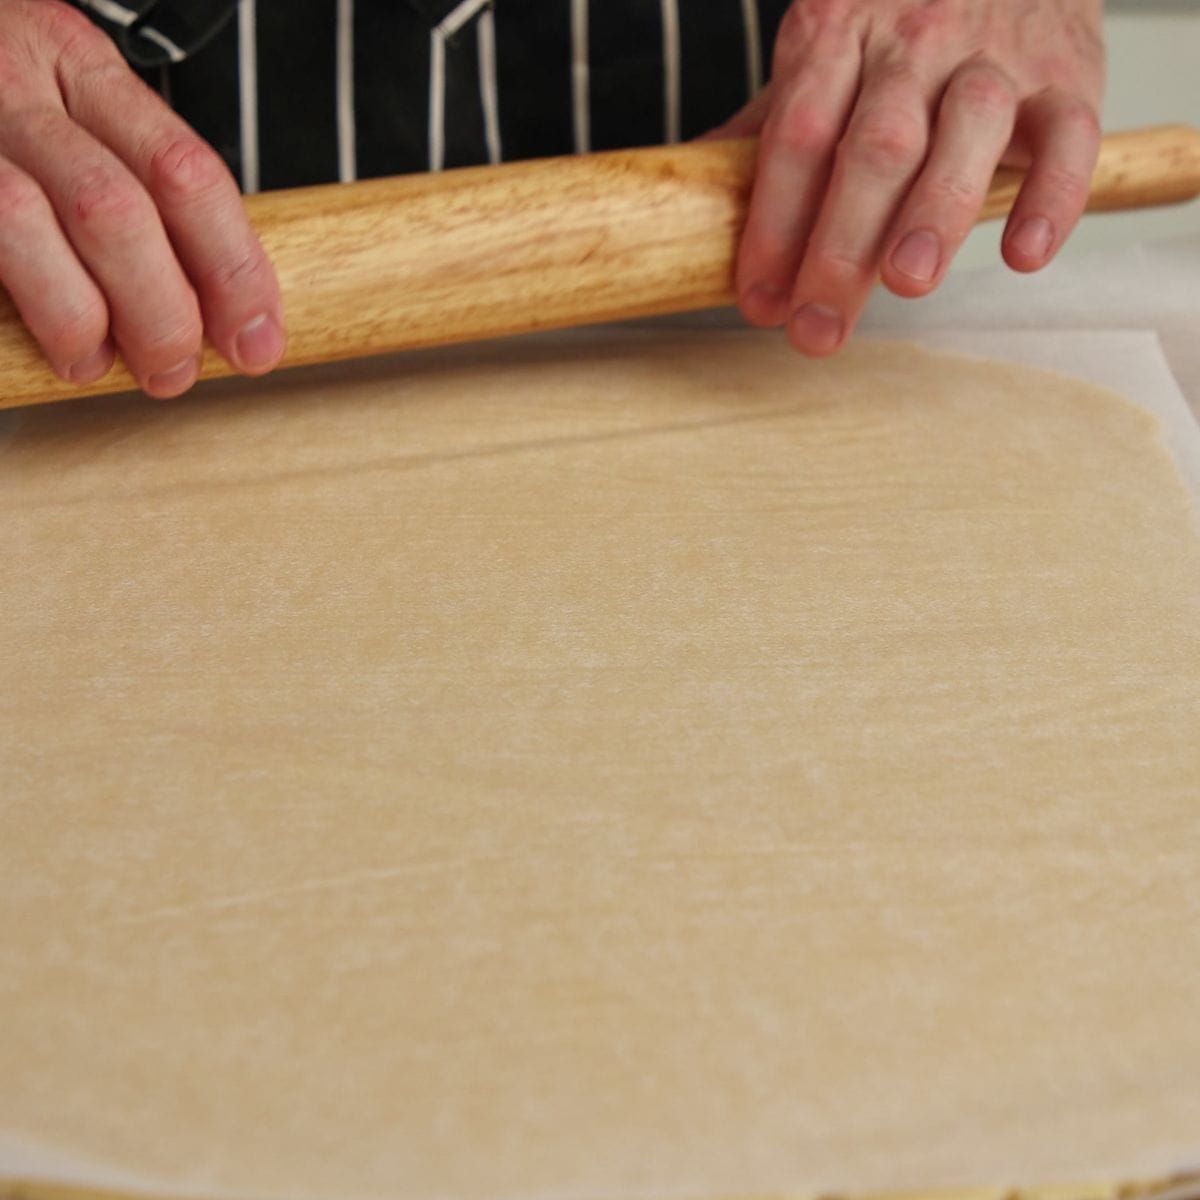
- Roll the chilled dough between two sheets of parchment paper to 3-4 mm thickness. Aim for 3 mm. Thinner is better. If the dough softens and becomes difficult to handle, place it in the freezer for 5 minutes to firm up again.
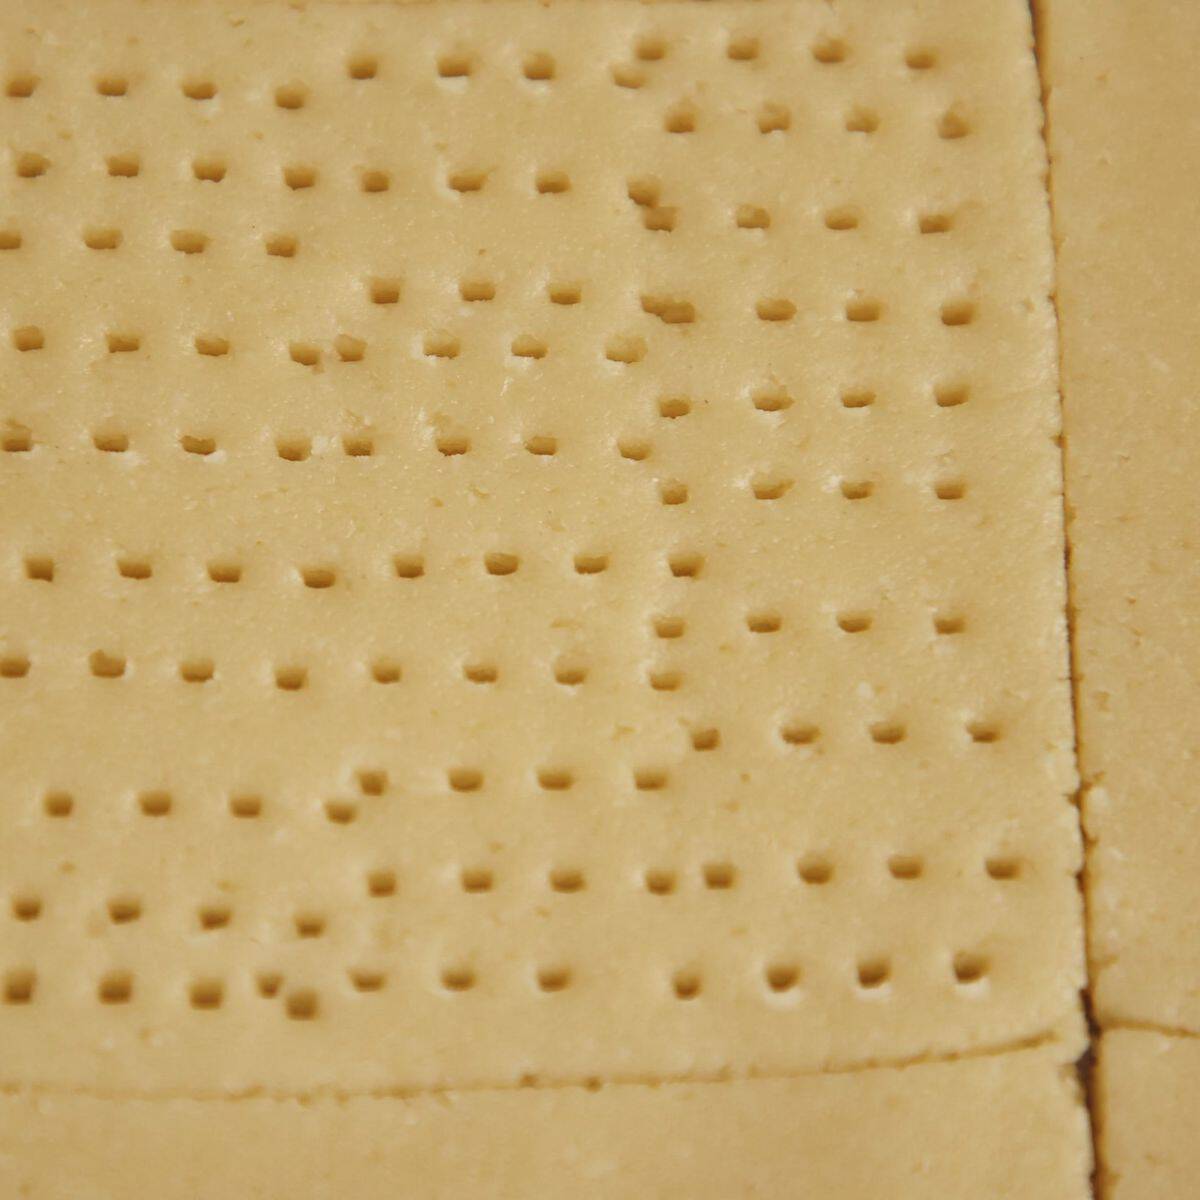
- Cut the dough into 8 cm (3 inch) squares using a sharp knife or pastry cutter. Dock each square all over with a fork - this prevents uneven rising during baking. Keep the trim to roll out again for more biscuits.
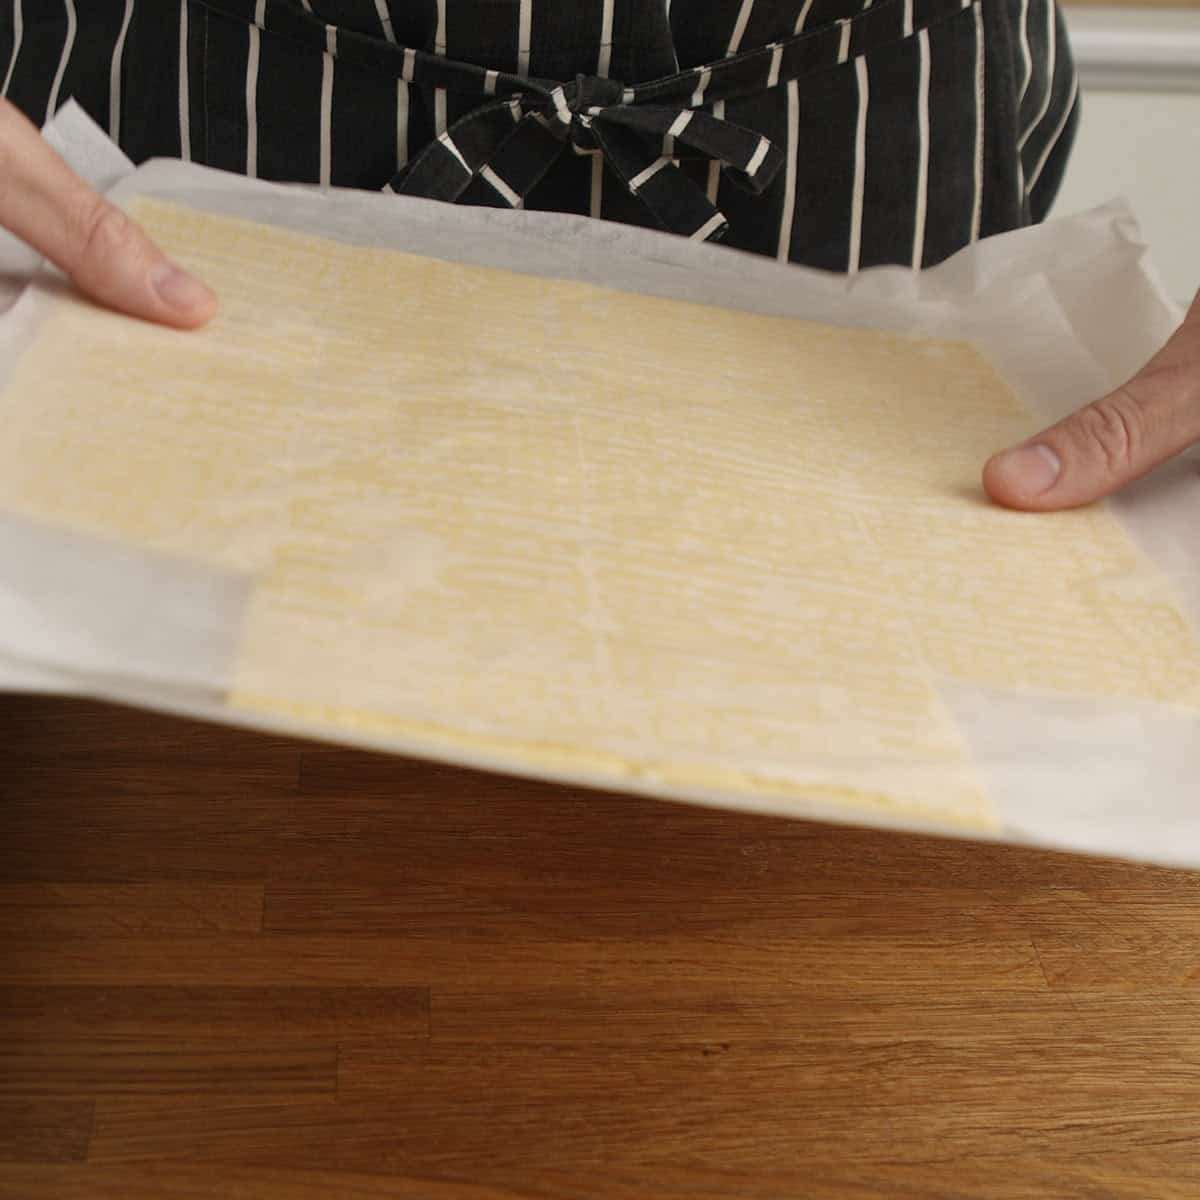
- Heat the oven to 180°C (160°C fan / 350°F). Freeze the cut squares for about 15 minutes until solid. The dough is soft and high-fat, so freezing makes the squares easy to handle. Work quickly once they're frozen so they don't soften.
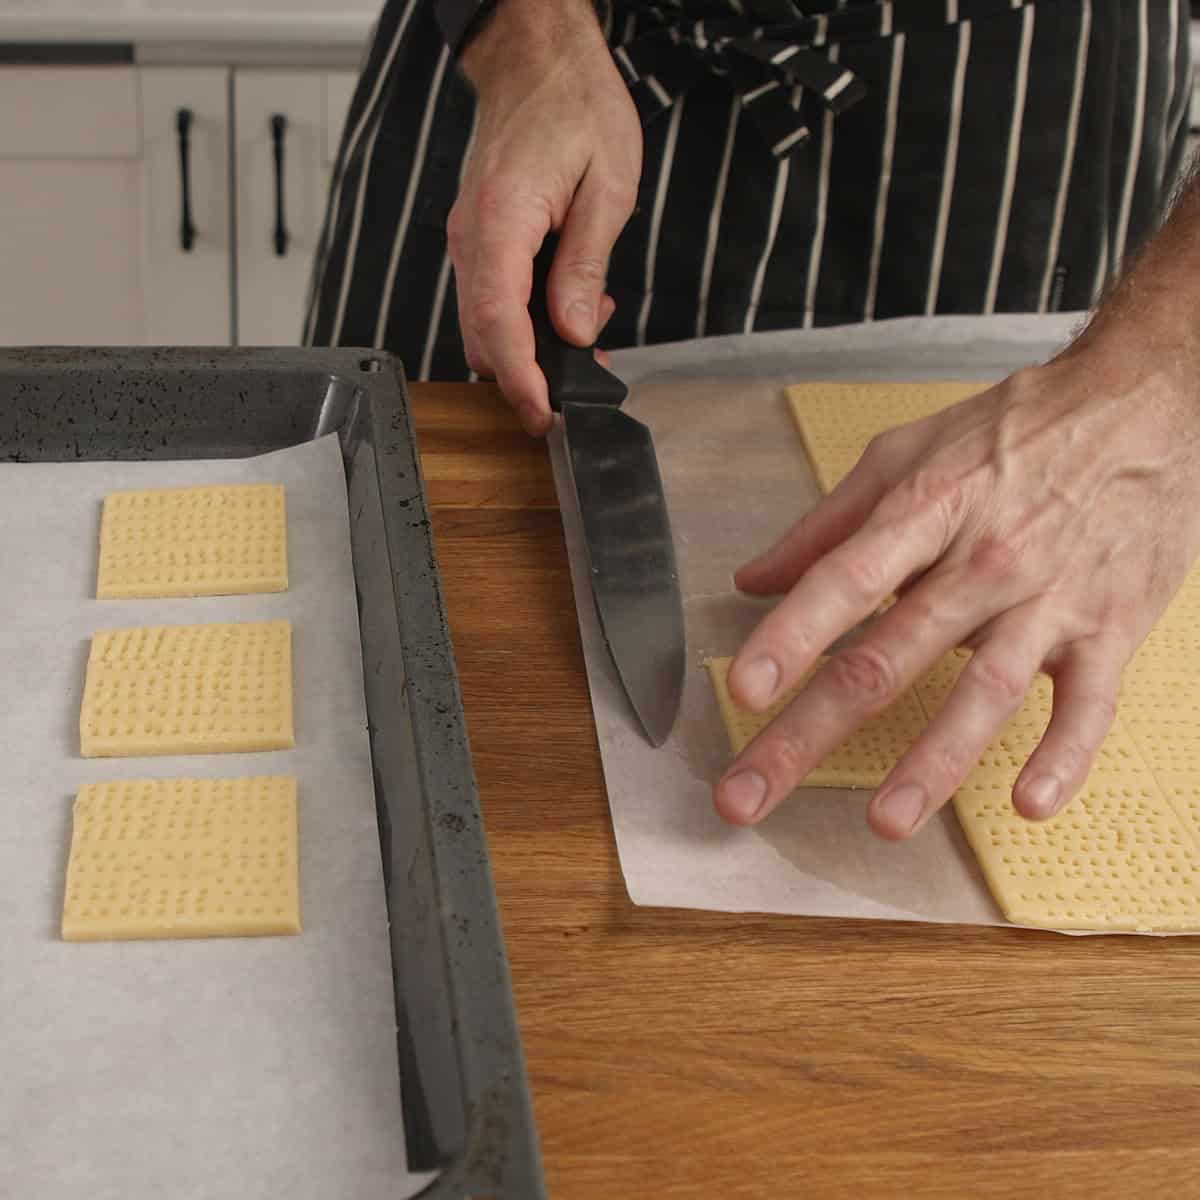
- Prepare a baking tray lined with parchment paper. Transfer the frozen squares to the prepared tray, leaving 2 cm (1 inch) space between each.
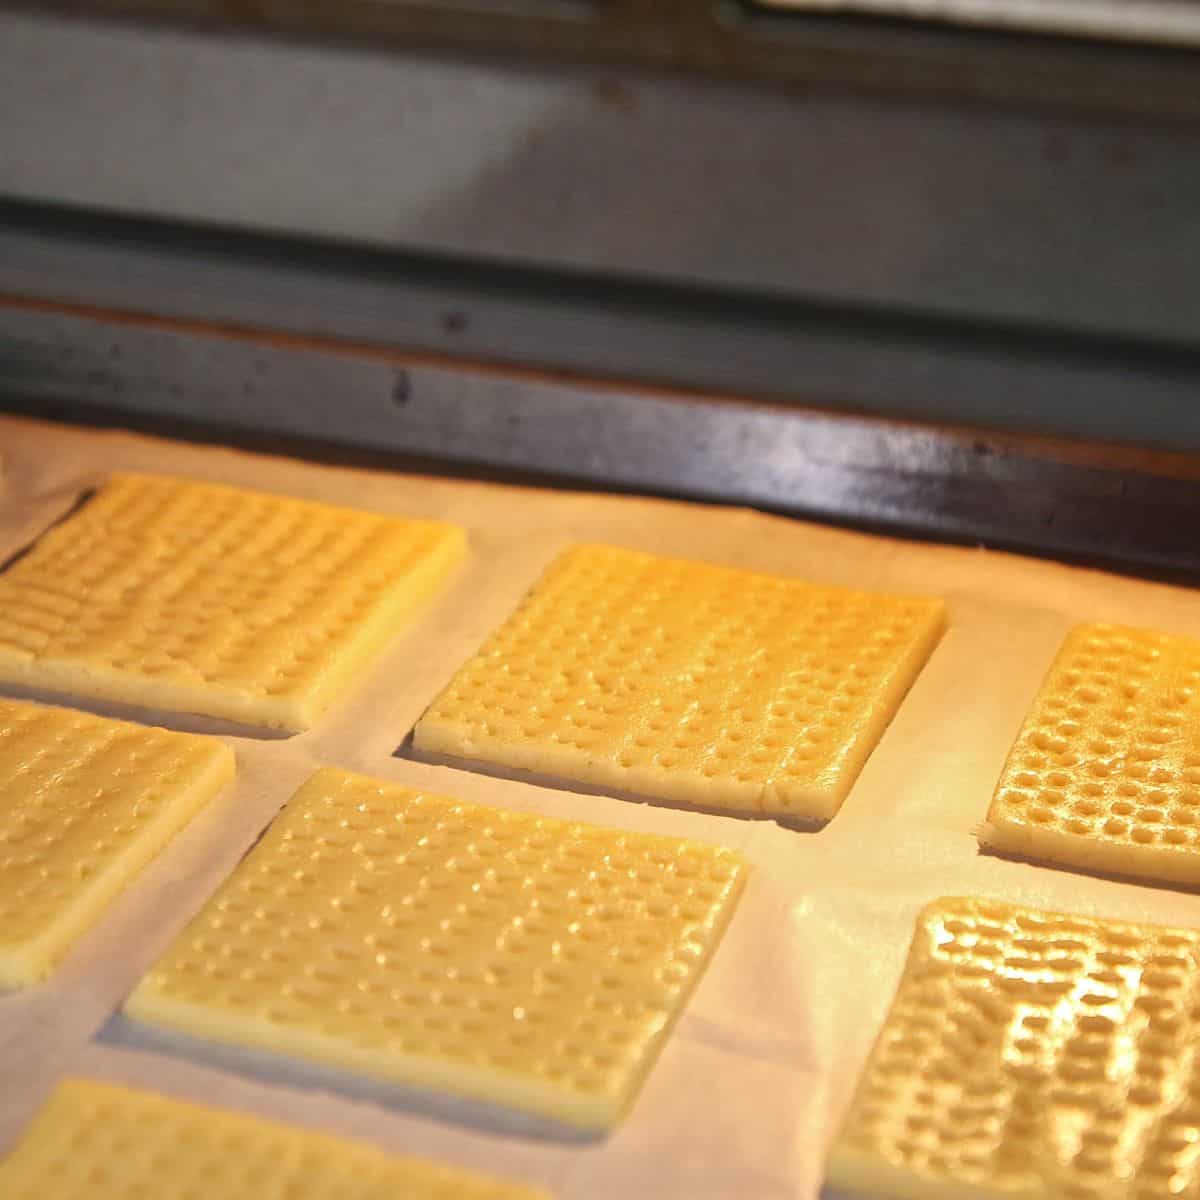
- Bake the biscuits. Bake for 10 minutes, then rotate the tray and bake for 6-8 minutes more until dark golden brown. The edges and corners will brown faster than the centers - watch closely and pull edge pieces as soon as they're deeply caramelized. Let center pieces finish for another 2-3 minutes if needed. Some pieces will cook quicker than others - this is normal for thin, high-sugar dough
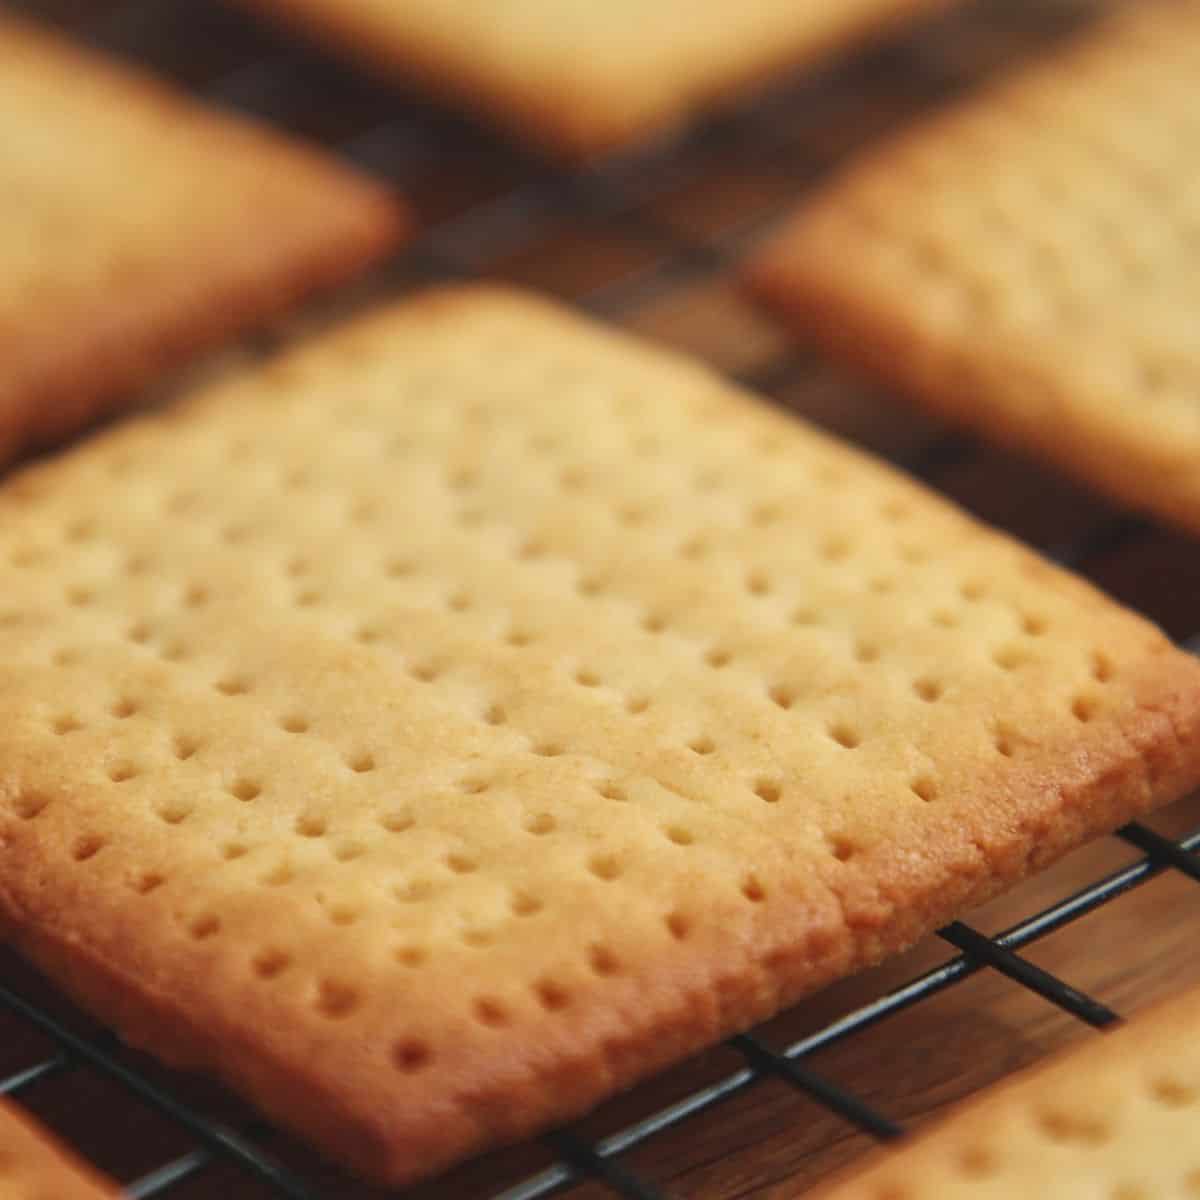
- Chill down. Cool the biscuits on a wire rack until completely cold. They will crisp further as they chill down. Store in an airtight container until needed.
Watch how to make it
Pro tips when making tennis biscuits
- Blend the coconut - Unblended coconut will not distribute evenly, and the flavor will be locked up in the coconut bits rather than dispersed throughout the biscuits.
- Consistency - Don't panic and add extra flour. Let it rest for a minute, and it will firm up as the flour hydrates. Adding more flour makes the biscuits dense and tough.
- Temperature - The dough is soft and high-fat. Chilling for 30 minutes makes it rollable. Freezing the cut squares makes them transferable to the tray without breaking and losing their shape. This is the secret to clean, professional-looking edges.
- Rotate while baking - Because these have a high sugar content as well as added lactose from the condensed milk, they will burn quickly and cook unevenly if you don't turn the tray and remove the ones that are done.
Substitutions and variations
- Gluten-free - Use a 1:1 gluten-free flour blend designed for baking (one that includes xanthan gum). The biscuits will be more fragile, so handle them gently and freeze the cut squares thoroughly before transferring to the tray.
- Dairy-free - Substitute the butter with a firm plant-based baking block (not spreadable margarine - too soft). Use coconut condensed milk if available at specialty stores. The coconut condensed milk will intensify the coconut flavor.
Storage, make-ahead and reheating instructions
Room temperature: Store in an airtight container at room temperature for 7-10 days. The biscuits may soften slightly after day 5. To re-crisp, place in a 150°C (300°F) oven for 3-4 minutes and cool completely before serving.
Freezer: Freeze baked and cooled biscuits in a freezer-safe container or bag, separated by parchment paper, for up to 3 months. Thaw at room temperature for 30 minutes before serving. Re-crisp in a low oven if needed.
Make-ahead: The dough can be wrapped tightly and refrigerated for up to 2 days, or frozen for up to 1 month. Thaw frozen dough in the refrigerator overnight before rolling. Cut, unbaked squares can be frozen on a tray, then transferred to a freezer bag and baked directly from frozen - add 2-3 minutes to the baking time.
Frequently asked questions
Tennis biscuits are thin, square South African coconut shortbread cookies, traditionally made by Bakers since 1911. They're used as the base for peppermint crisp tart and other fridge desserts, or eaten on their own dunked in tea or coffee.
The origin of the name is unclear. Some sources suggest it derives from a Dutch word for "cake" or "biscuit"; others claim it's linked to the square shape resembling a tennis court, but neither is definitively sourced. What's certain is that they've been a South African pantry staple for over a century.
Not easily. Condensed milk provides moisture, sweetness, and caramelization in one ingredient. If unavailable, use 60 ml (4 tbsp) golden syrup + 30 ml (2 tbsp) whole milk, but the texture will be slightly different.
The dough is thin and high in sugar, so edges brown quickly. Rotate the tray halfway through baking, and pull edge or corner pieces as soon as they're dark golden. Let center pieces finish for another 2-3 minutes if needed. Uneven browning is normal for this recipe - it's why you need to watch them closely.
Yes. Use desiccated coconut as-is and increase the amount slightly (50 g / ⅔ cup instead of 40 g / ½ cup) to compensate for the flavor intensity you lose by not releasing the oils. The biscuits will still work, just with a slightly milder coconut flavor.
Peppermint crisp tart, milk tart base, cheesecake crust, fridge tart layers, crushed as a topping for ice cream, or simply dunked in rooibos tea or coffee.
More South African recipes
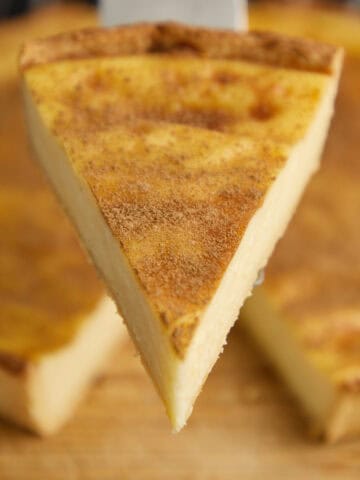
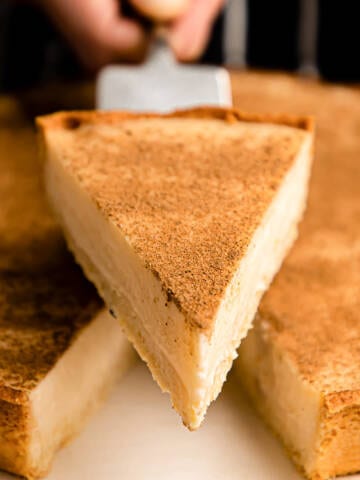
I'd love to hear how your tennis biscuits turned out. Did you use them for peppermint crisp tart, or did they disappear straight from the cooling rack? Leave a rating below and let me know in the comments.
Recipe
Tennis Biscuits (South African Coconut Shortbread)
Ingredients
- 40 grams (½ cup) desiccated coconut
- 240 grams (2 cups) flour - all purpose
- 50 grams (½ cup) powdered sugar
- 8 grams (1 ½ teaspoon) baking powder
- 3 grams (½ teaspoon) salt
- 113 grams (½ cup) salted butter
- 80 grams (¼ cup) sweetened condensed milk
- 1 (1) large egg - beaten

Instructions
- Blend the desiccated coconut in a food processor, pulsing briefly until the oils just start to glisten - about 5-10 seconds. Stop before it becomes a paste. This releases coconut flavor without adding moisture or turning it into coconut butter.
- Sieve the flour, powdered sugar, and baking powder into a large bowl to aerate the flour and prevent lumps. Add the salt and blended coconut to the sieved dry ingredients. Whisk briefly to distribute evenly.
- Rub in the melted butter using your fingertips, working swiftly until the mixture resembles damp sand. The butter should be melted but not hot - if it's just off the stove, let it cool for a few minutes so it doesn't cook the egg when you add the wet ingredients.
- Beat the egg and condensed milk together in a separate bowl until smooth and combined.
- Add the wet ingredients to the dry mixture and stir with a fork until you have a shaggy, sticky dough. It will look too wet at first - this is correct. Don't add extra flour.
- Bring the dough together with your hands, working it briefly until it becomes a smooth, cohesive paste. It will feel sticky initially, then firm up as you knead for 30-60 seconds. The dough is ready when it no longer clings to your fingers and holds together in a ball.
- Wrap the dough in plastic wrap or greaseproof paper and refrigerate for 30 minutes. This firms the dough so it's easier to roll without sticking.
- Roll the chilled dough between two sheets of parchment paper to 3-4 mm thickness - aim for 3 mm if you can manage it for the crispest texture. If the dough softens and becomes difficult to handle, place it in the freezer for 5 minutes to firm up again. Work gently - the dough is soft and delicate.
- Cut the dough into 8 cm (3 inch) squares using a sharp knife or pastry cutter. Dock each square all over with a fork, pressing firmly enough to make clear marks but not so hard you tear the dough. The docking prevents bubbling during baking and gives the characteristic tennis biscuit appearance. Place the cut squares on a parchment-lined tray and freeze until solid - about 15-20 minutes. The dough is soft and high-fat, so freezing makes the squares transferable without distortion. Trim any uneven edges and save the scraps - you can re-roll them for more biscuits.
- Heat the oven to 180°C/350 °F (160°C fan / 320°F). Prepare a baking tray lined with parchment paper. Working quickly while the dough is still frozen, transfer the squares to the prepared tray, leaving 2 cm (1 inch) space between each. Bake for 10 minutes, then rotate the tray and bake for 6-8 minutes more until dark golden brown - the edges should be deeply caramelized, not blonde. The edges and corners will brown faster than the centers. Watch closely and pull edge pieces as soon as they're dark golden. Let center pieces finish for another 2-3 minutes if needed. Some pieces will cook quicker than others - swap positions, rotate the tray, or remove individual pieces as you see fit. This is not your regular cookie - the thin dough and high sugar content make them unforgiving to heat.
- Cool the biscuits on a wire rack until completely cold. They will crisp further as they cool. Don't stack them or leave them on the hot tray - they'll steam and soften.
Video
Notes
- Desiccated coconut - Blend briefly in a food processor until the oils just start to release and glisten, then stop. This increases coconut flavor without adding moisture. If you don't have a food processor, use desiccated coconut as-is and increase the quantity to 50 g (⅔ cup) to compensate for the milder flavor.
- Condensed milk - This is the key ingredient for moisture, sweetness, and caramelization. If unavailable, substitute 60 ml (4 tbsp) golden syrup + 30 ml (2 tbsp) whole milk, but the texture will be less rich and more like standard shortbread.
- Chill and freeze - The dough needs chilling after mixing (30 minutes) to make it rollable, then the cut squares need freezing (15-20 minutes) to make them transferable to the tray without distortion. Don't skip the freeze step - the dough is too soft to handle cleanly otherwise.
- Rolling thickness - 3-4 mm is the target. Thinner is better for the crisp snap - thicker biscuits lose the characteristic texture and end up more like shortbread cookies. Use the parchment-paper sandwich method to prevent sticking without adding extra flour.
- Dark golden doneness - These need deep color for flavor. The caramelization of the condensed milk and sugar is what makes them taste right. Blonde biscuits are underbaked and will be soft and bland. Aim for dark golden edges with darker corners - this is correct, not burnt.
- Uneven browning is normal - The thin dough and high sugar content mean edges and corners brown faster than centers. Rotate the tray halfway through and pull pieces individually as they're ready. Some batches need 14-16 minutes total, and some pieces may be done at 12 - watch them closely and use your judgment.
- Storage and re-crisping - Airtight container at room temperature for 7-10 days. They may soften slightly after day 5 - to re-crisp, place in a 150°C (300°F) oven for 3-4 minutes, then cool completely before serving. To freeze, layer baked and cooled biscuits between parchment in a freezer-safe container for up to 3 months, and thaw at room temperature for 30 minutes.
- Make-ahead - The dough can be wrapped tightly and refrigerated for up to 2 days, or frozen for up to 1 month. Thaw frozen dough in the refrigerator overnight before rolling. Cut, unbaked squares can be frozen on a tray, then transferred to a freezer bag and baked directly from frozen - add 2-3 minutes to the baking time.
- Uses - Tennis biscuits are the traditional base for peppermint crisp tart and other South African fridge desserts. They also work as a crushed cheesecake base, dunked in rooibos tea or coffee, or eaten on their own.
Nutrition
This recipe, and 109 others.
Everything I actually cook, organized in one book, with the exclusives that never made the blog and an online edition that behaves with flour on your hands. No ads. $19.99, yours for life.
Get the cookbook →This post contains affiliate links. If you purchase through these links, I may earn a small commission at no additional cost to you. This helps support the site and allows me to continue creating recipes. Thank you for your support.

Comments
No Comments