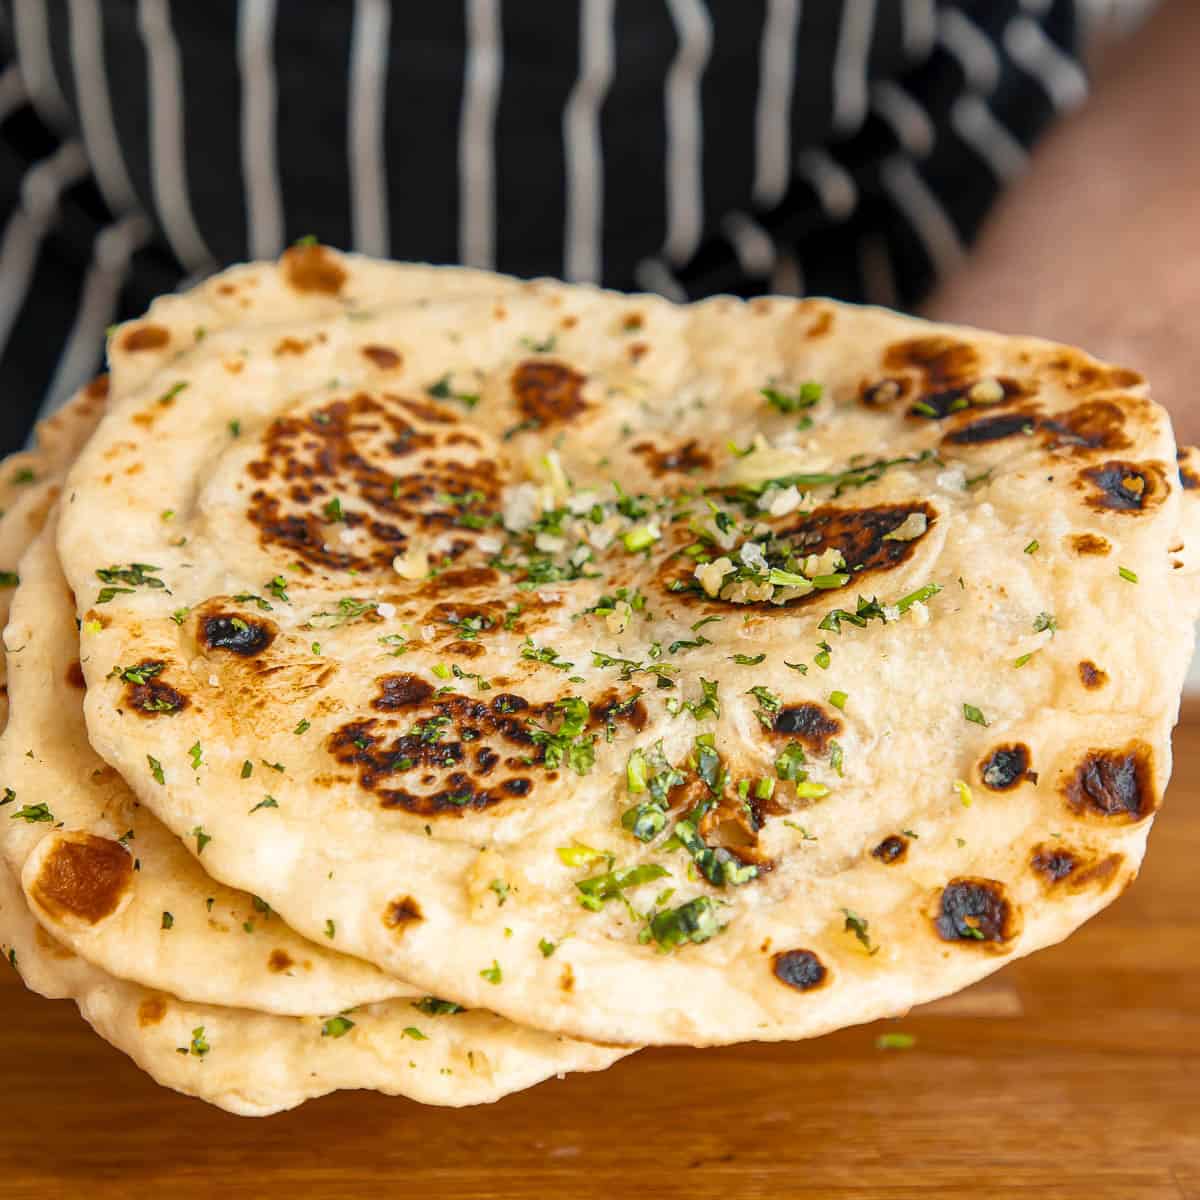
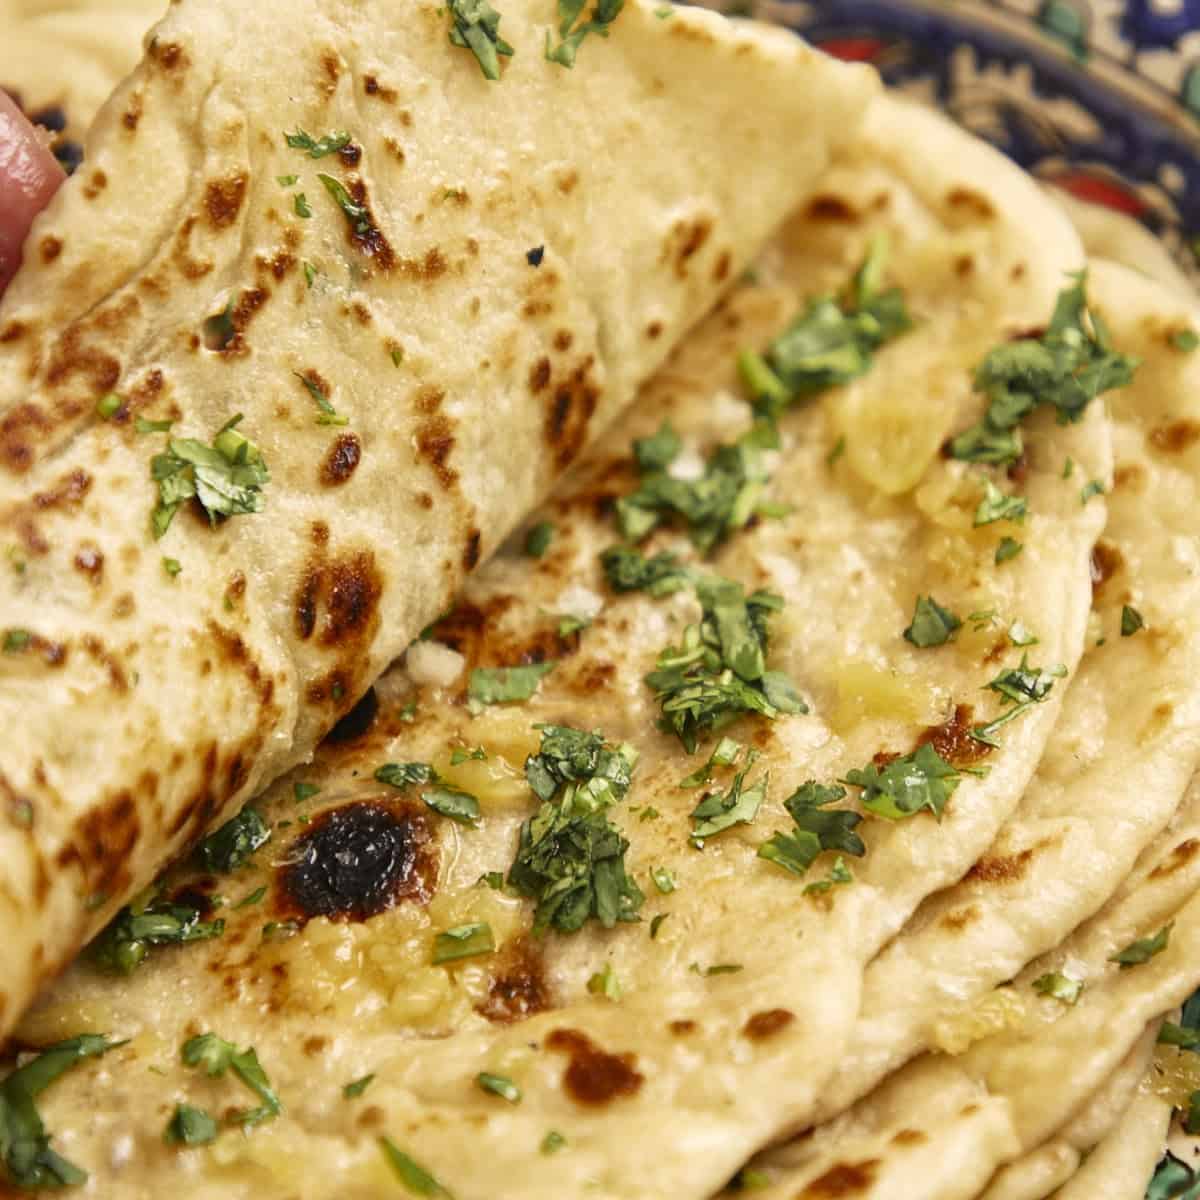
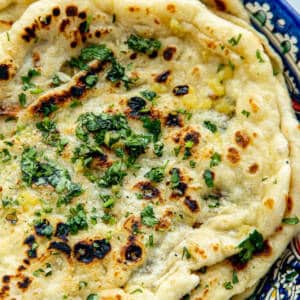
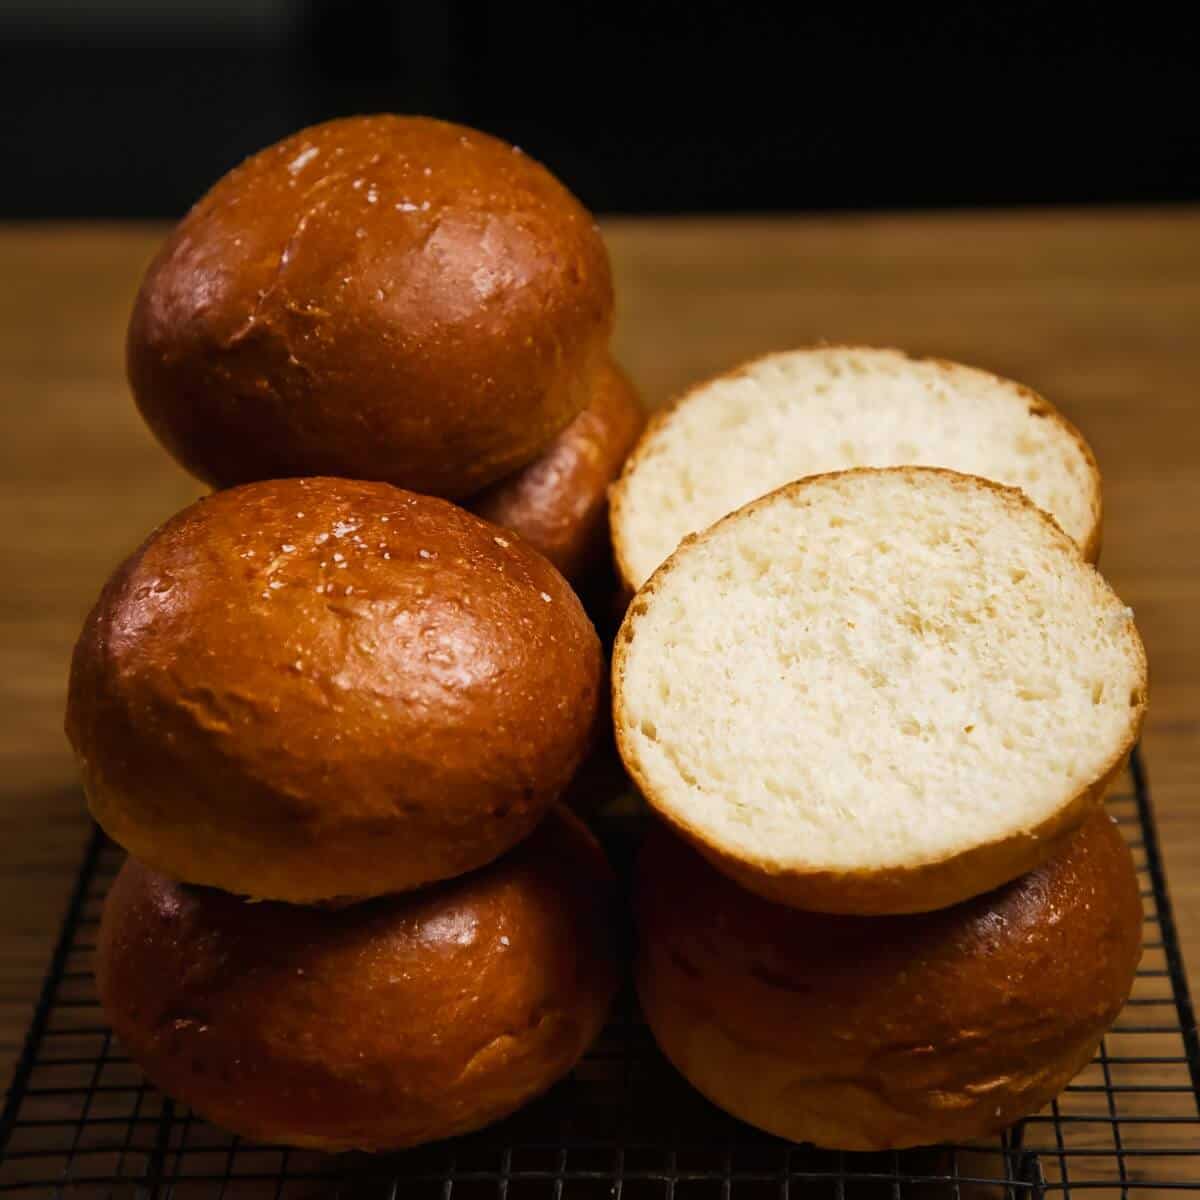
This naan recipe is as authentically Indian-restaurant-quality as possible at home. These naans have a soft, pillowy texture with a characteristic chew only found when making naan the right way.
Proper naan is made with yeast and yogurt. If you leave these out, you make a simple flatbread that's delicious but no match for traditional Indian naan. We cook them in a hot skillet to mimic the traditional tandor method, and, like Greek pita, you can also bake them in the oven.
We brush them with a delicious garlic butter and a sprinkling of fresh cilantro, but you can easily modify this recipe to make cheese naan, coconut naan, or even add fillings like minced beef or chicken.
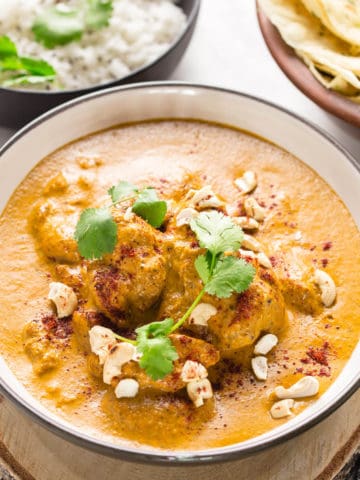
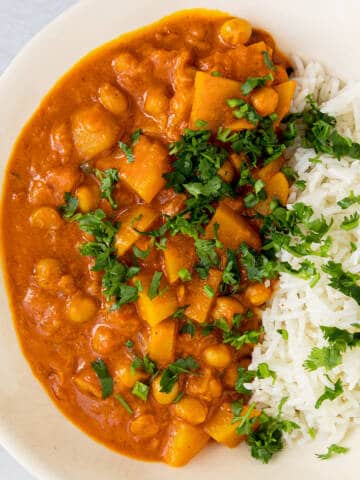
It is the ultimate side for Indian classics like butter chicken, Kerala chicken curry, aloo chana, and a steaming bowl of fluffy basmati rice.
Jump to:
Ingredients
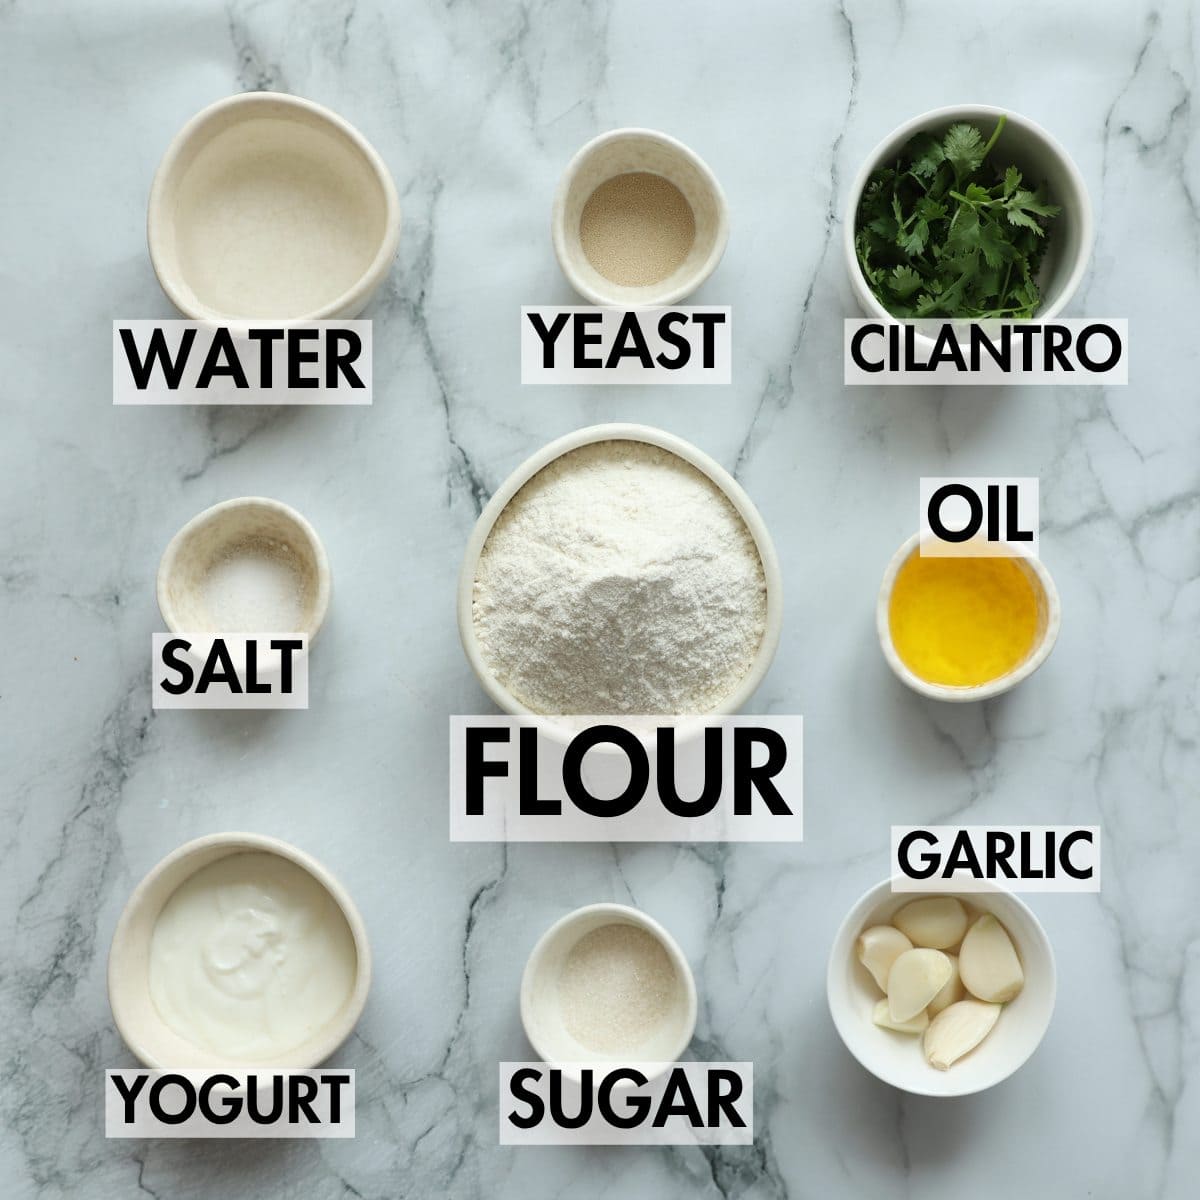
- Flour - Bread flour works best for that special chewy texture of proper naan, but all-purpose flour is completely fine. I actually used all-purpose flour in the naan video for this recipe.
In naan, the difference is barely noticeable, unlike sourdough bread or Japanese milk buns, which require high protein for proper structure.
Gluten-free flour? - You will get an edible, tasty flat bread when substituting the regular flour for gluten-free flour, but it will not be naan. Naan needs the gluten structure provided by wheat flour to be fluffy, puffy, and crispy all at the same time. - Yogurt - Yogurt adds acidity that's vital for texture. It softens the final crumb, and it's important for the right chew.
If you don't have yogurt, then milk is fine, or simply replace it with more water. If you do decide to go down the no-yogurt route, add half a teaspoon of lemon juice to make up for the loss of texture. - Yeast - Authentic naan is leavened by yeast or a sourdough starter.
For this recipe, we use instant yeast. It will also work with fresh yeast(use half the amount called for) or dry active yeast.
Baking powder is used in quick versions that lack the proper texture and flavor of real naan. - Fat - Ghee is simply clarified butter. Butter that has been heated until the milk solids separate from the fat. The pure butterfat is poured off, and that's your ghee, or clarified butter. Easily done at home in the microwave or on the stove.
Ghee is the authentic fat to use, but if you don't have ghee, you can use regular oil or coconut oil as a replacement. We use the ghee not only in the dough but also to make our garlic butter, which we brush onto the warm, cooked naan. - Sugar, salt, and aromatics - Regular sugar and fine salt. Garlic to make the garlic butter, and cilantro to sprinkle on top.
No eggs? Some recipes add eggs to artificially soften the dough, attempting to mimic the rapid bake of a 900-degree Fahrenheit clay tandoor.
However, egg proteins create a tight, cake-like crumb. By omitting and relying strictly on Greek yogurt, this dough develops the authentic, chewy texture and large, irregular air pockets characteristic of traditional Indian flatbread.
See recipe card for quantities.
Instructions
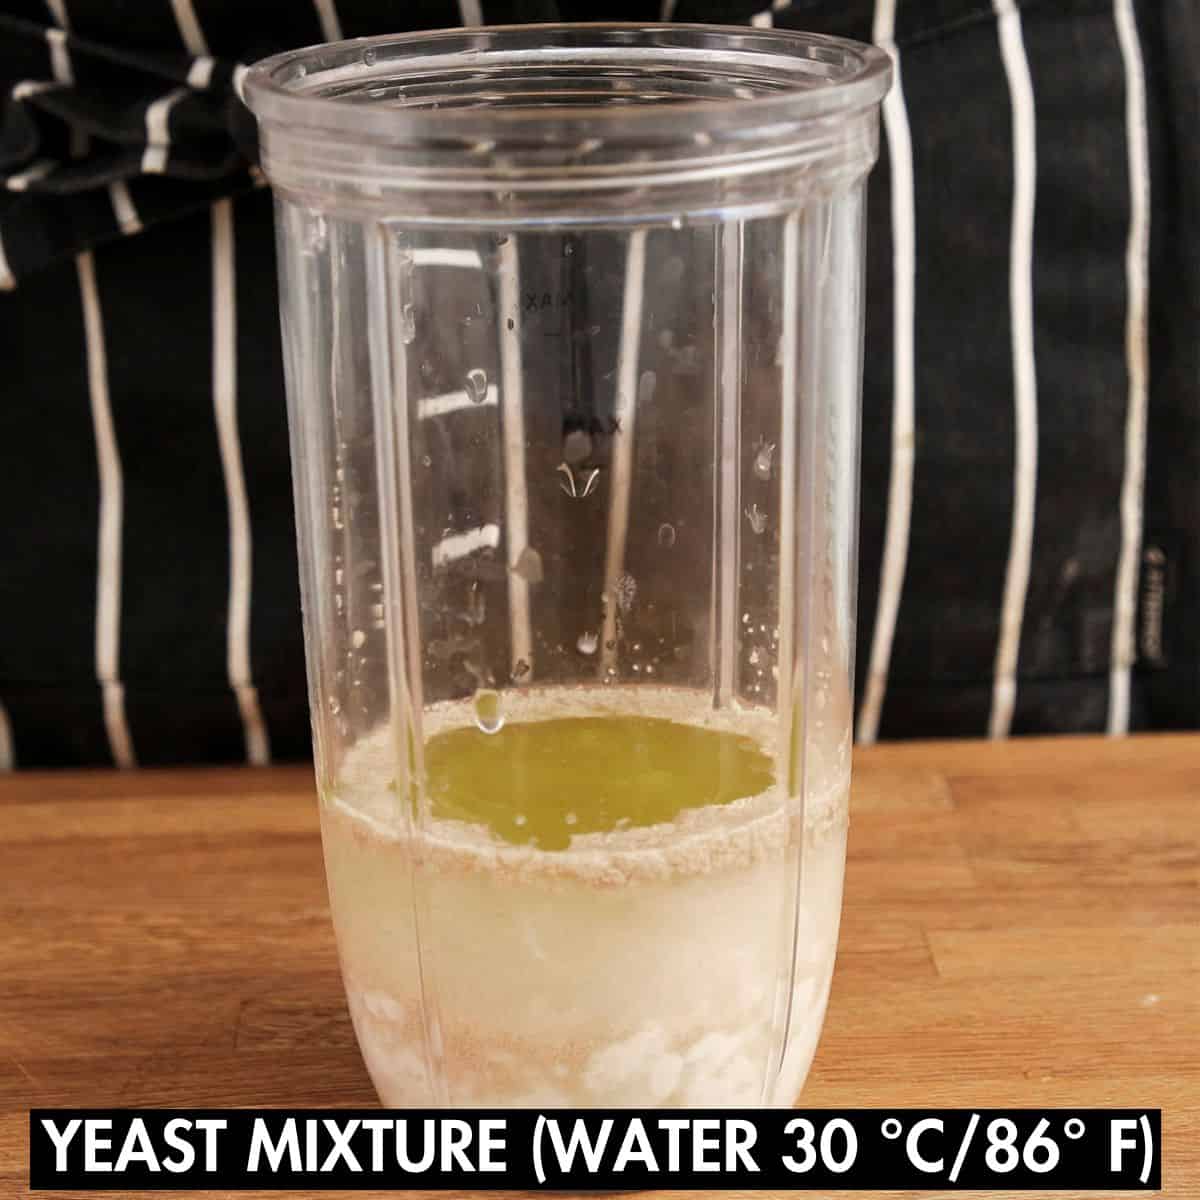
- Whisk the warm water, instant yeast, plain Greek yogurt, and melted ghee together in a jug.
- Let the liquid stand until the yeast blooms and the surface becomes frothy.
Doing this step
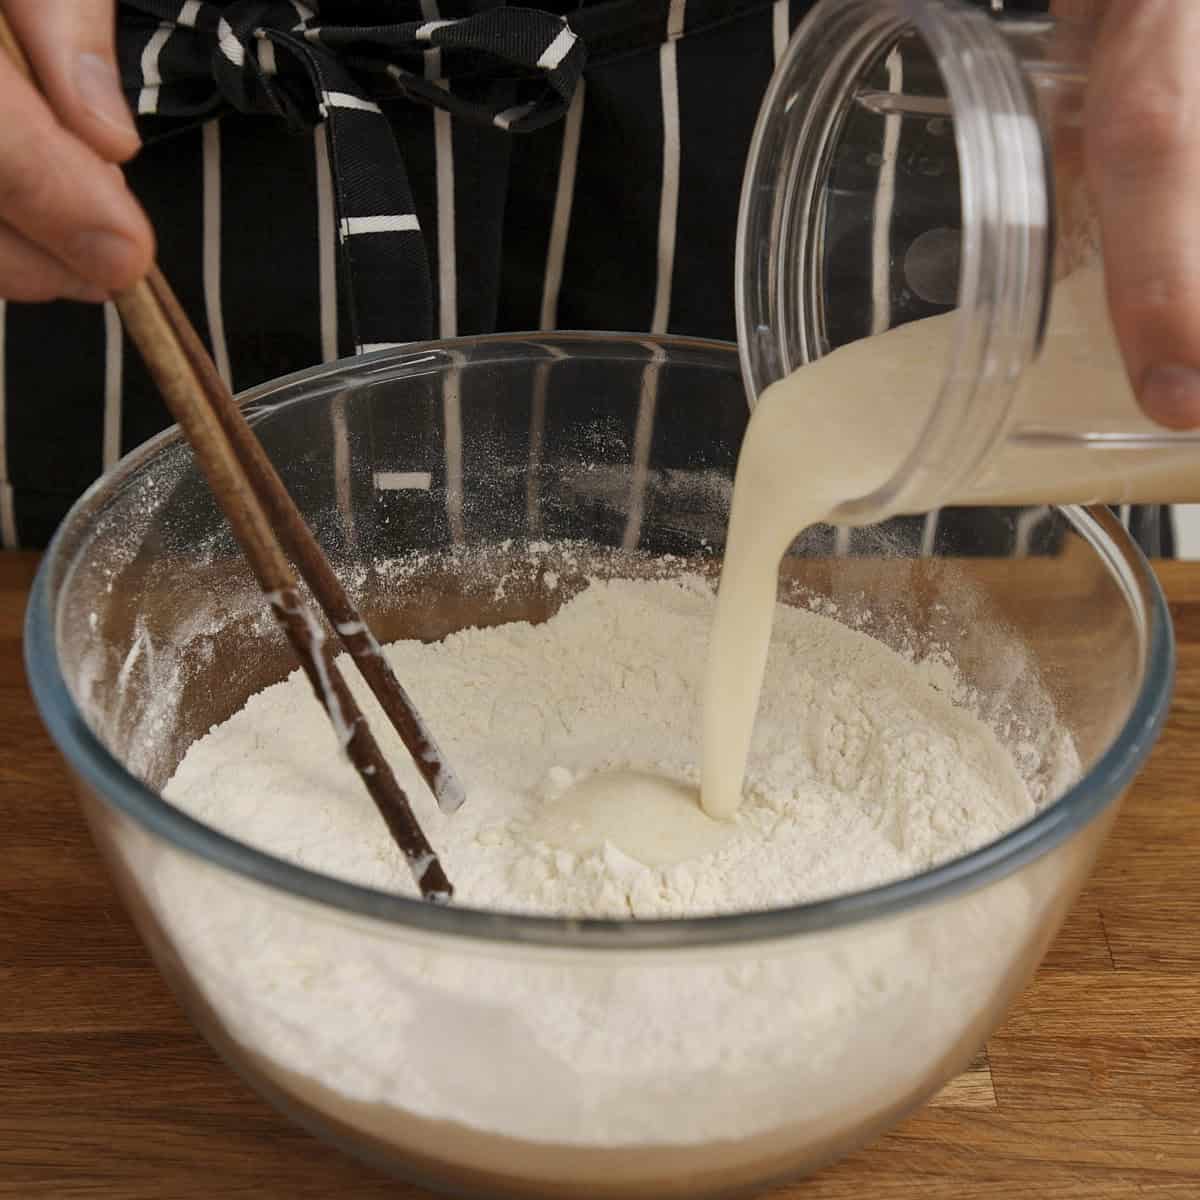
- Pour the frothy yeast mixture into a large bowl containing the whisked dry ingredients.
- Begin mixing the wet and dry ingredients to bring the dough together.
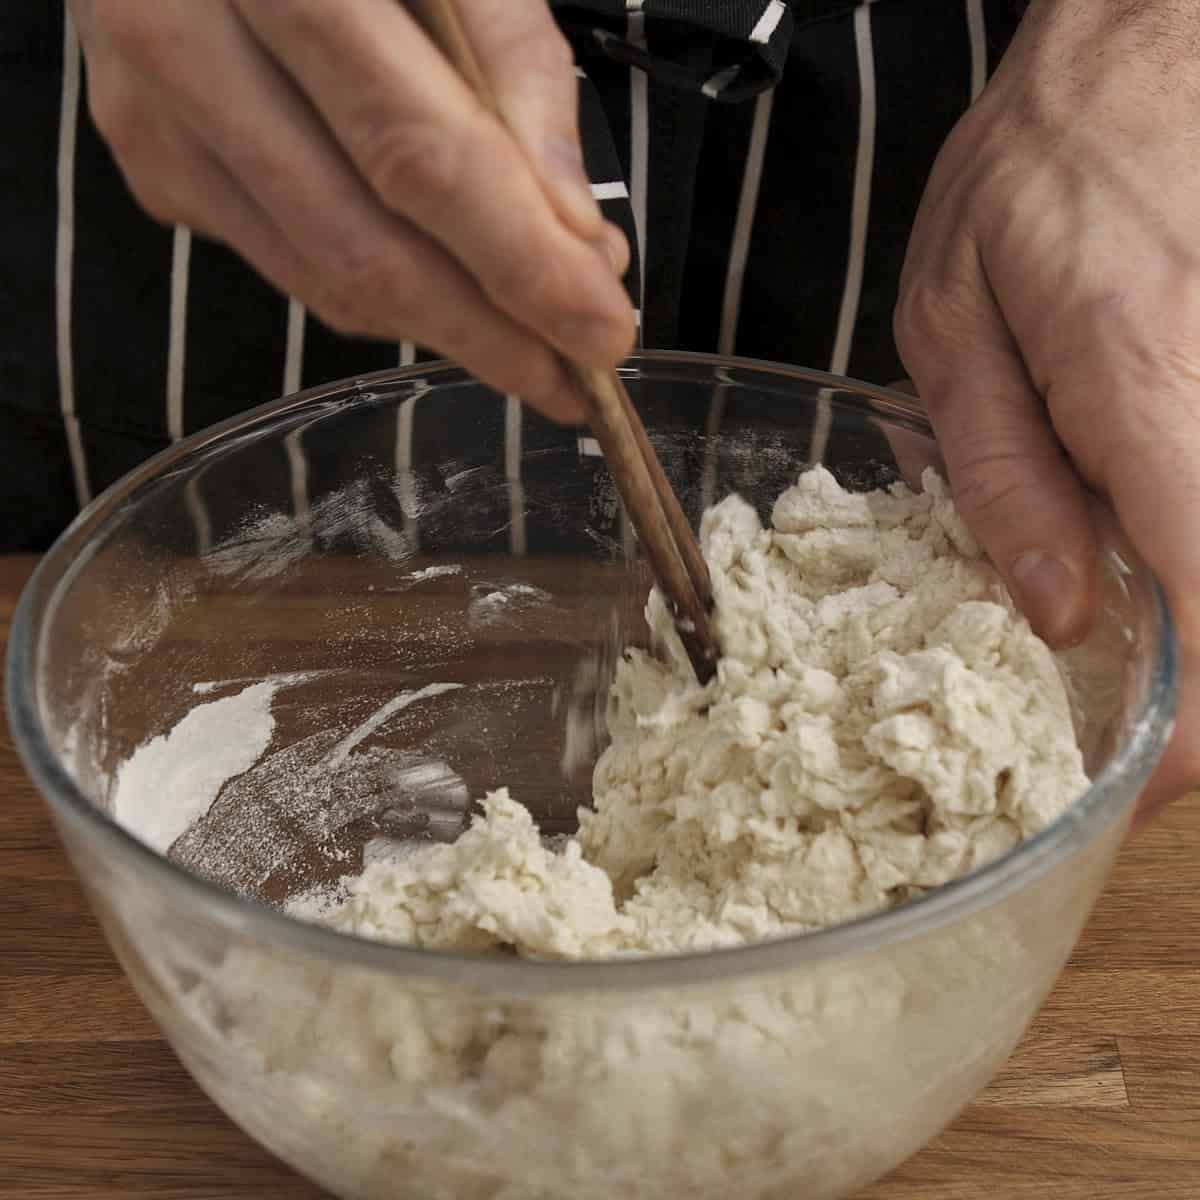
- Continue mixing until the liquid is fully absorbed by the flour. You don't have to knead it, but the dough should be fully mixed.
- Stop mixing once a rough, shaggy dough forms with no dry spots remaining.
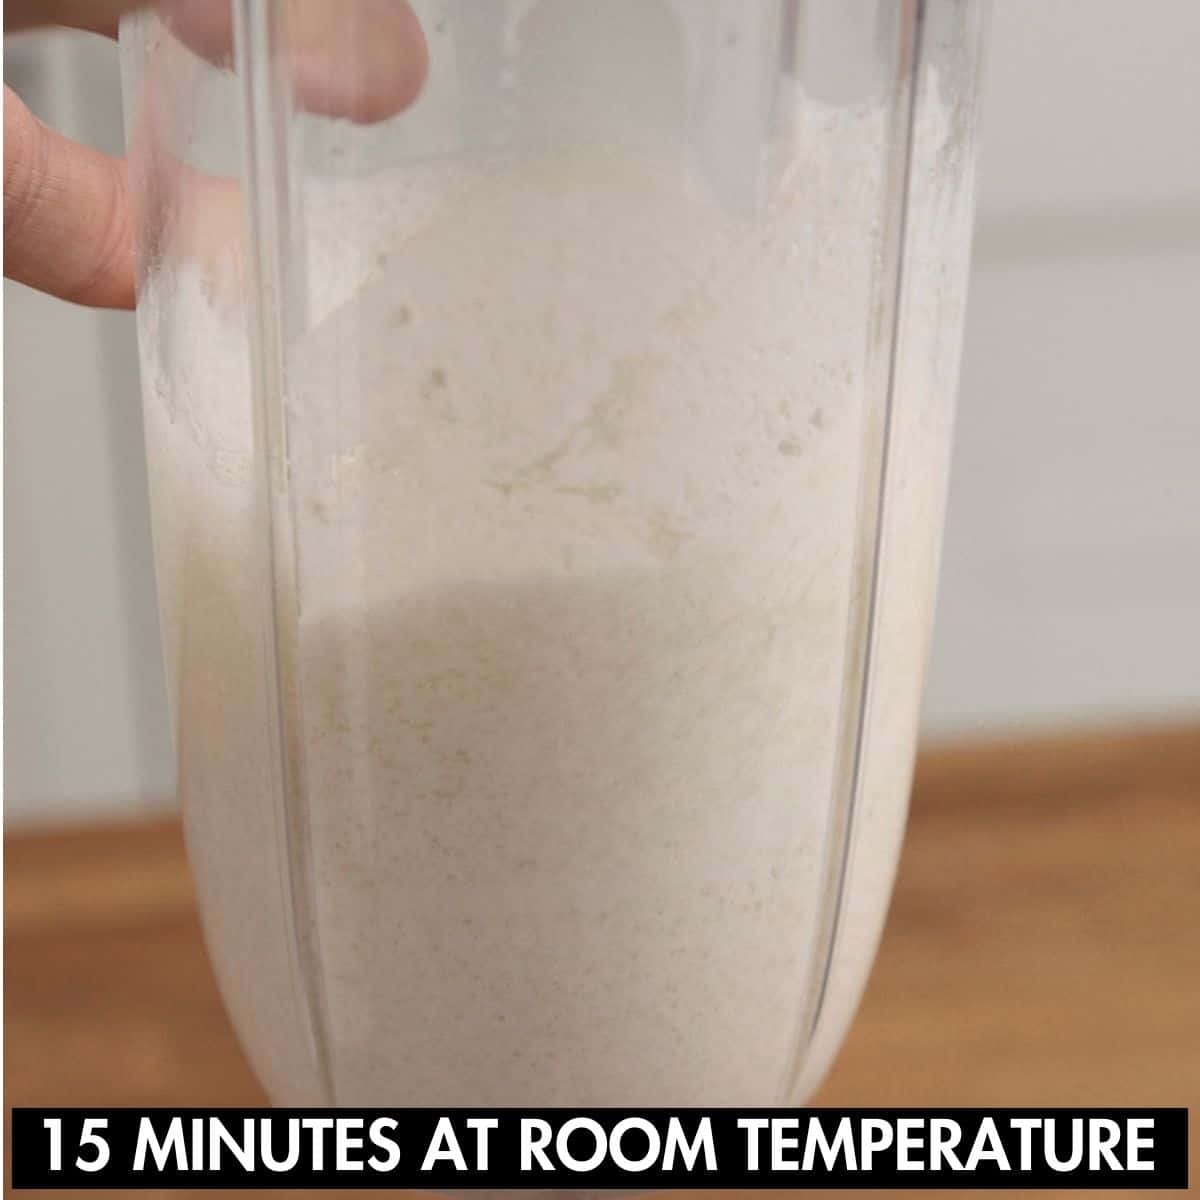
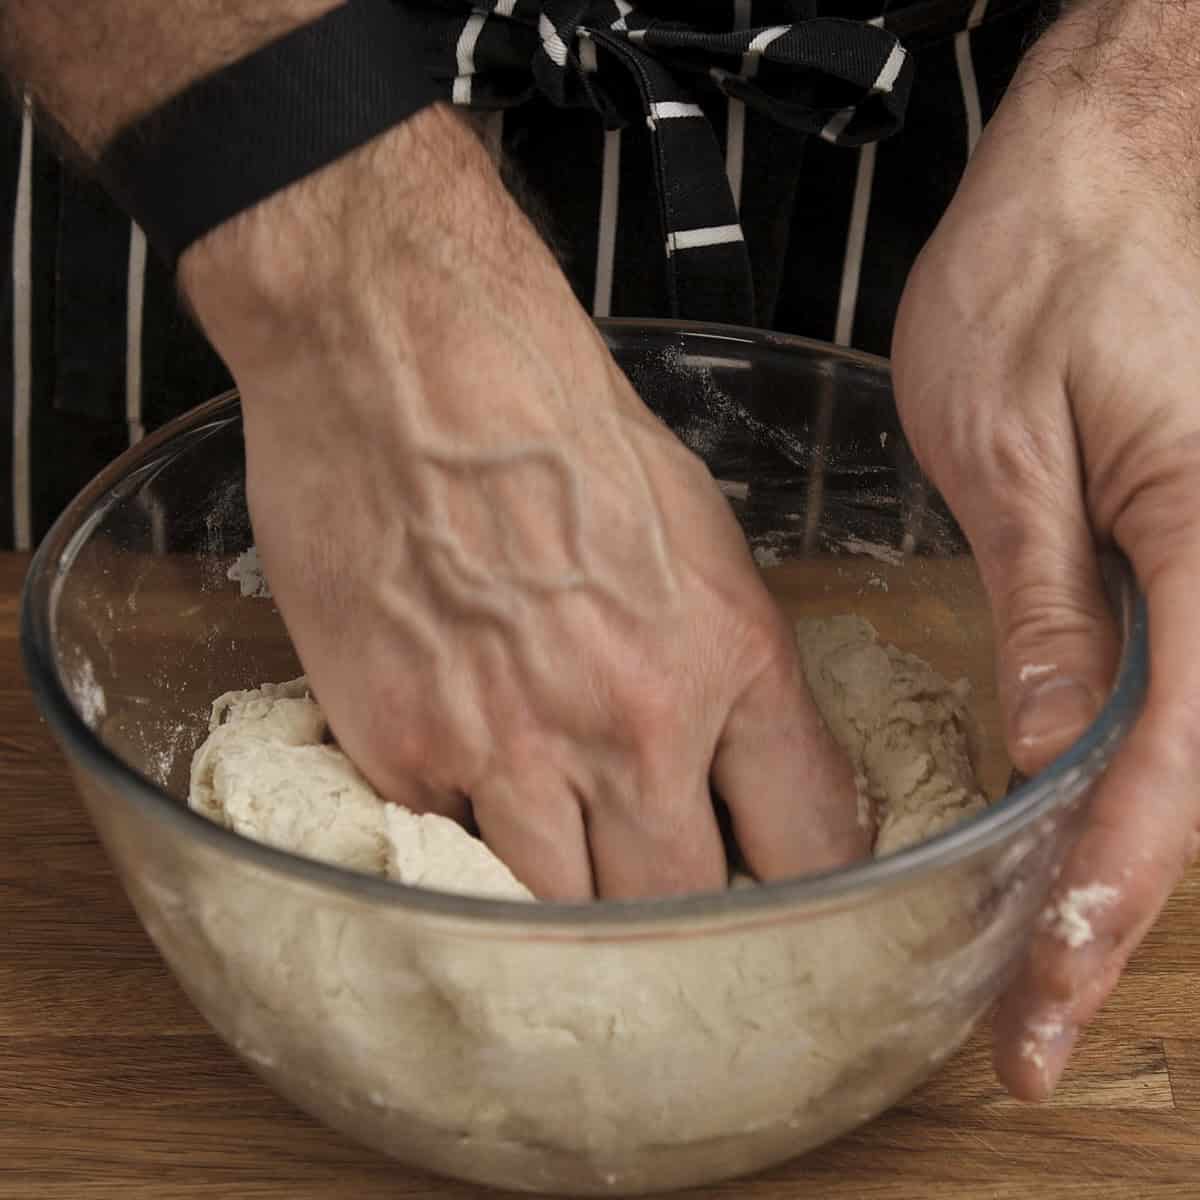
- Cover the bowl with a damp towel and let the dough rest for 15 minutes to fully hydrate the flour.
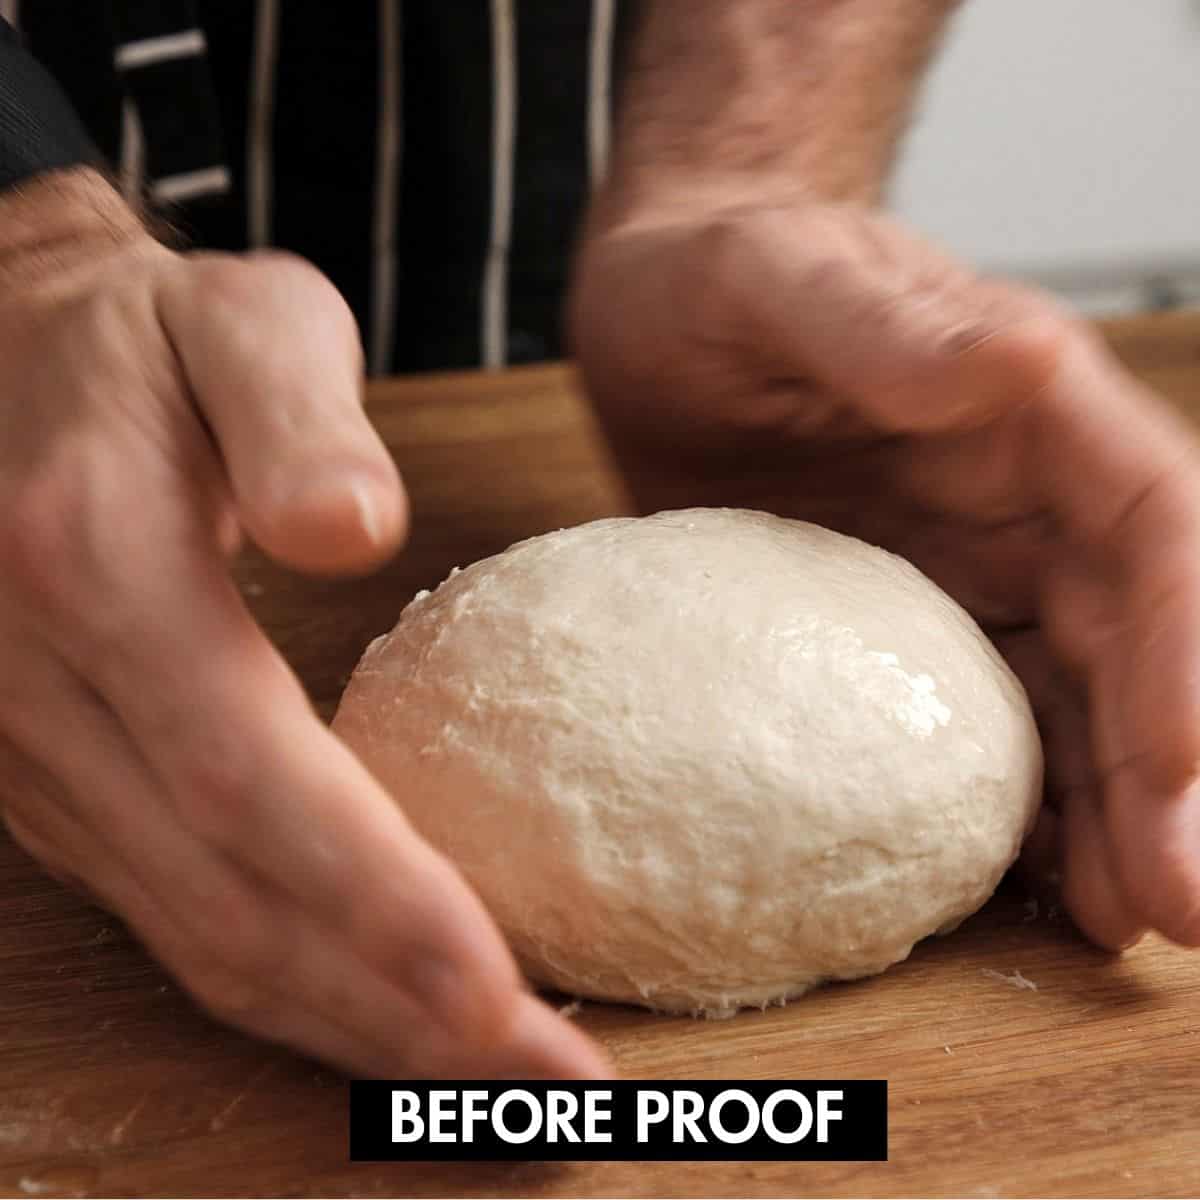
- Turn the hydrated dough onto a lightly floured surface and knead it gently into a smooth, round ball.
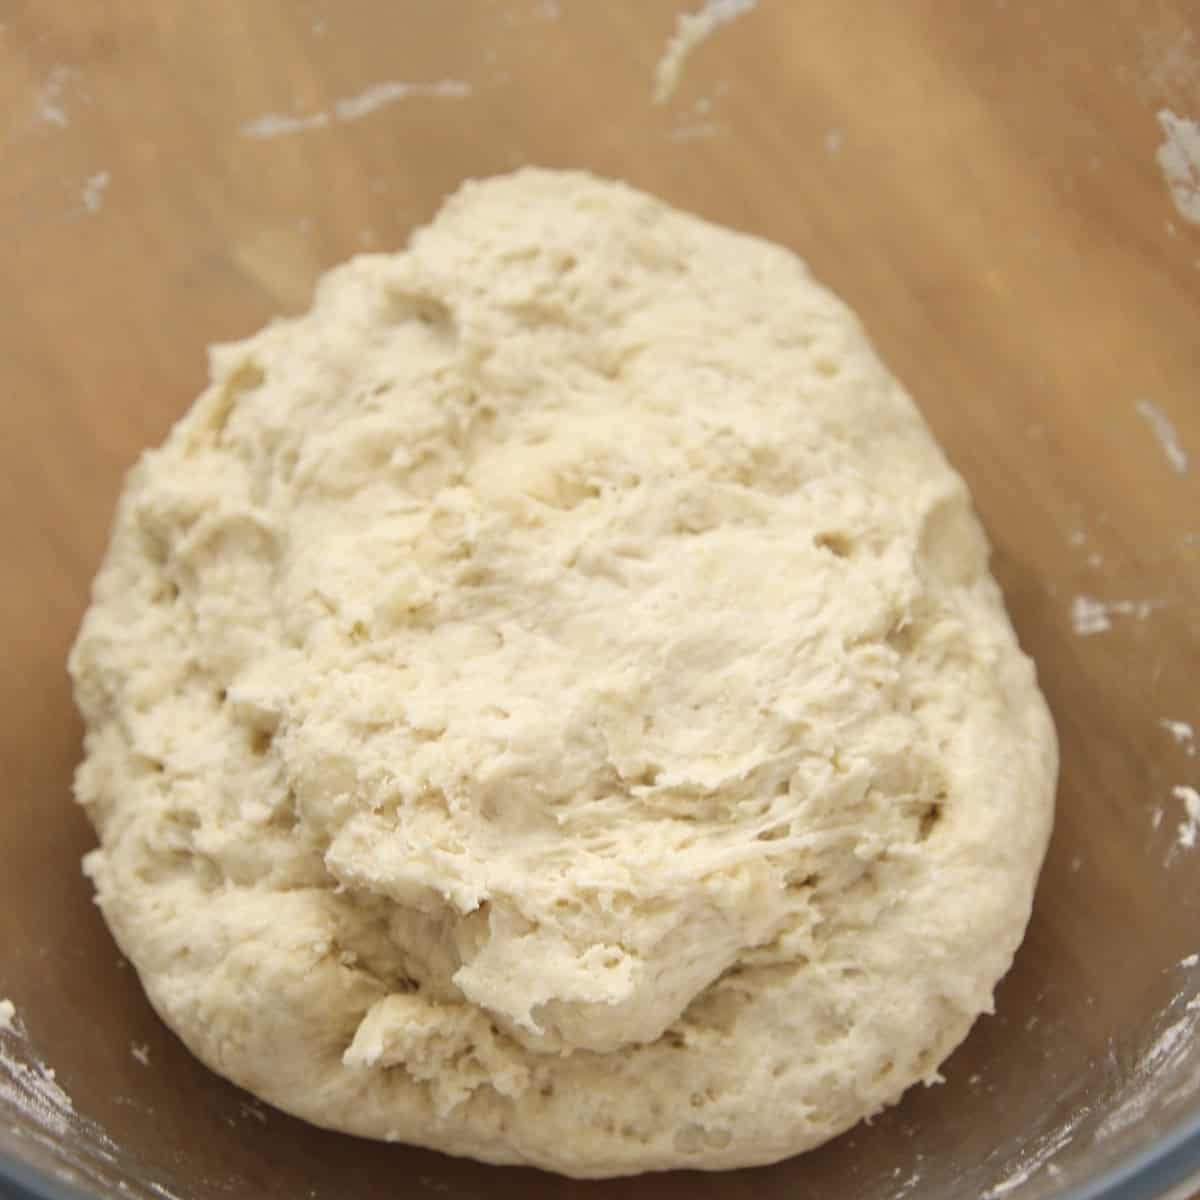
- Return the dough to the bowl, cover it with a damp towel or plastic wrap, and place it in a warm place to proof.

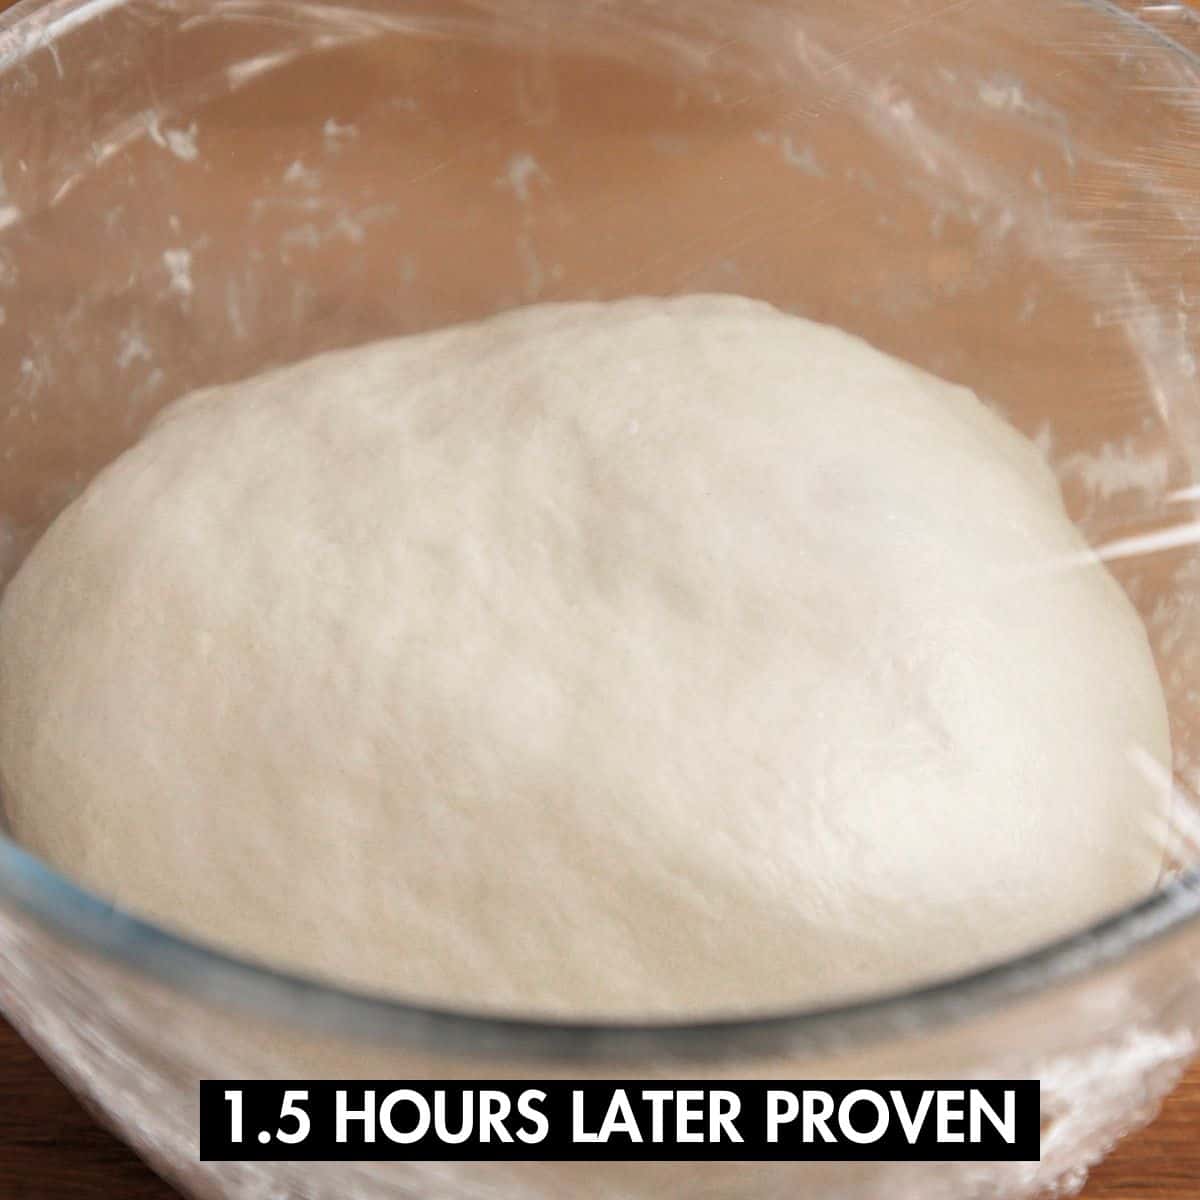
- An oven with only the light turned on is perfect for proving bread. Allow the dough to proof for 1.5 to 2 hours until it has doubled in size.
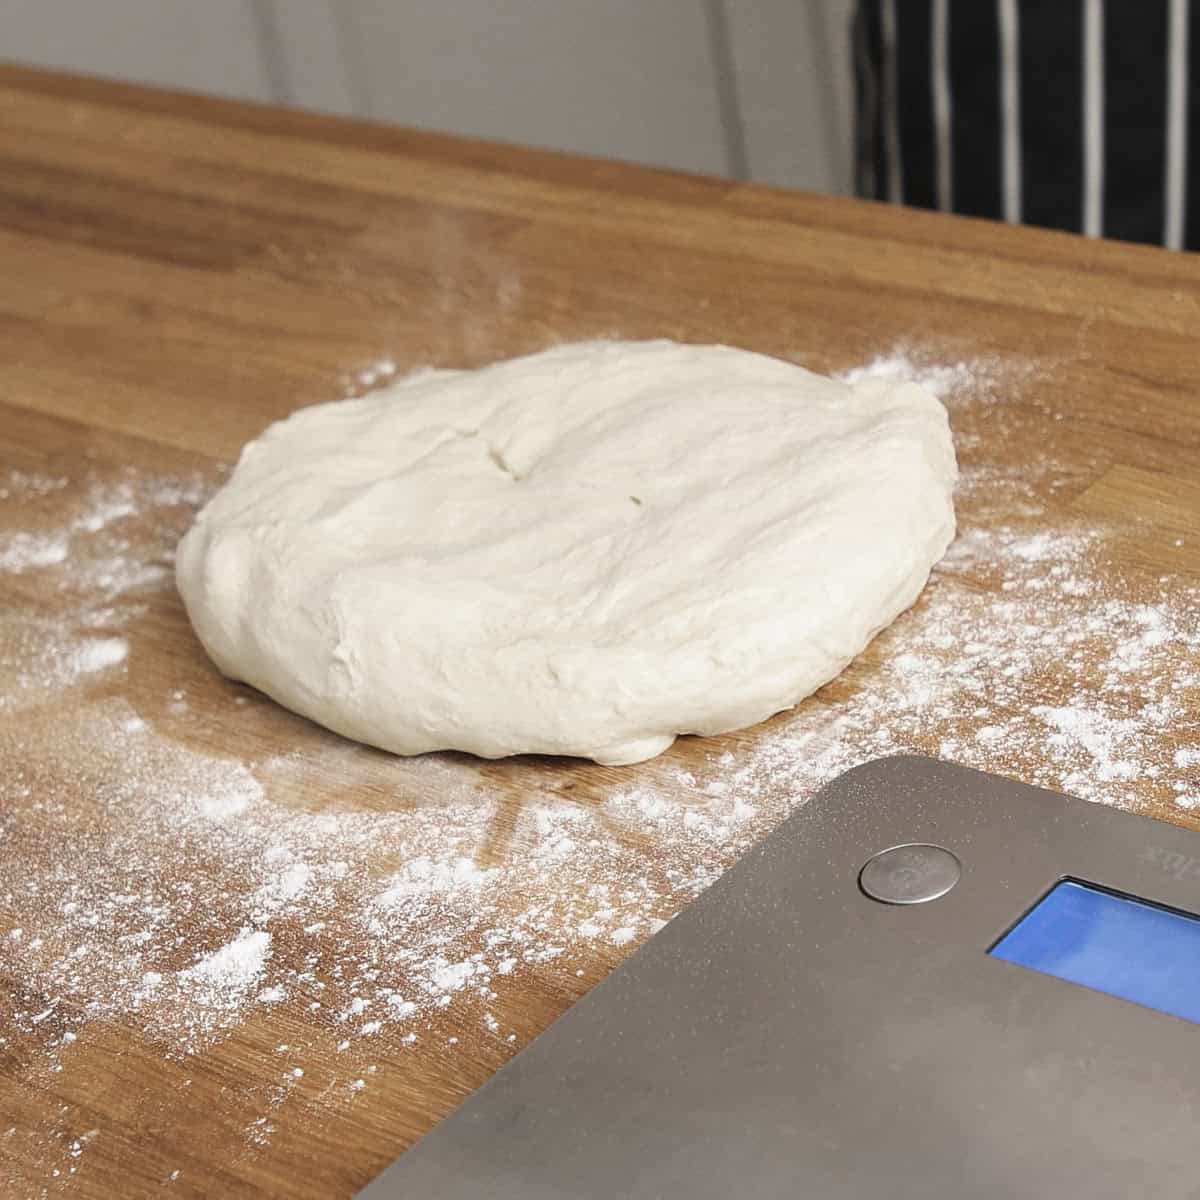
- Gently knock the air out of the risen dough and flatten it slightly on a lightly floured surface.
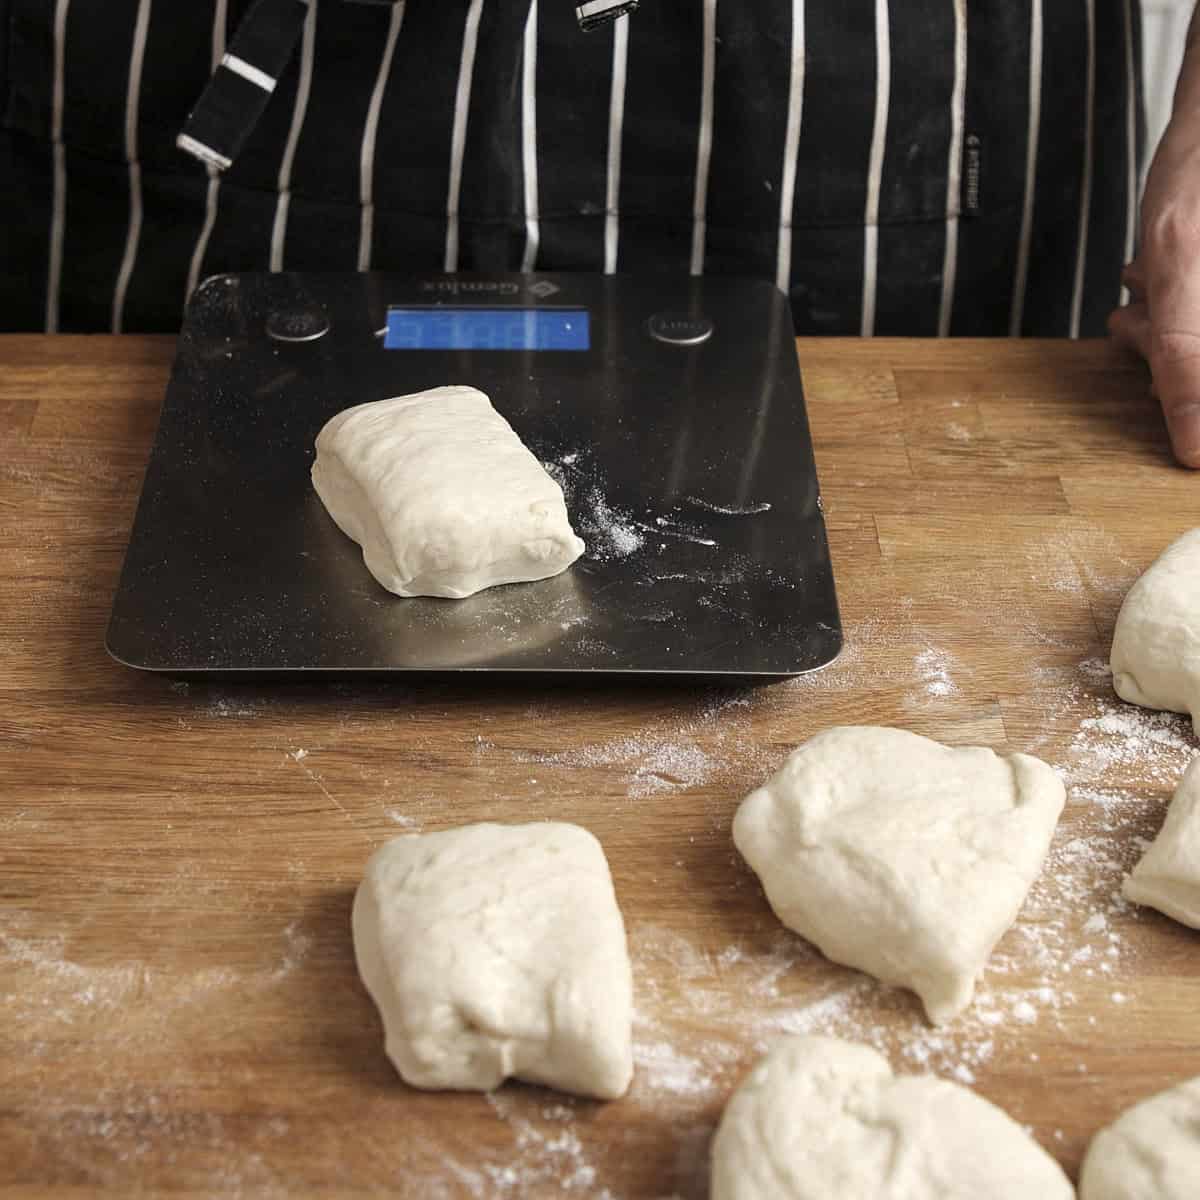
- Use a digital scale to divide the dough into equal pieces for consistent cooking. This recipe makes 8 pieces weighing 70 grams each.
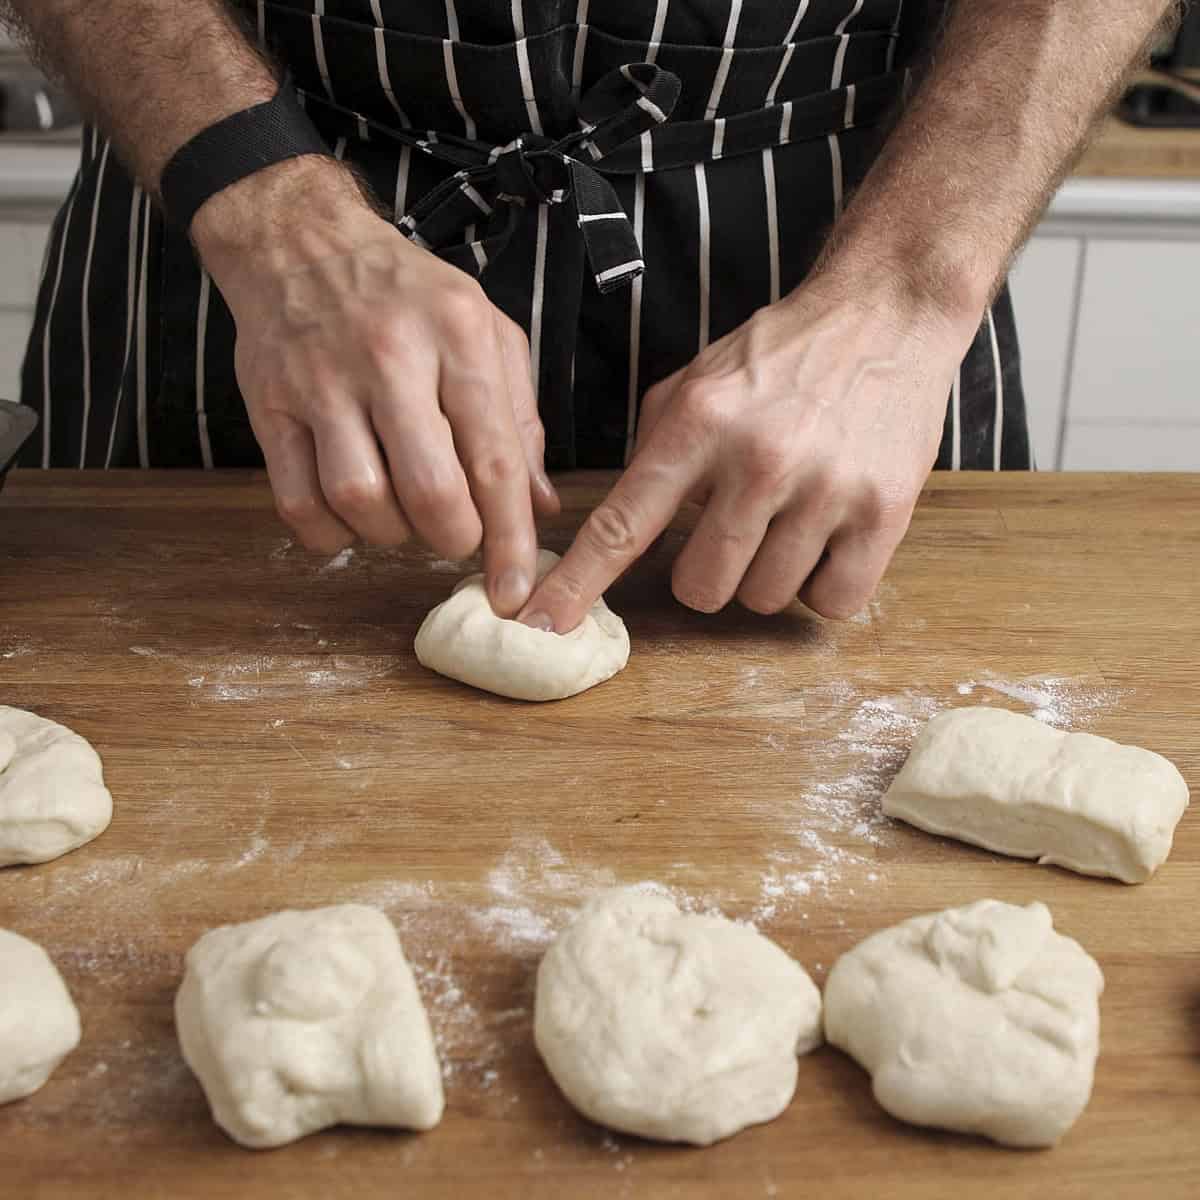
- Begin shaping each portion by flipping the dough, smooth side down, then folding the edges inward to create tension.
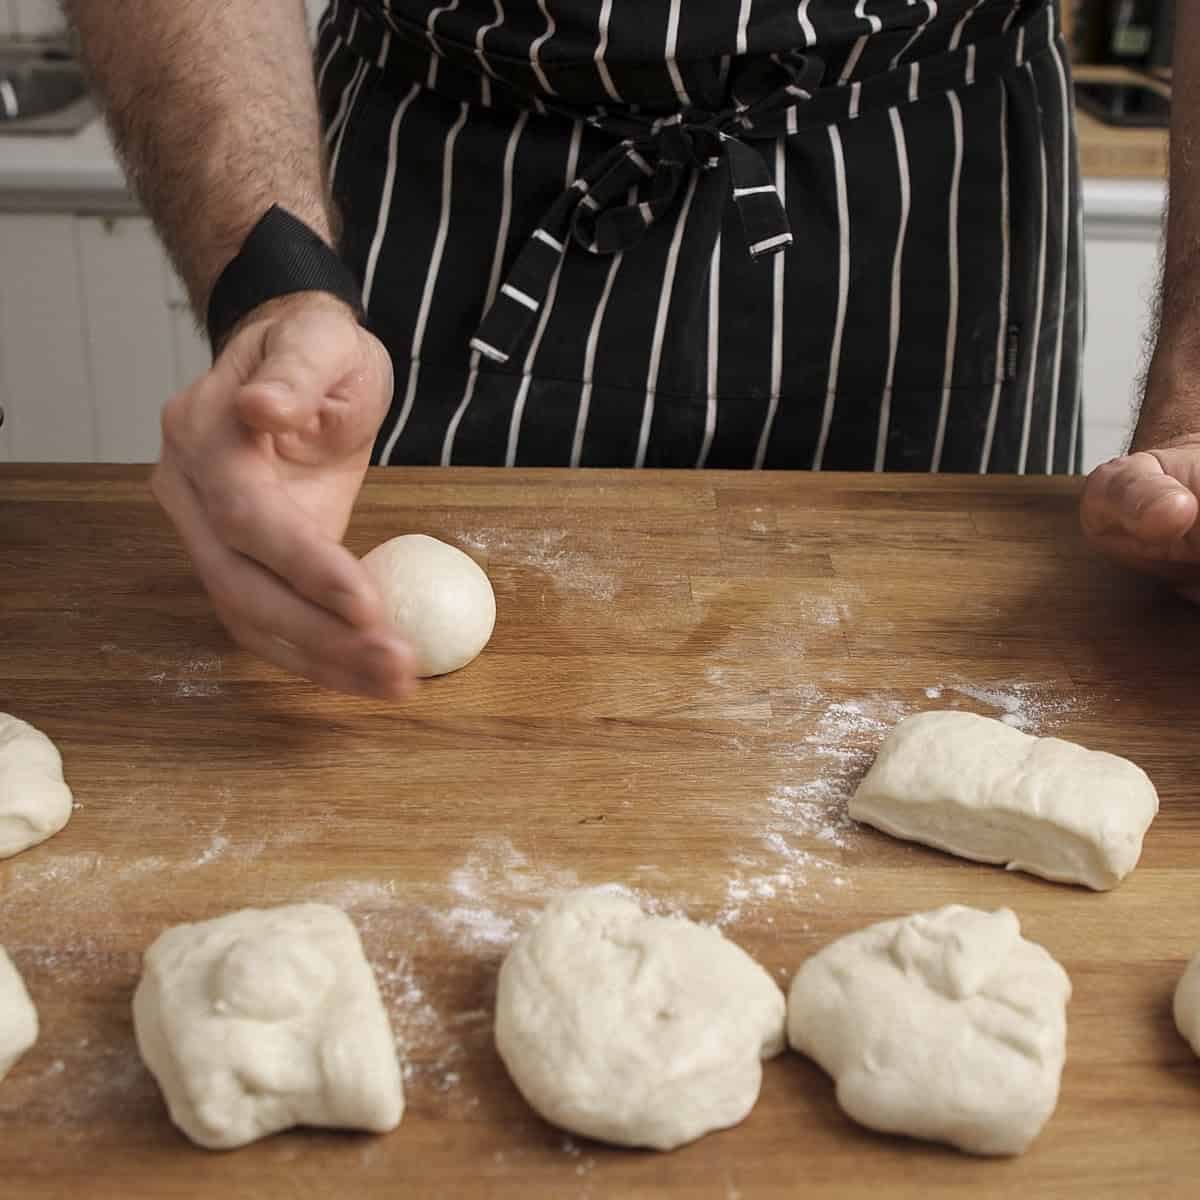
- Pinch the bottom seams together securely to create a tight, round ball. Roll them into rounds, applying gentle pressure.
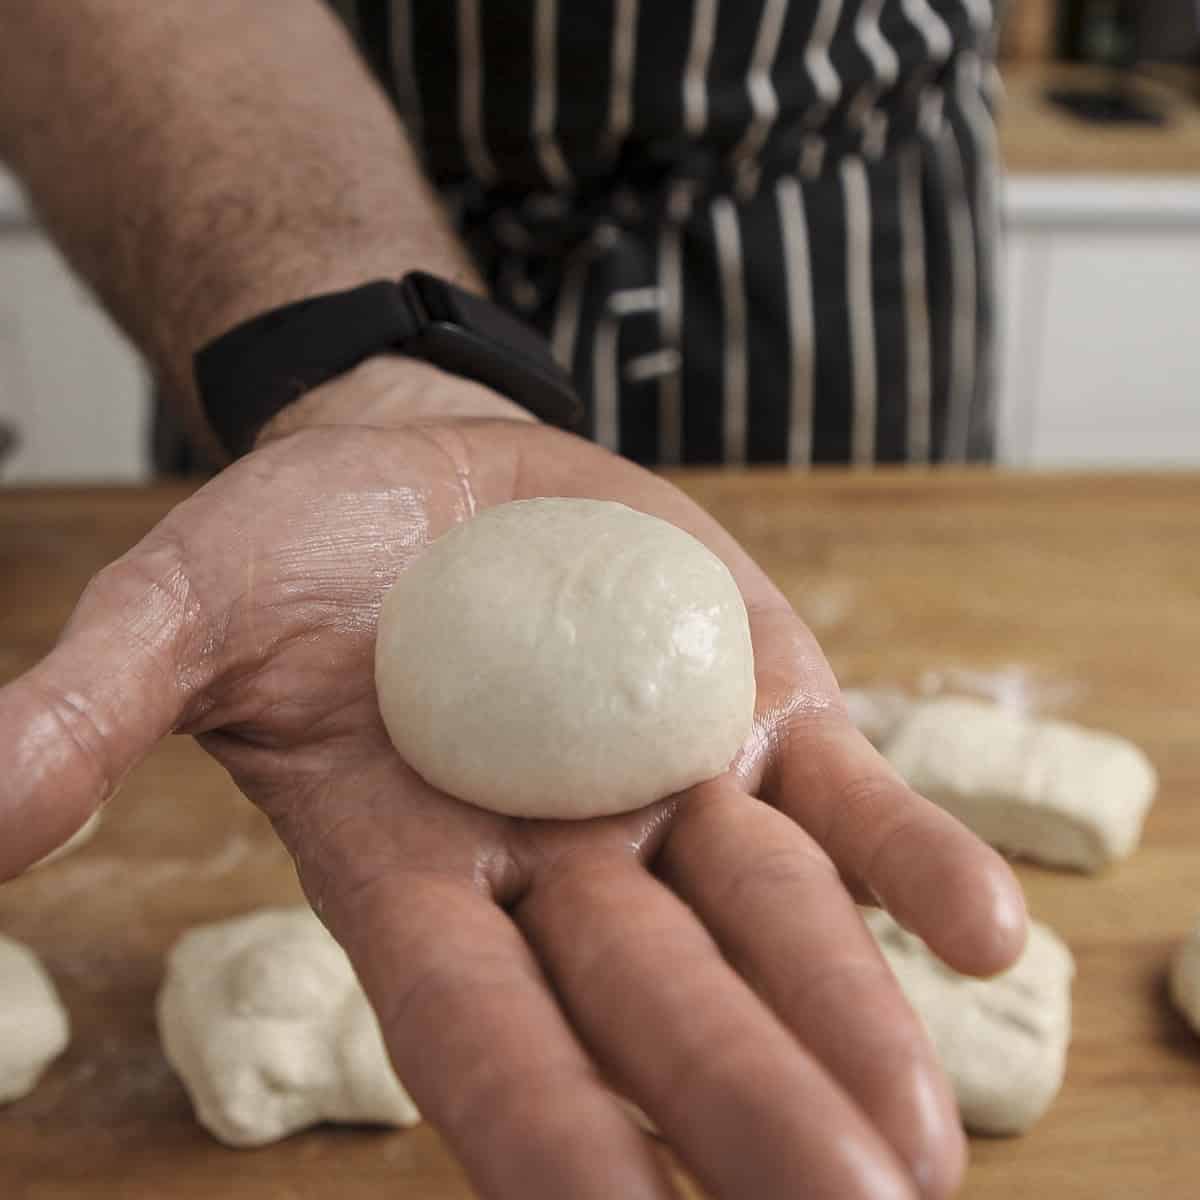
- Lightly oil them and check that the dough is smooth. This will ensure the correct final proof and texture once rolled out.
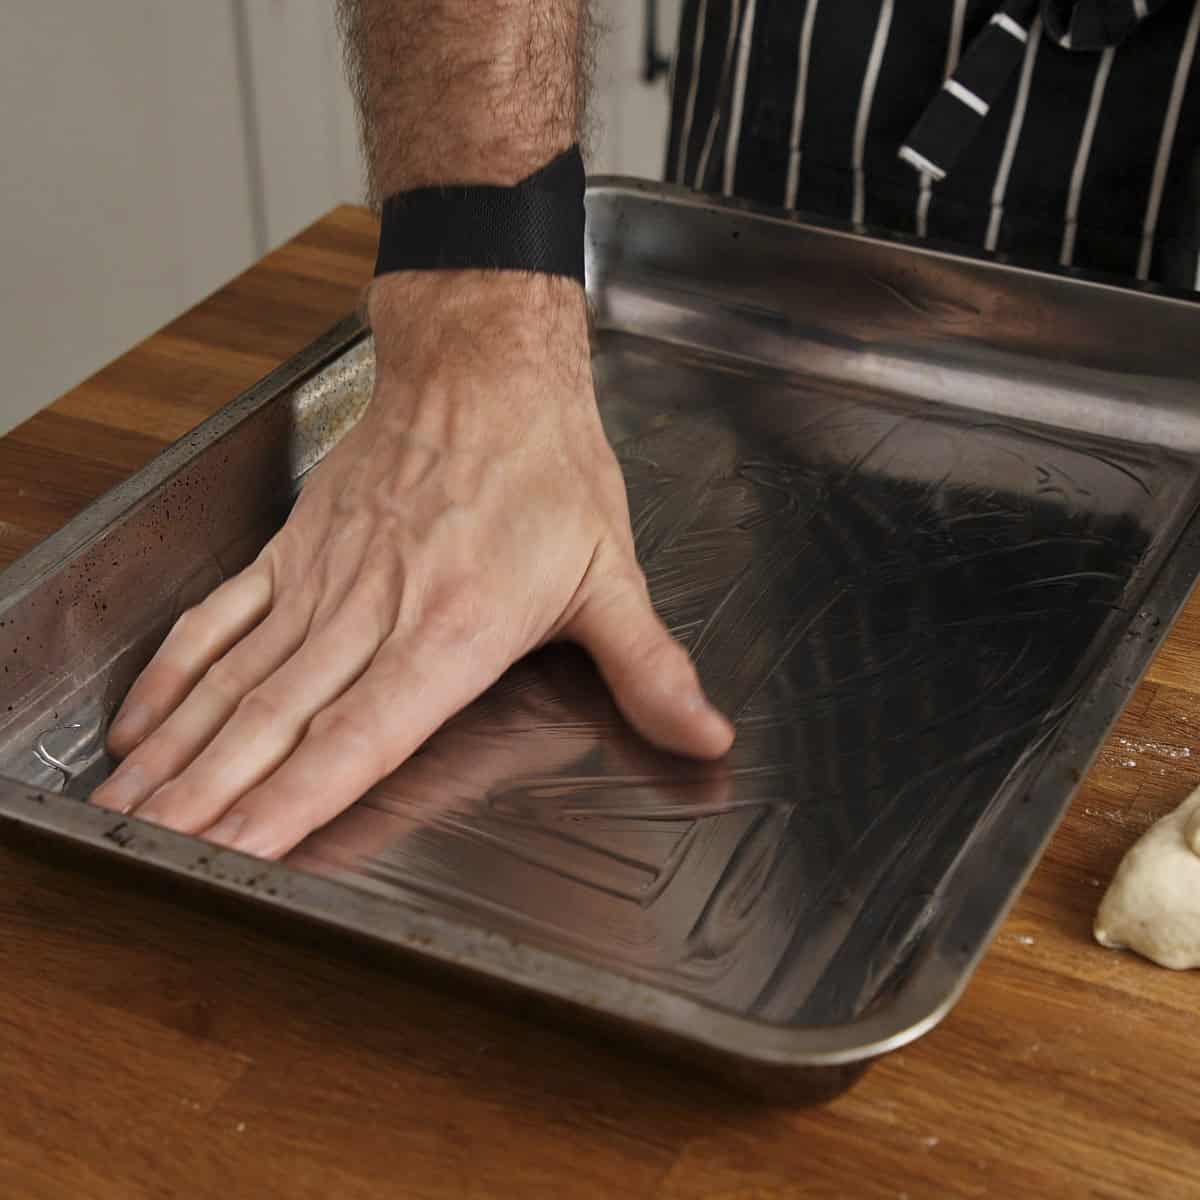
- Lightly coat a baking tray with cooking oil.
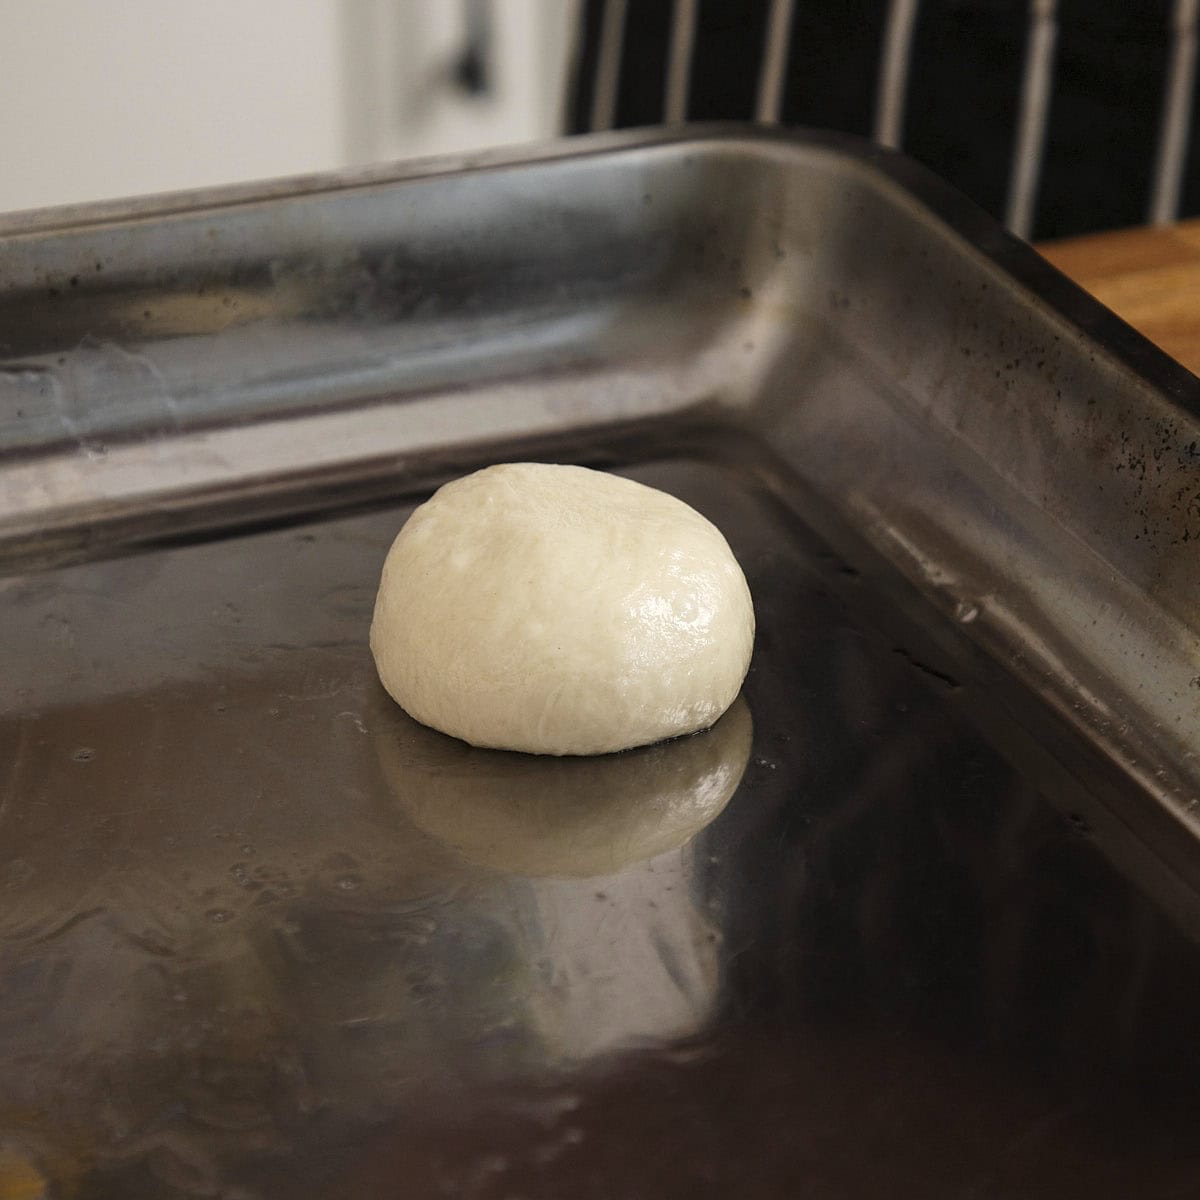
- Place the shaped dough balls onto the oiled tray.
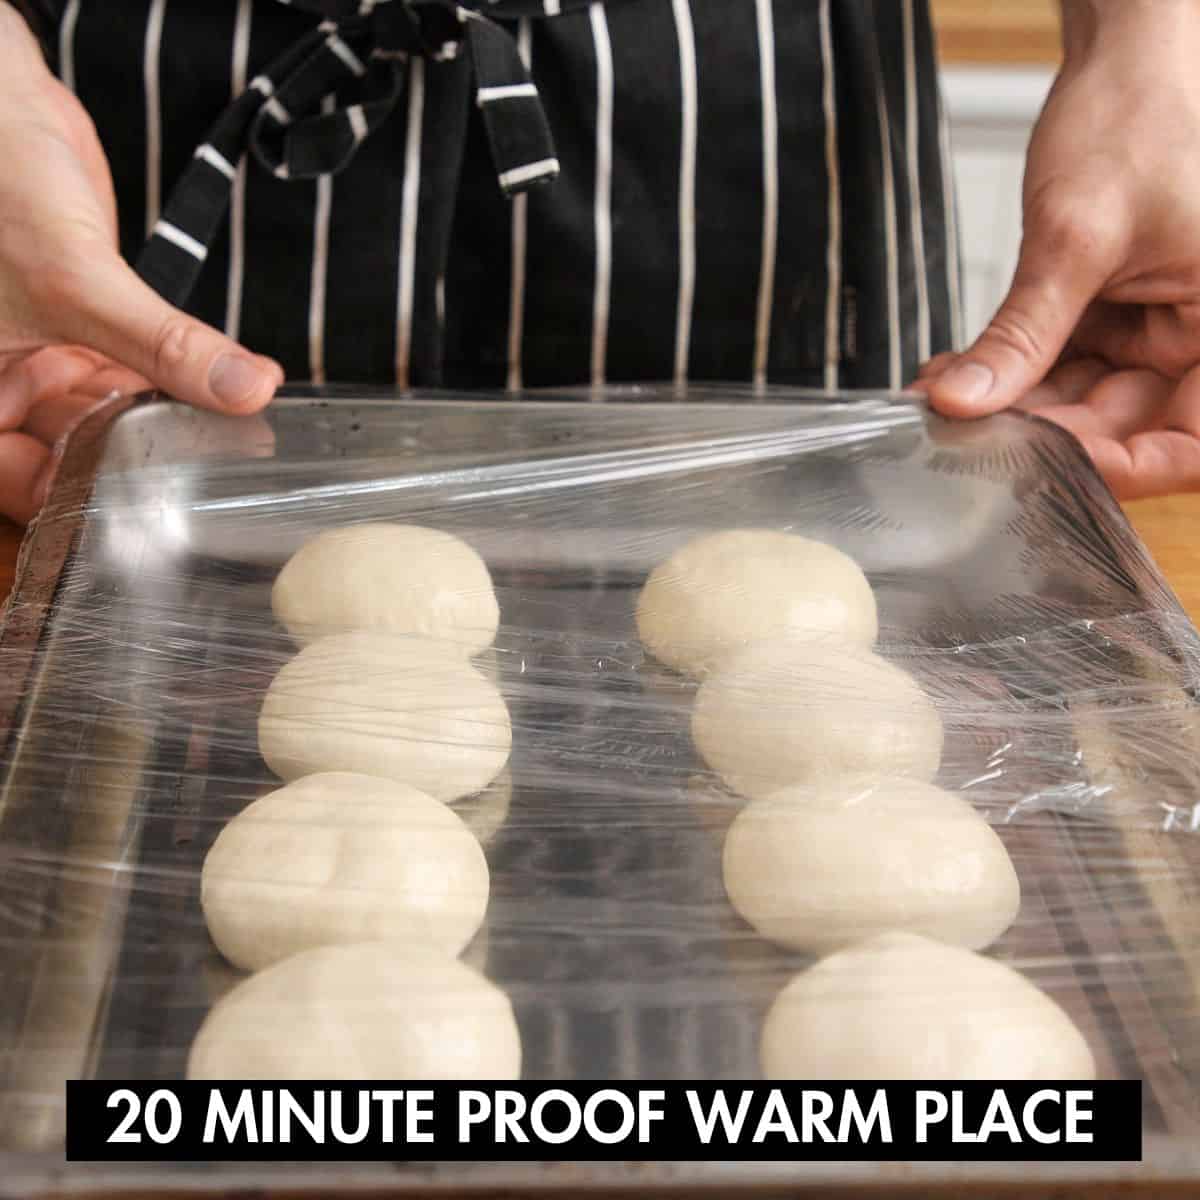
- Cover the dough balls with an inverted tray or plastic wrap to prevent the surfaces from drying out. Let the dough proof for roughly 30 minutes in a warm place.
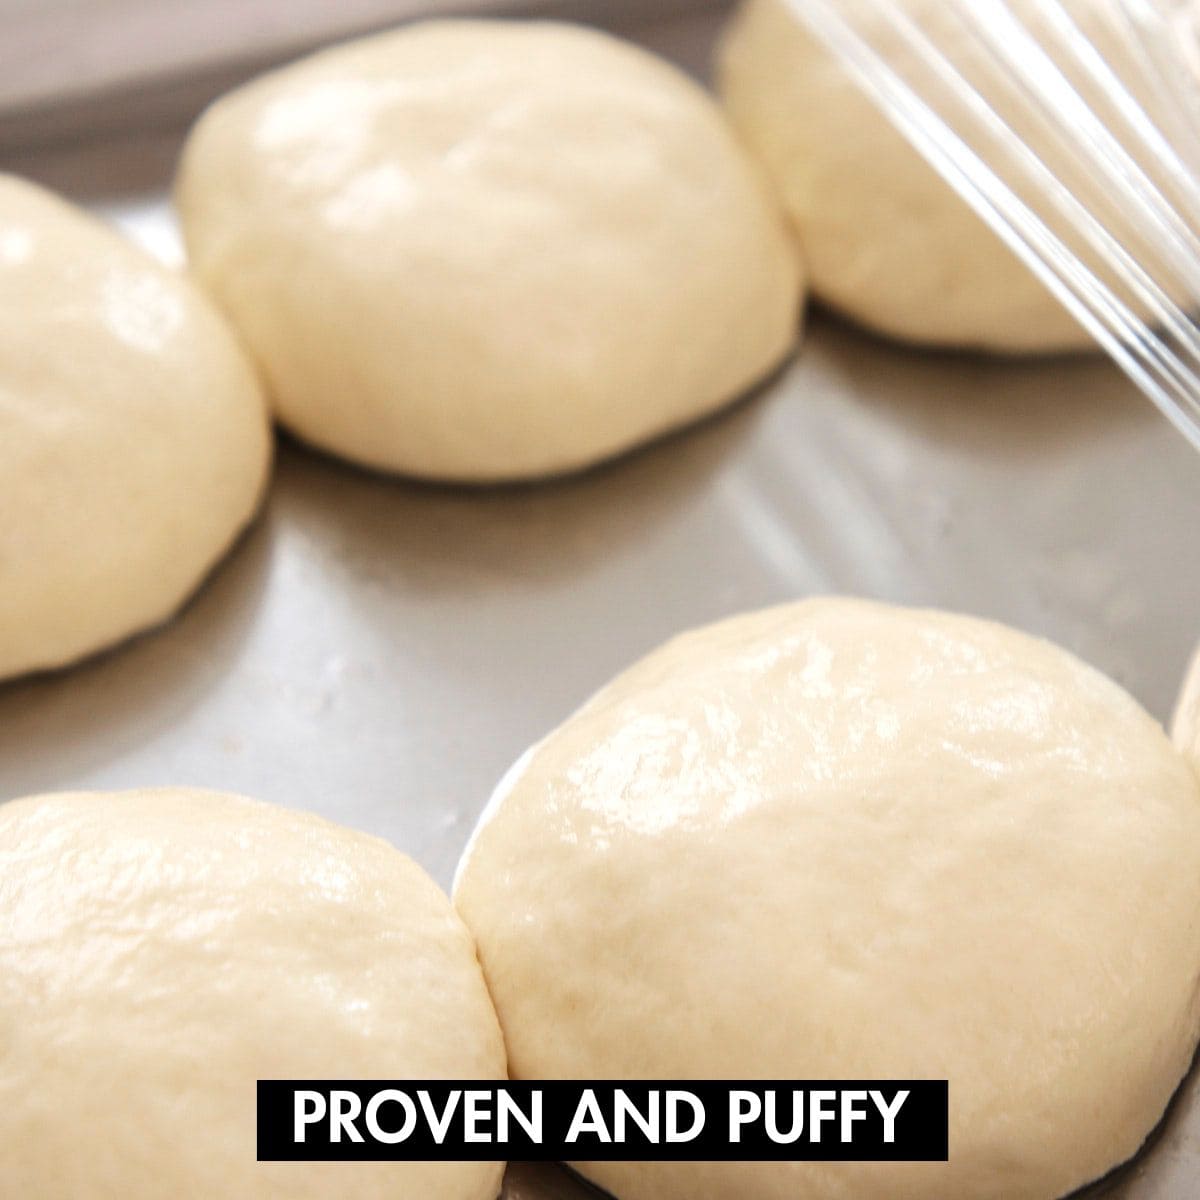
- The dough is ready once the balls have doubled in size and have a slight jiggle when you shake the tray.
While the dough proofs, you can make the garlic butter.
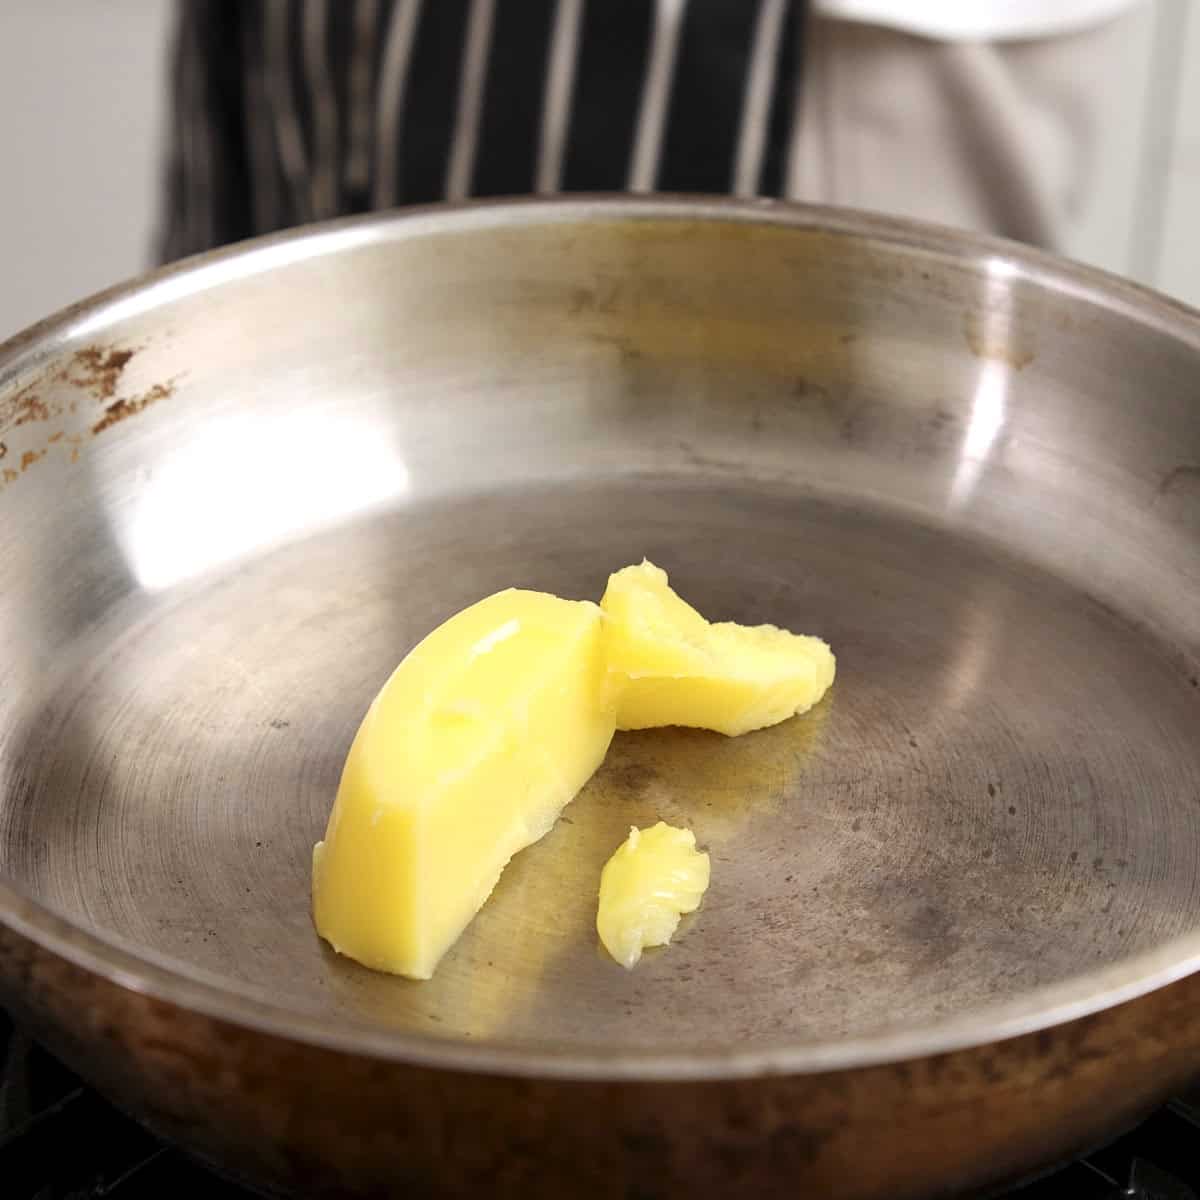
- Place a stainless steel pan over medium heat and melt the ghee or butter.
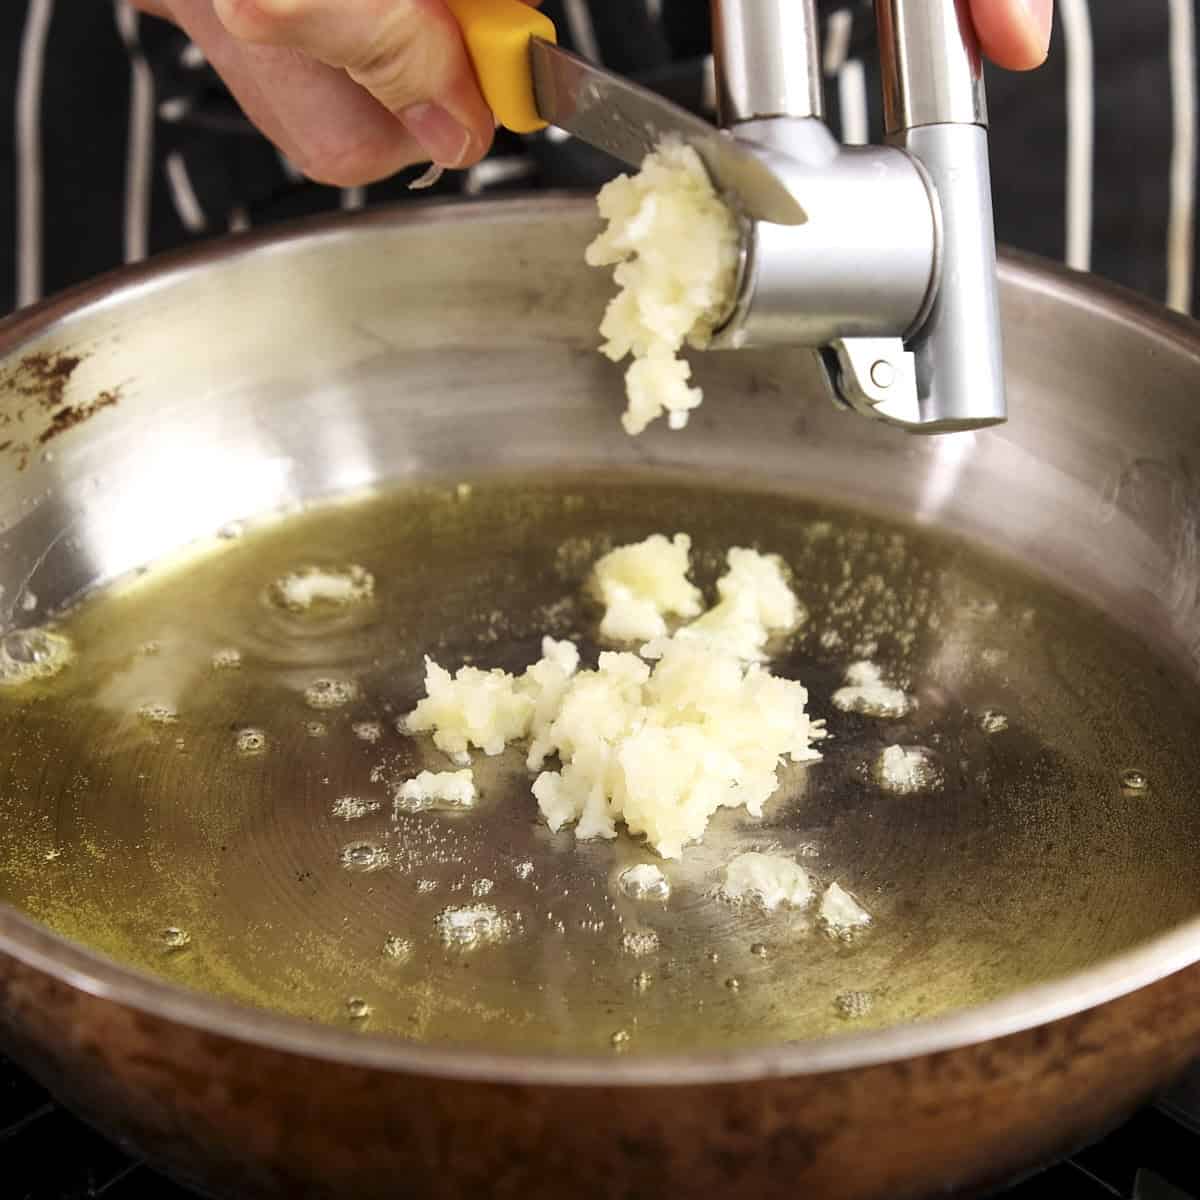
- Add the crushed garlic cloves to the melted ghee.

- Cook lightly over low heat, allowing the garlic to soften without browning or caramelizing.

- Remove the pan from the heat and transfer the garlic butter to a bowl to sit at room temperature until needed.
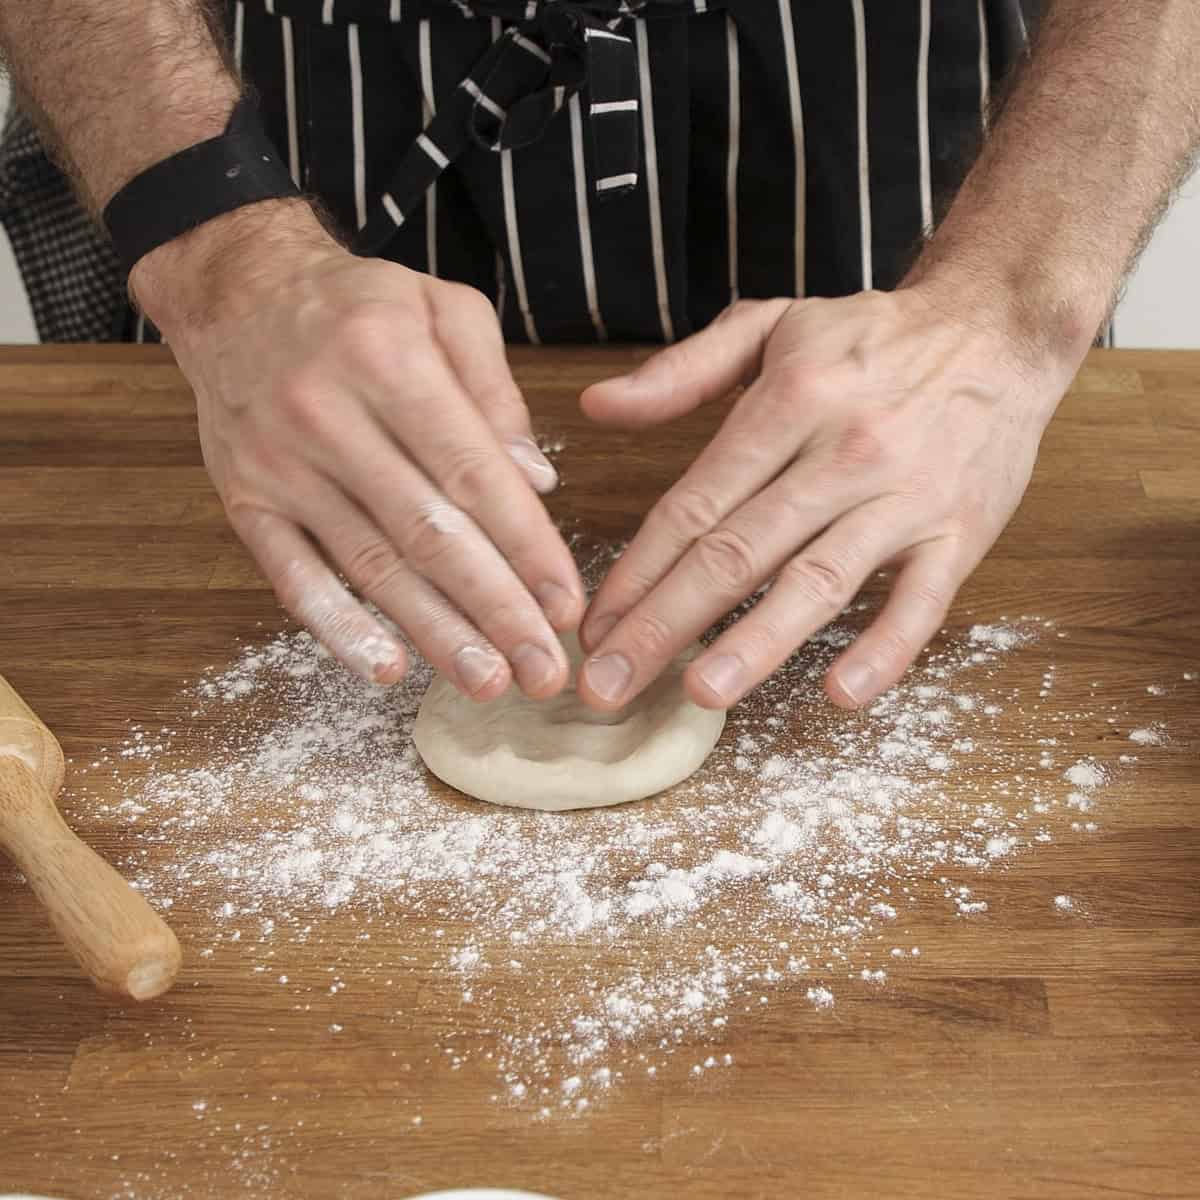
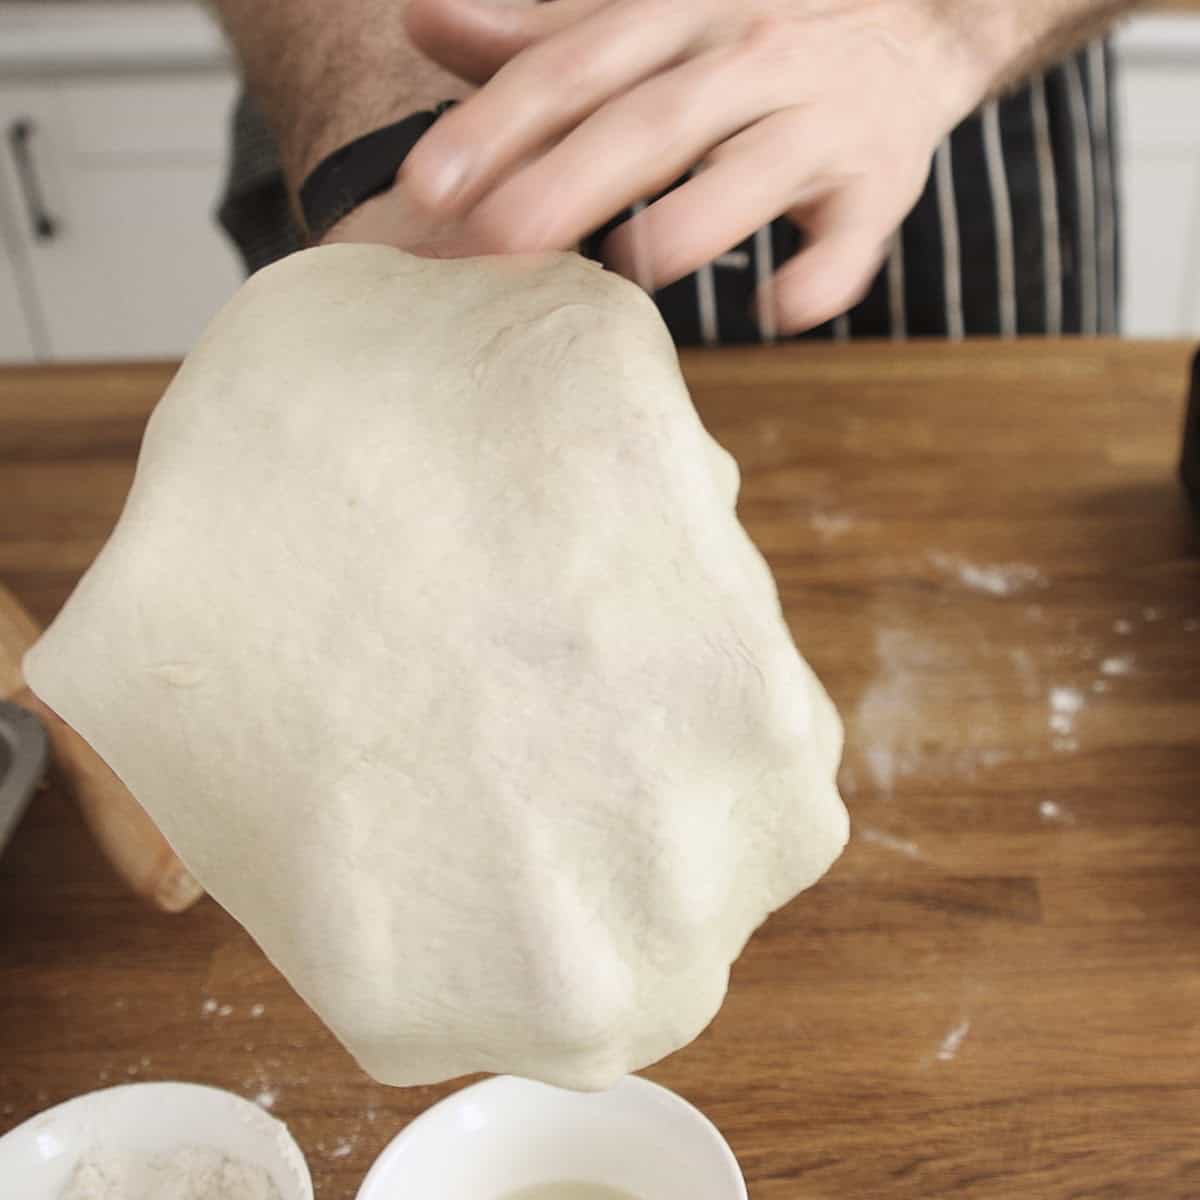
- Place a proven dough ball, smooth side down, on a lightly floured surface and gently flatten it with your hands.
- Press the edges evenly to maintain a round shape and prevent thick borders.
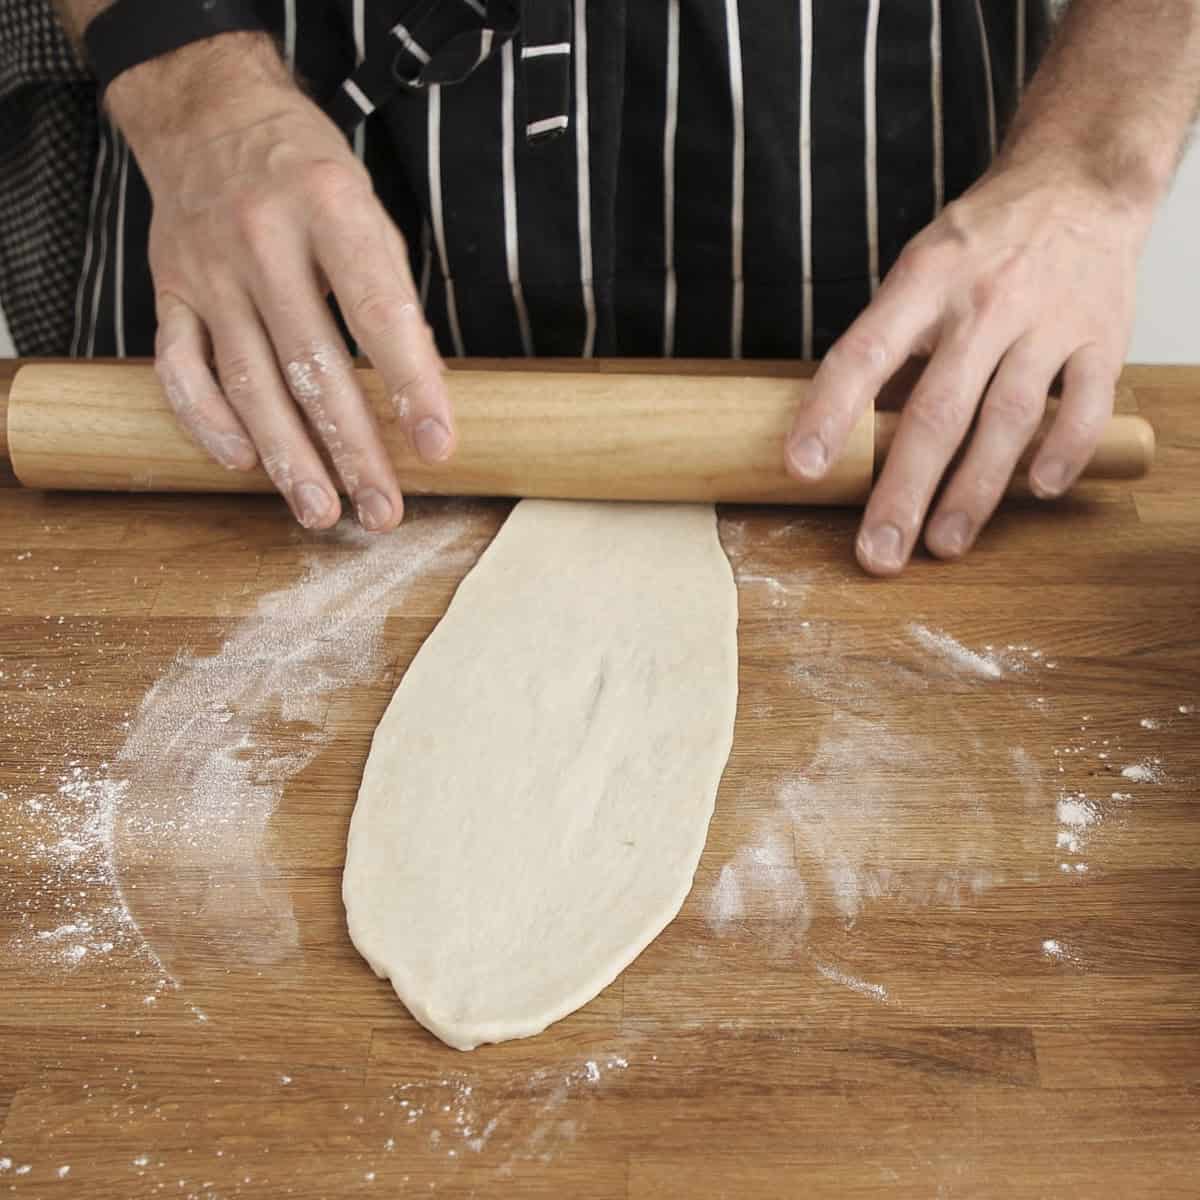
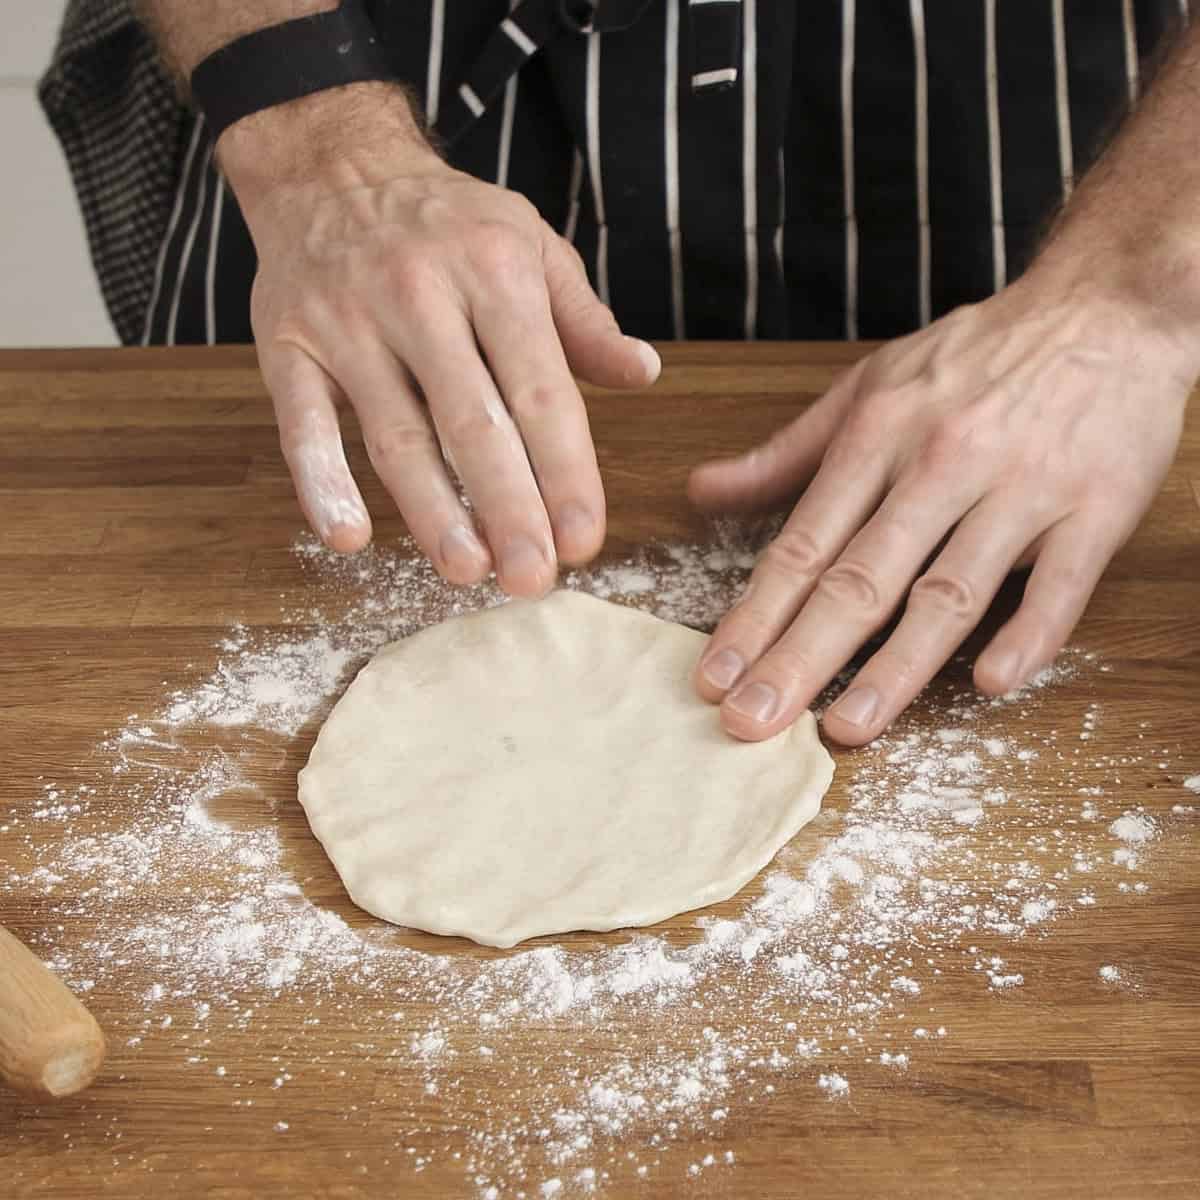
- Use a rolling pin to stretch the dough out evenly. You can make it the classic oval shape or keep it round.
- Continue rolling until the dough is very thin and almost translucent. You should be able to just about see your hand through it.

- Place a cast-iron skillet or heavy-bottomed pan over low heat to warm gently, then increase the heat to high just before cooking. Cast iron works best to mimic the intense heat of a tandoor.
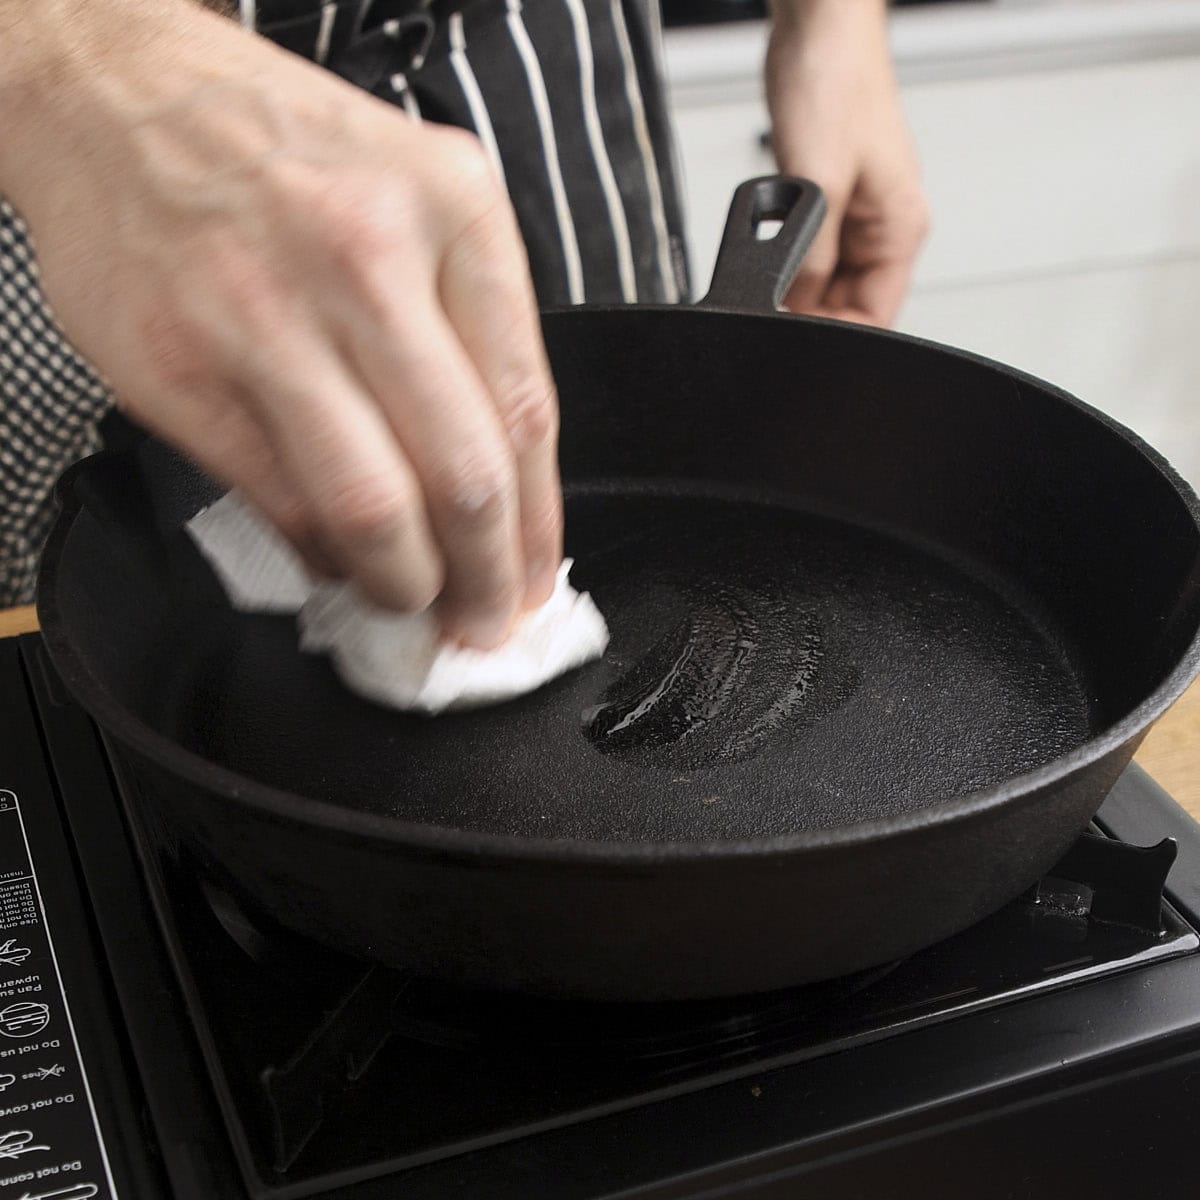
- Wipe the base of the hot skillet with a paper towel, holding a few drops of cooking oil. You just want a touch. Enough to cover the surface in a very thin layer, but not enough to pool. Traditionally, the rolled-out dough gets a quick lick of ghee, so we try to mimic that.
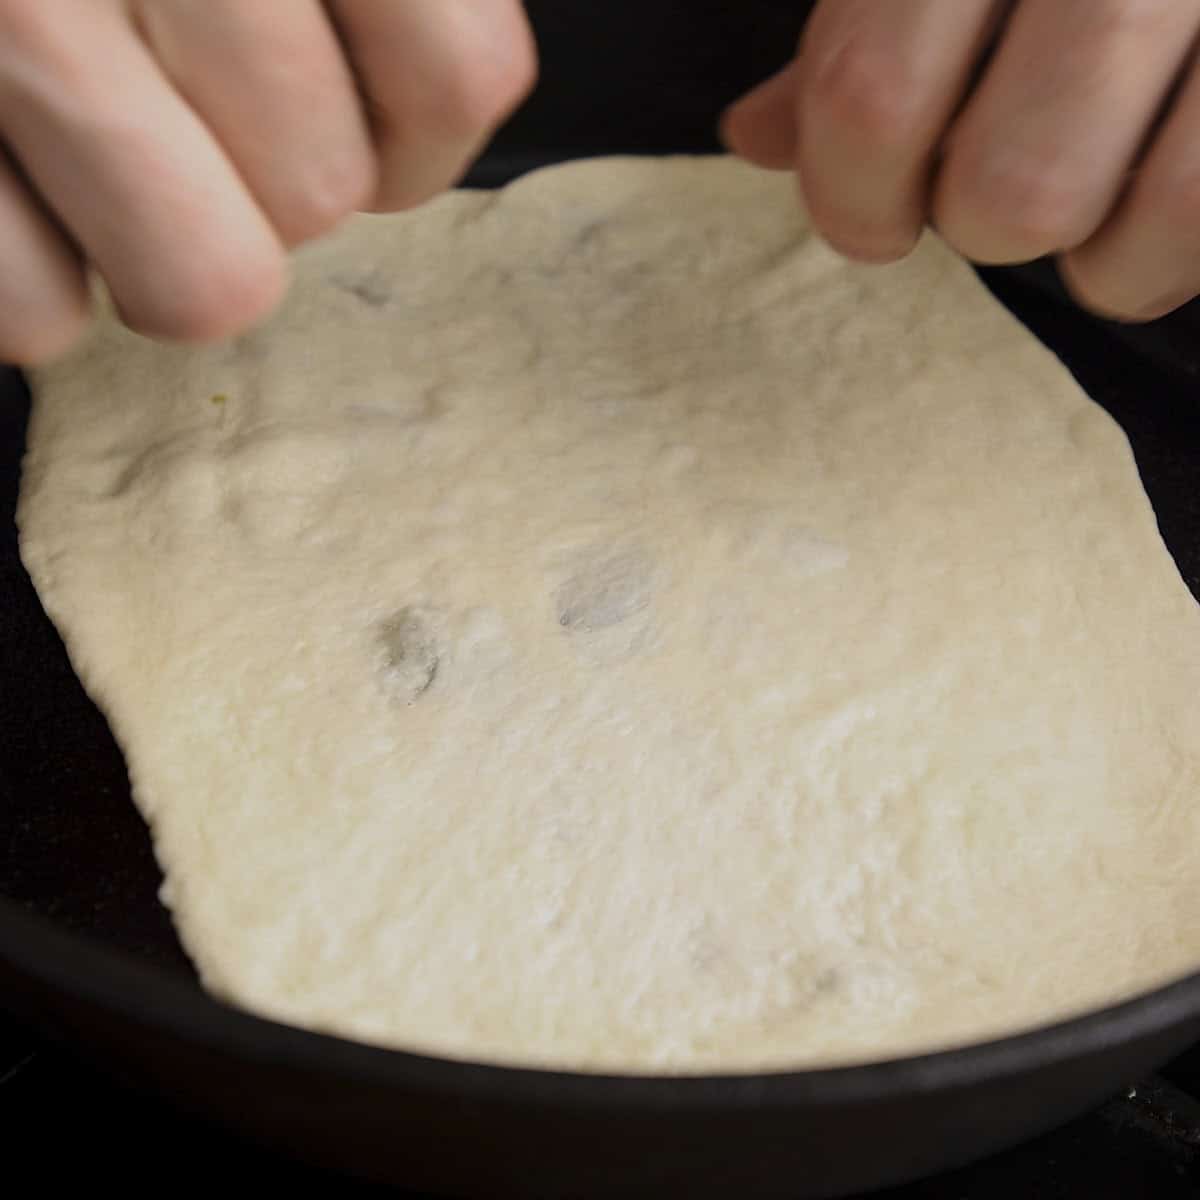
- Place the rolled dough flat into the hot skillet.
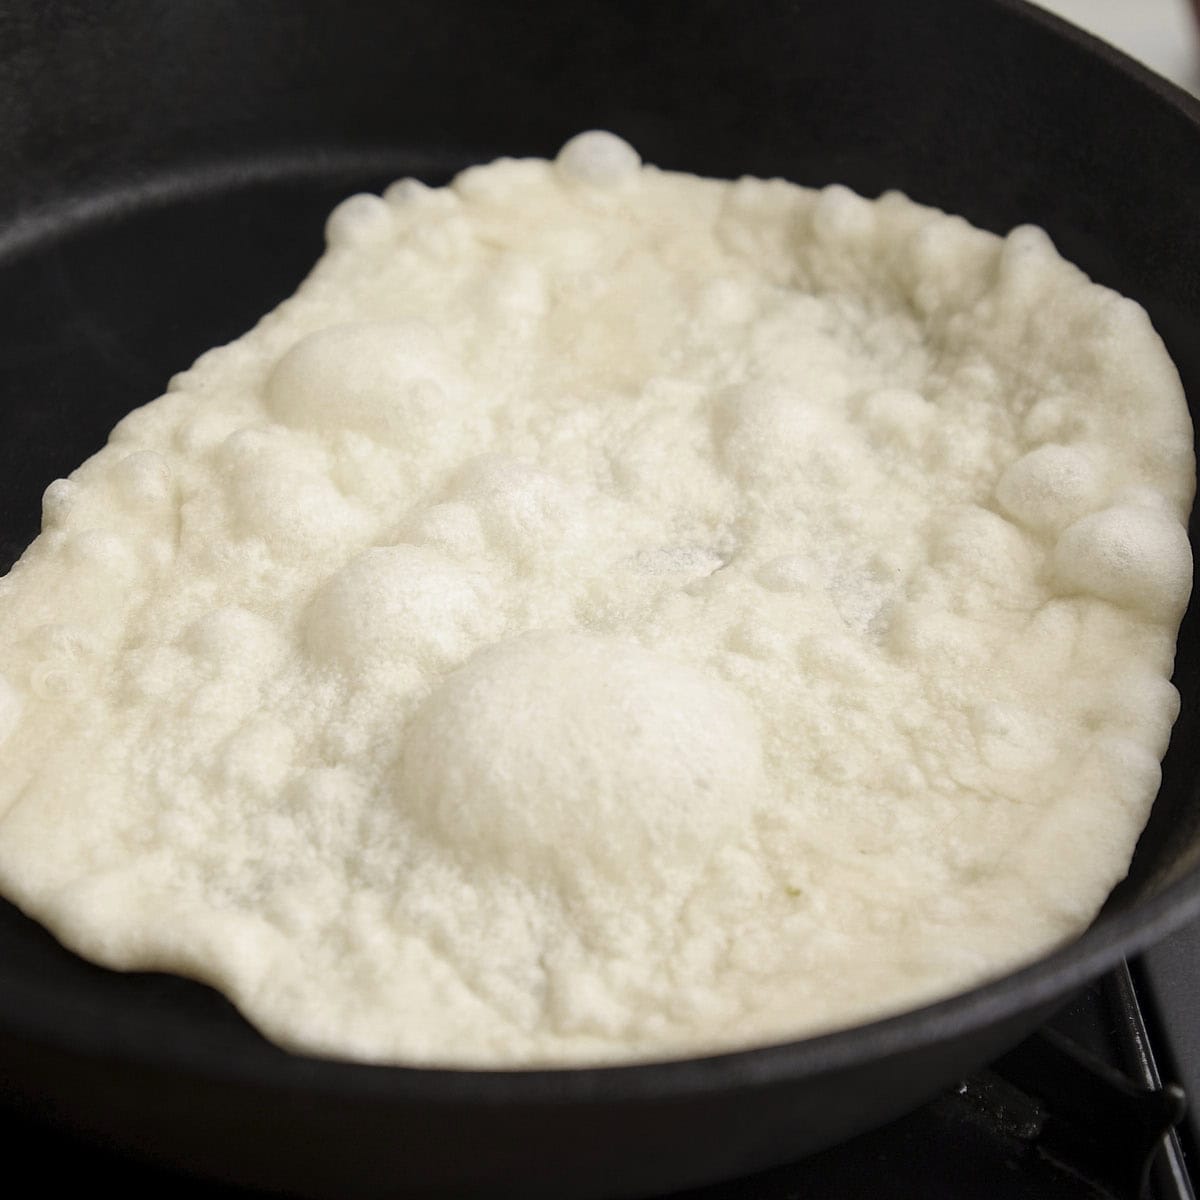
- Watch the surface carefully as the intense heat causes the dough to puff up and form large blisters.
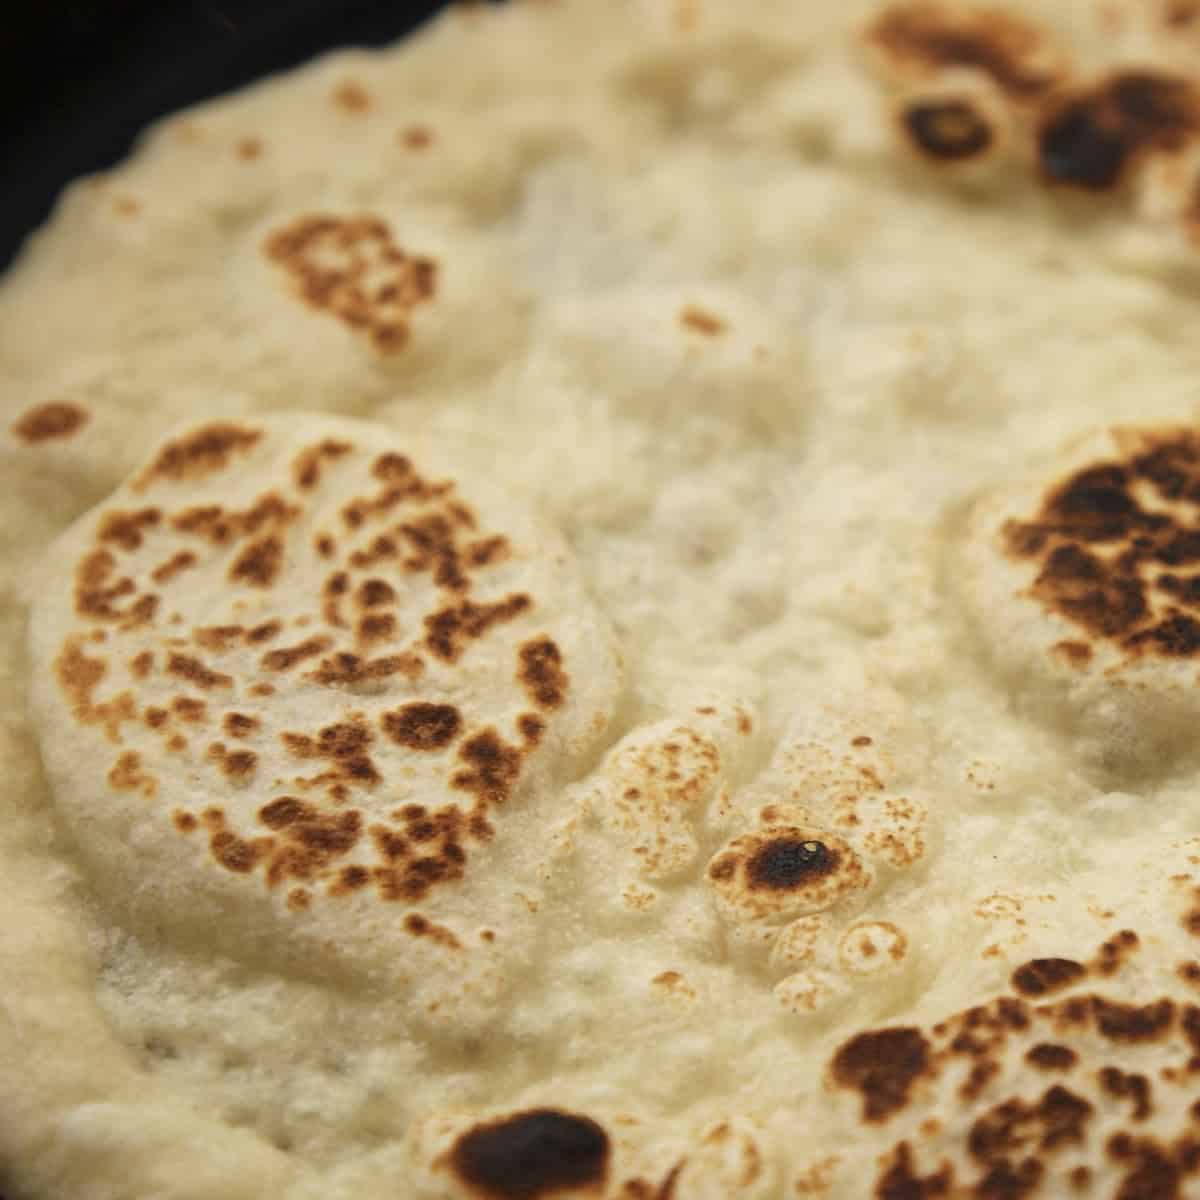
- Check the underside after a few seconds. Once it is adequately charred, flip the naan to cook the opposite side.
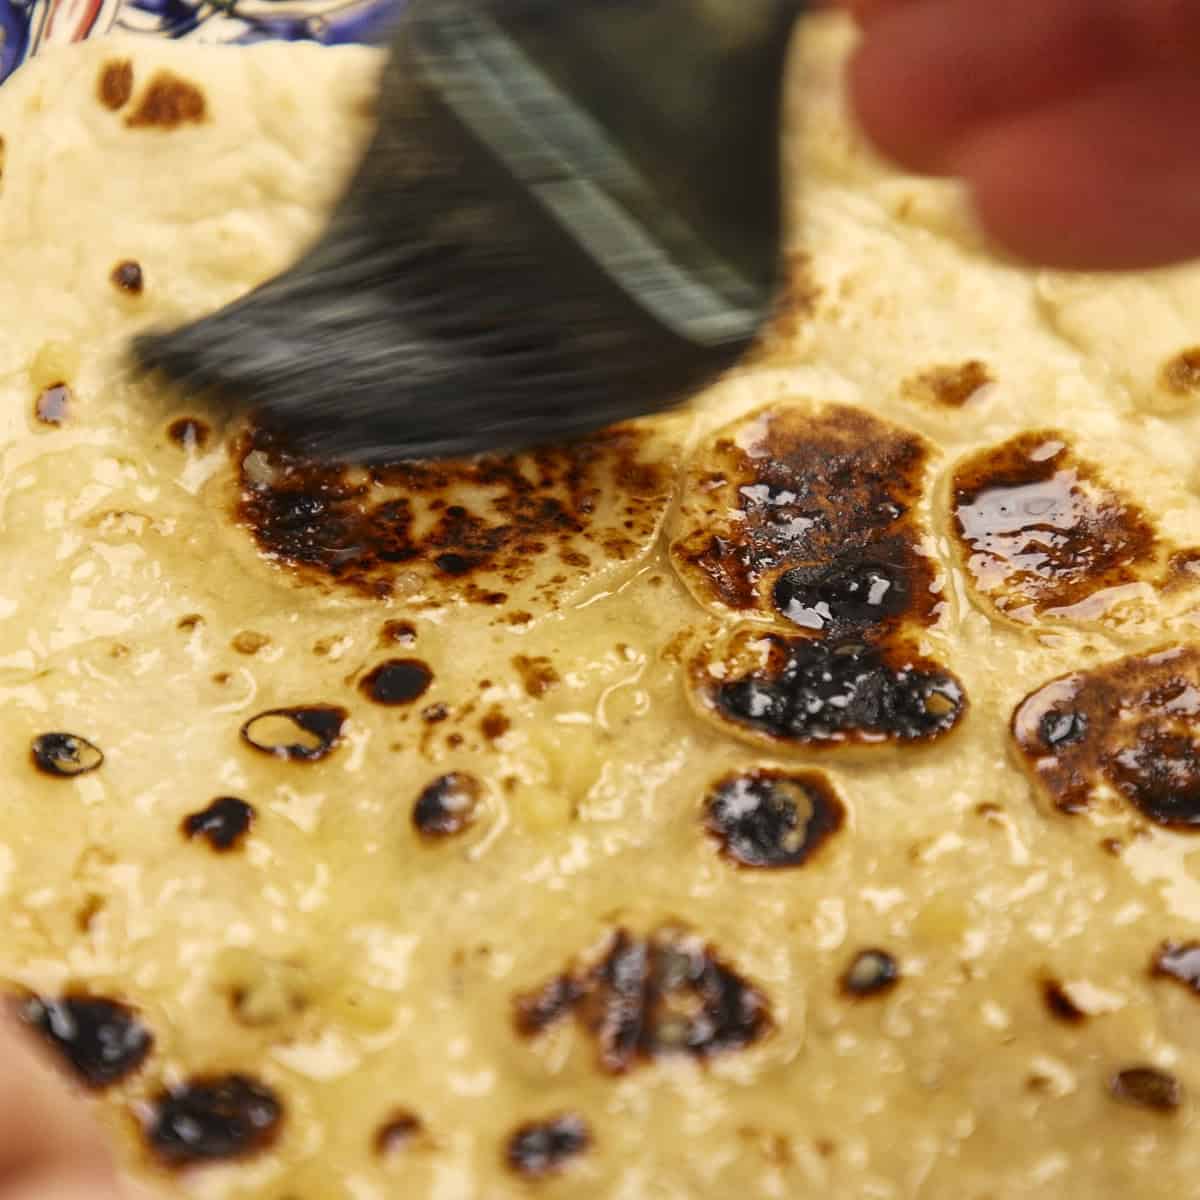
- Remove the cooked naan from the skillet and immediately brush the hot surface with the garlic butter.
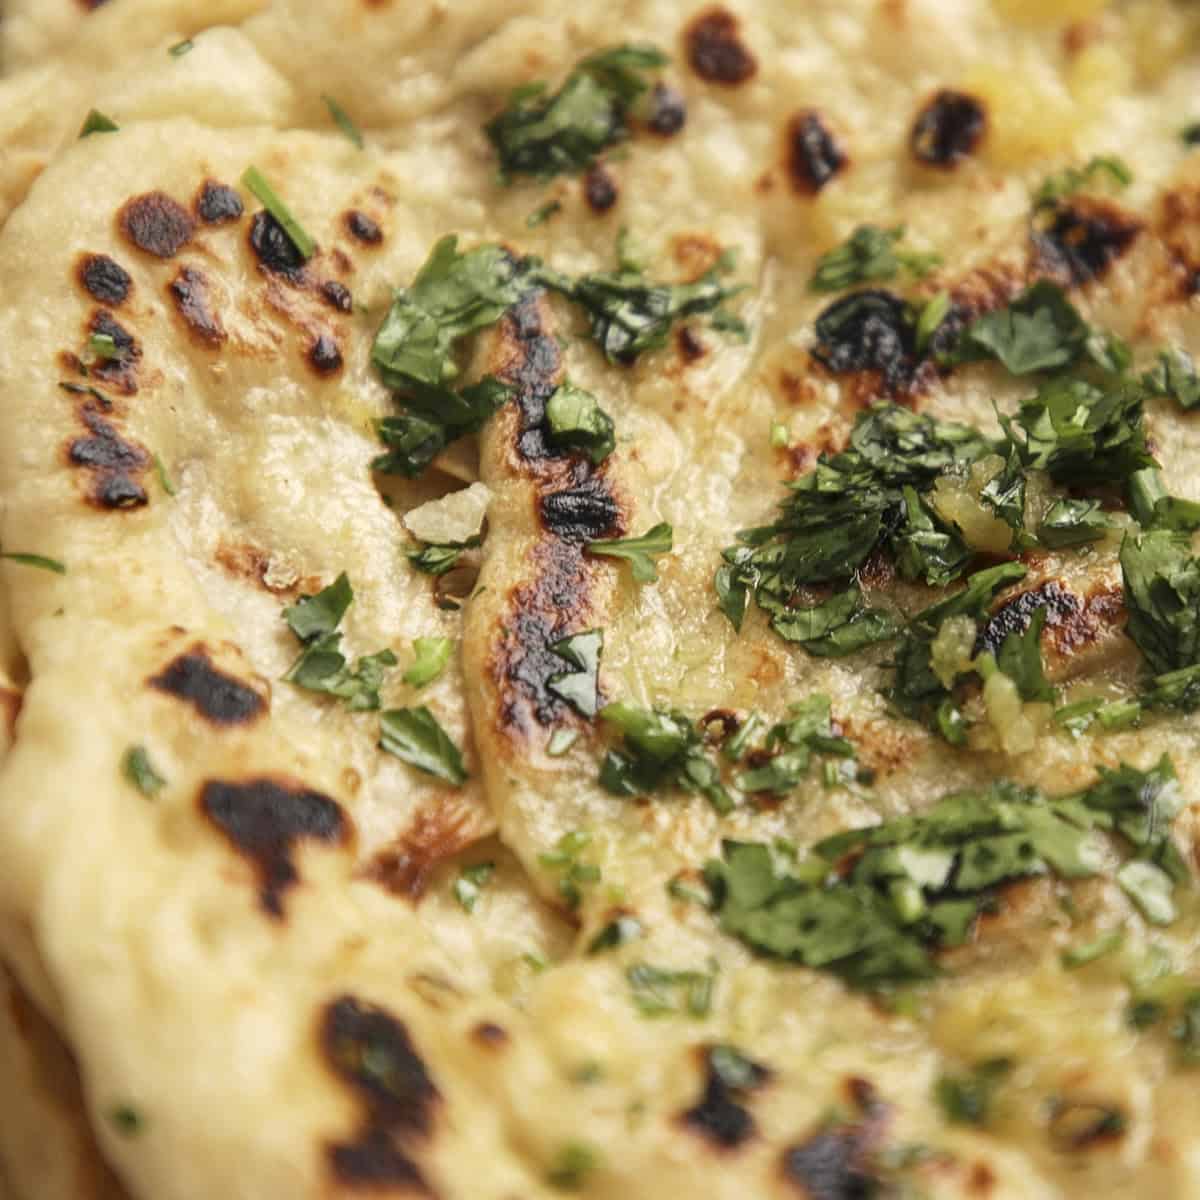
- Sprinkle with chopped cilantro and a pinch of flaky salt.
- Stack the cooked naans and cover them with a plate to keep them soft and warm while you cook the remaining portions.
Top Tip! Do not fight the gluten
When rolling out your naan, you may find the dough resisting your rolling pin and rapidly shrinking back into a smaller circle. This is called "gluten snapback," and it happens when the protein strands become tense from handling.
Do not force the dough by pressing down harder-this compresses the air pockets and results in dense, tough bread. Instead, simply step away. Cover the dough with your damp towel and let it rest for 5 to 10 minutes. This briefly relaxes the gluten network, allowing the dough to stretch out effortlessly into a paper-thin sheet.
Watch how to make it
Dietary substitutions
- Vegan - Replace the plain Greek yogurt with an unsweetened, unflavored plant-based yogurt. Substitute the melted ghee with a neutral cooking oil or plant-based butter.
- Gluten-free - Substitute the all-purpose flour with a tested 1:1 gluten-free baking flour containing xanthan gum. Gluten-free flours absorb moisture differently; hold back 15 g of the warm water during the initial mix and add it only if the dough remains dry.
- Whole wheat - Replace 150 g of the all-purpose flour with whole wheat flour. Increase the total warm water by 15 g, as whole wheat bran requires higher hydration to form a soft dough.
Flavor variations
- Cheese naan - Place 50 g of shredded Monterey Jack, cheddar, or pizza mozzarella in the center of a flattened dough portion. Fold the edges up to seal the cheese inside, then carefully roll the dough flat before cooking in the hot skillet.
- Peshwari style - Fill the dough portions with a sweet combination of desiccated coconut, golden raisins, and ground almonds before the final rolling phase.
Storage and make-ahead directions
- Storing cooked flatbreads - Allow the flatbreads to cool completely on a wire rack to prevent condensation. Store them in an airtight container or zip-top bag at room temperature for up to 3 days. Do not refrigerate cooked bread, as the cold environment accelerates staling and dries out the crumb.
- Making the dough ahead - To prepare the dough in advance, complete the initial mixing and the first 1.5-hour proof. Gently knock the air out, transfer the dough to an oiled container, cover it tightly, and refrigerate for up to 24 hours. The cold temperature will slow the yeast fermentation. Allow the chilled dough to sit at room temperature for 1 hour before portioning and rolling.
- Freezing cooked naan - Flatbreads freeze exceptionally well. Allow them to cool completely, then stack the portions, placing a square of parchment paper between each piece to prevent sticking. Transfer the stack into a heavy-duty freezer bag, press out the excess air, and freeze for up to 2 months.
- Reheating from frozen - Do not thaw the flatbreads before reheating, or they will become gummy. Place the frozen naan directly into a hot cast-iron skillet for 30 seconds per side, or heat them in a 200°C (400°F) oven for 3 to 4 minutes until soft and pliable.
What to serve with naan

FAQ
The most common cause of tough naan is cooking at too low a temperature. If the pan is not hot enough, the dough sits in the skillet for too long and slowly bakes, drying out the crumb. The pan must be smoking hot so the bread blisters and cooks in under 60 seconds per side. Over-kneading the dough can also over-develop the gluten, resulting in a rubbery texture.
Authentic, pillowy naan requires a leavening agent to create its characteristic large air pockets. Historically, this was achieved with a wild sourdough starter, while modern recipes utilize instant yeast. If you omit the yeast entirely, you will create a flat, dense bread that is closer in texture to an unleavened Indian roti or chapati.
While both are yeast-leavened flatbreads, their dough chemistry is fundamentally different. Pita bread is typically a lean dough made only of flour, water, yeast, and salt, and it is baked to create a hollow central pocket. Naan is an enriched dough that incorporates dairy-specifically yogurt, and sometimes milk or ghee-resulting in a distinct texture.
While highly recommended for its superior heat retention, you do not strictly need cast iron. A heavy carbon steel pan or a thick-bottomed stainless steel skillet will work. You must, however, avoid non-stick pans with Teflon coatings, as the extreme heat required to blister the dough will permanently destroy the pan's surface.
Yes, but you must replicate the scorching heat of a traditional tandoor. Place a heavy baking steel or pizza stone in your oven and preheat it to its absolute maximum temperature (usually 260°C or 500°F) for at least 45 minutes. Place the rolled dough directly onto the hot stone and bake for 2 to 3 minutes until puffed and blistered. For an even closer Tandoor-style naan, heat the Skillet in the oven and turn on the grill. The grill acts as the fire source.
More authentic Indian recipes


Recipe
Authentic Indian Naan
Ingredients
For the naan dough
- 300 grams (2 ½ cups) all-purpose flour
- 6 grams (1 teaspoon) kosher salt
- 9 grams (2 ¼ teaspoon) white sugar
- 125 grams (½ cup) warm water
- 3 grams (¼ teaspoon) instant yeast
- 100 grams (½ cup) plain Greek yogurt
- 20 grams (1 ⅓ tablespoon) melted ghee - or cooking oil
For the garlic butter
- 50 grams (3 ⅓ tablespoon) ghee
- 6 cloves (6 cloves) garlic - minced
- ½ bunch (½ bunch) Fresh cilantro - finely chopped
- Flakey salt - for finishing
Instructions
- Bloom the yeast and mix wet ingredients: In a large mixing bowl, whisk together 300 g of all-purpose flour, 6 g of kosher salt, and 9 g of white sugar. In a separate jug, mix 125 g of warm water with 3 g of instant yeast, 100 g of plain Greek yogurt, and 20 g of melted ghee. Let the liquid stand for 10 minutes until the surface becomes frothy.300 grams all-purpose flour, 6 grams kosher salt, 9 grams white sugar, 125 grams warm water, 3 grams instant yeast, 100 grams plain Greek yogurt, 20 grams melted ghee
- Mix the dough: Pour the bloomed yeast mixture into the dry ingredients. Mix the ingredients by hand until the liquid is fully absorbed. Continue mixing until a rough, shaggy dough forms with no dry spots of flour remaining.
- Hydrate, knead, and proof: Cover the glass bowl with a damp tea towel and let the dough rest for 15 minutes to fully hydrate the flour. Transfer the dough to a lightly floured surface and knead it into a smooth, round ball. Return the dough to the bowl, cover it with the damp towel, and place it in a warm environment, such as an oven with only the interior light turned on. Let it proof for 1.5 to 2 hours until doubled in size.
- Portion and weigh: Transfer the risen dough to a lightly floured surface and gently knock the air out. Flatten it slightly, then use a digital scale to divide the dough into 8 equal pieces, weighing 70 grams each.
- Shape and final proof: Shape each portion into a tight, round ball. Flip the dough smooth-side down, fold the edges inward, and pinch the bottom seam together. Lightly coat a baking tray and your hands with cooking oil. Roll the dough balls on the table to seal the bottoms, then place them on the oiled tray. Cover the tray and let the dough proof for 30 minutes until increased in size by 50%.
- Make the garlic butter: While the dough proofs, place a stainless steel pan over medium heat and melt 50 g of ghee or butter. Add 6 crushed garlic cloves. Cook lightly over low heat without browning the garlic. Remove the pan from the heat and transfer the mixture to a bowl to sit at room temperature.50 grams ghee, 6 cloves garlic
- Roll out the naan: Place a proven dough ball onto a lightly floured work surface with the smooth side facing down. Flatten the dough gently with your hands, pressing the edges. Use a rolling pin to roll the dough out until it is very thin and almost translucent.
- Cook and blister the dough: Heat a cast-iron skillet over high heat. Wipe the base of the skillet with a paper towel holding a single drop of cooking oil. Place the rolled dough flat into the hot skillet. Watch for the surface to puff and form large blisters. Check the underside, and once adequately charred, flip the flatbread to cook the opposite side.
- Brush and serve: Remove the cooked flatbread from the skillet. Immediately brush the hot surface with the prepared garlic butter. Add chopped cilantro and a pinch of flaky salt. Stack the finished flatbreads and cover them with a plate to keep them soft and warm while you cook the remaining portions.½ bunch Fresh cilantro, Flakey salt
Video
Notes
- Yeast blooming: Dissolving the instant yeast in the warm liquid first is not strictly necessary for rapid-rise yeast, but it jumpstarts the fermentation process and acts as a viability test, ensuring your yeast is active before you commit the flour.
- The egg myth: Authentic Indian naan does not contain eggs. Modern recipes use eggs to mimic the rapid lift of a commercial tandoor oven, resulting in a tight, cake-like crumb. By utilizing precise hydration and the lactic acid from Greek yogurt, this dough achieves the correct chewy, large-pocketed texture naturally.
- Flour hydration: Both bread flour and all-purpose flour work. However, different flour brands and ambient humidity levels affect liquid absorption. Hold back 15 g of the warm water during the initial mix and only add it if the dough remains excessively dry and shaggy.
- Proofing environment: For a perfectly controlled, draft-free environment, place the covered bowl inside an unheated oven with only the interior light turned on. This maintains a steady temperature of roughly 26°C (80°F).
- Skillet science (No non-stick pans): Proper blistering requires surface temperatures exceeding 260°C (500°F). Standard non-stick Teflon coatings degrade and off-gas toxins at this heat. A well-seasoned cast-iron skillet or heavy carbon steel pan is mandatory for this recipe. I use this Skillet. Affordable and lasts a lifetime if you take care of it.
- Garlic butter technique: Do not microwave raw garlic in butter. It creates an acrid, bitter flavor and risks causing the fat to explode. Gently infuse the minced garlic into the melted ghee over low heat.
- Cold fermentation (Make-ahead): To make the dough 24 hours in advance, complete the first proof, knock out the air, and refrigerate the dough in a tightly sealed, oiled container. The dough must sit at room temperature for 1 hour to warm up before you portion and roll it.
- Freezing and reheating: Flatbreads freeze exceptionally well for up to 2 months. Stack cooled portions with parchment paper dividers in a heavy-duty freezer bag. Crucially, do not thaw before reheating; place them directly from the freezer into a hot skillet or a 200°C (400°F) oven to prevent gumminess.
- Room temperature storage: Cool cooked flatbreads completely on a wire rack to prevent condensation. Store in an airtight container at room temperature for up to 3 days. Never refrigerate cooked bread, as cold environments crystallize the starches and rapidly accelerate staling.
- Dietary substitutions: For a vegan flatbread, use unsweetened plant-based yogurt and a neutral oil. For gluten-free, use a 1:1 baking flour with xanthan gum and hold back 15 g of water. For whole wheat, replace 150 g of all-purpose flour and increase the total water by 15 g to hydrate the bran.
- Nutrition: The nutritional information assumes you use all the garlic butter evenly across all the naan.
Nutrition
This site contains affiliate links. I may earn a tiny commission on qualifying purchases at no extra cost to you. By bookmarking these links you help support the upkeep of this site.


Comments
No Comments