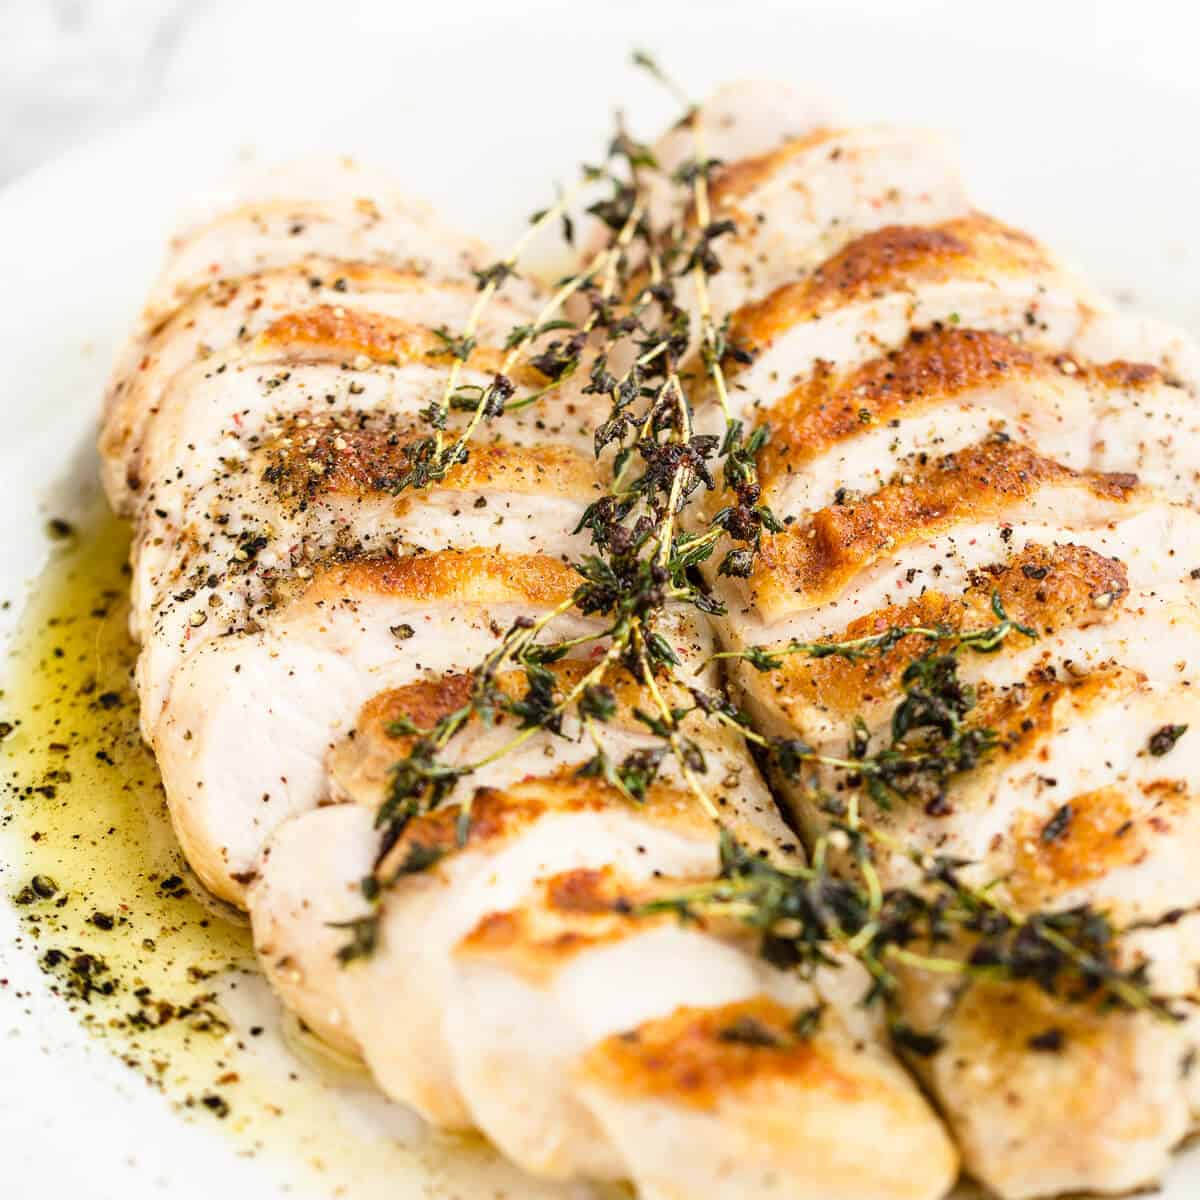
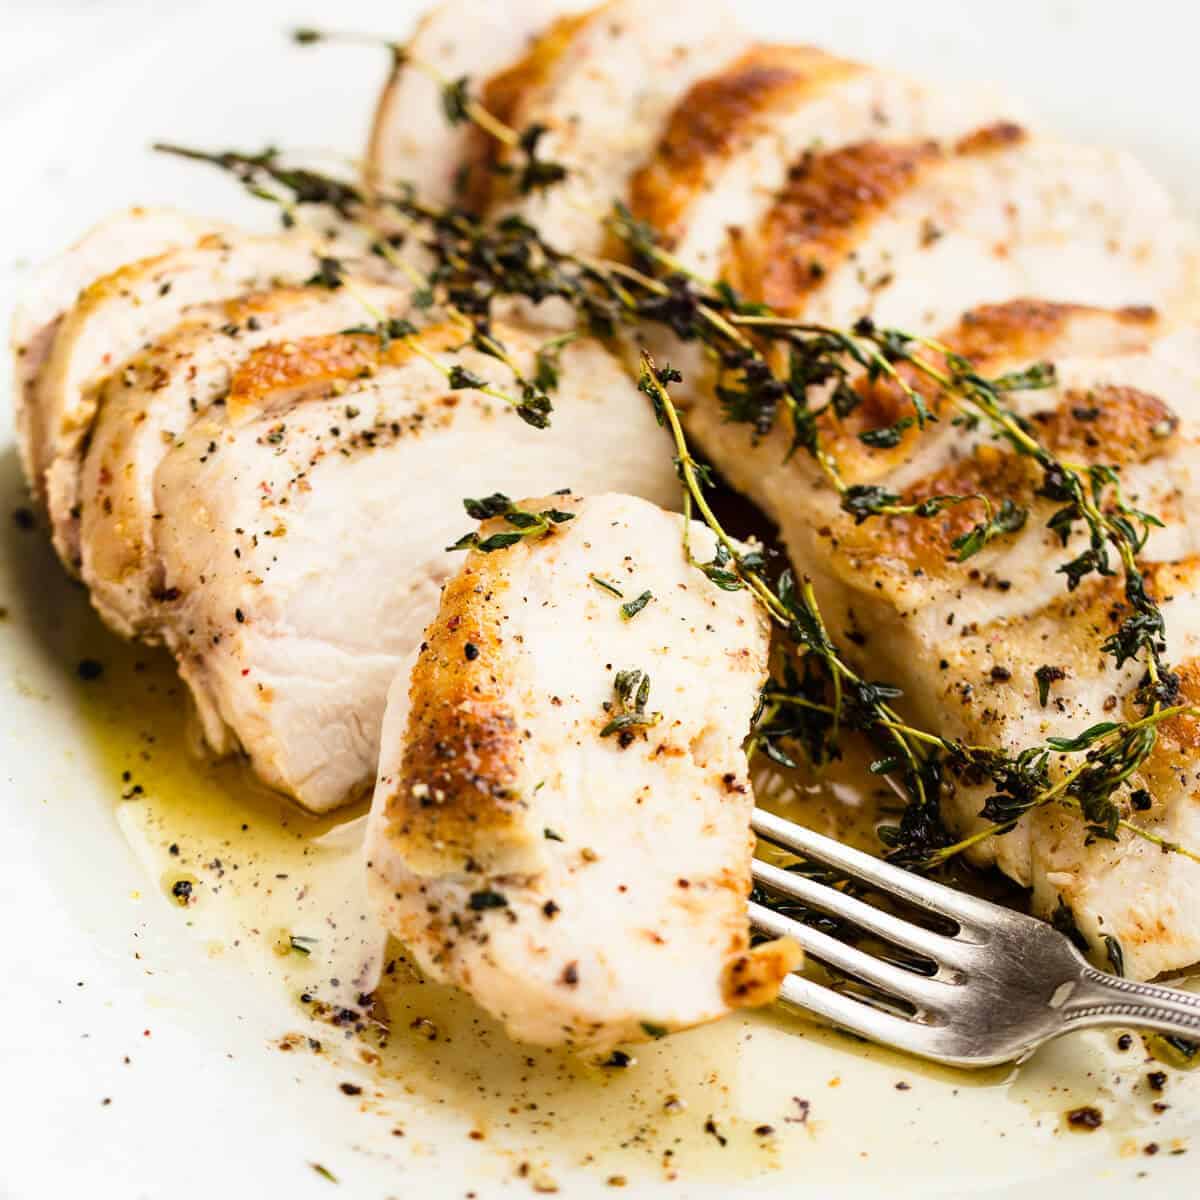
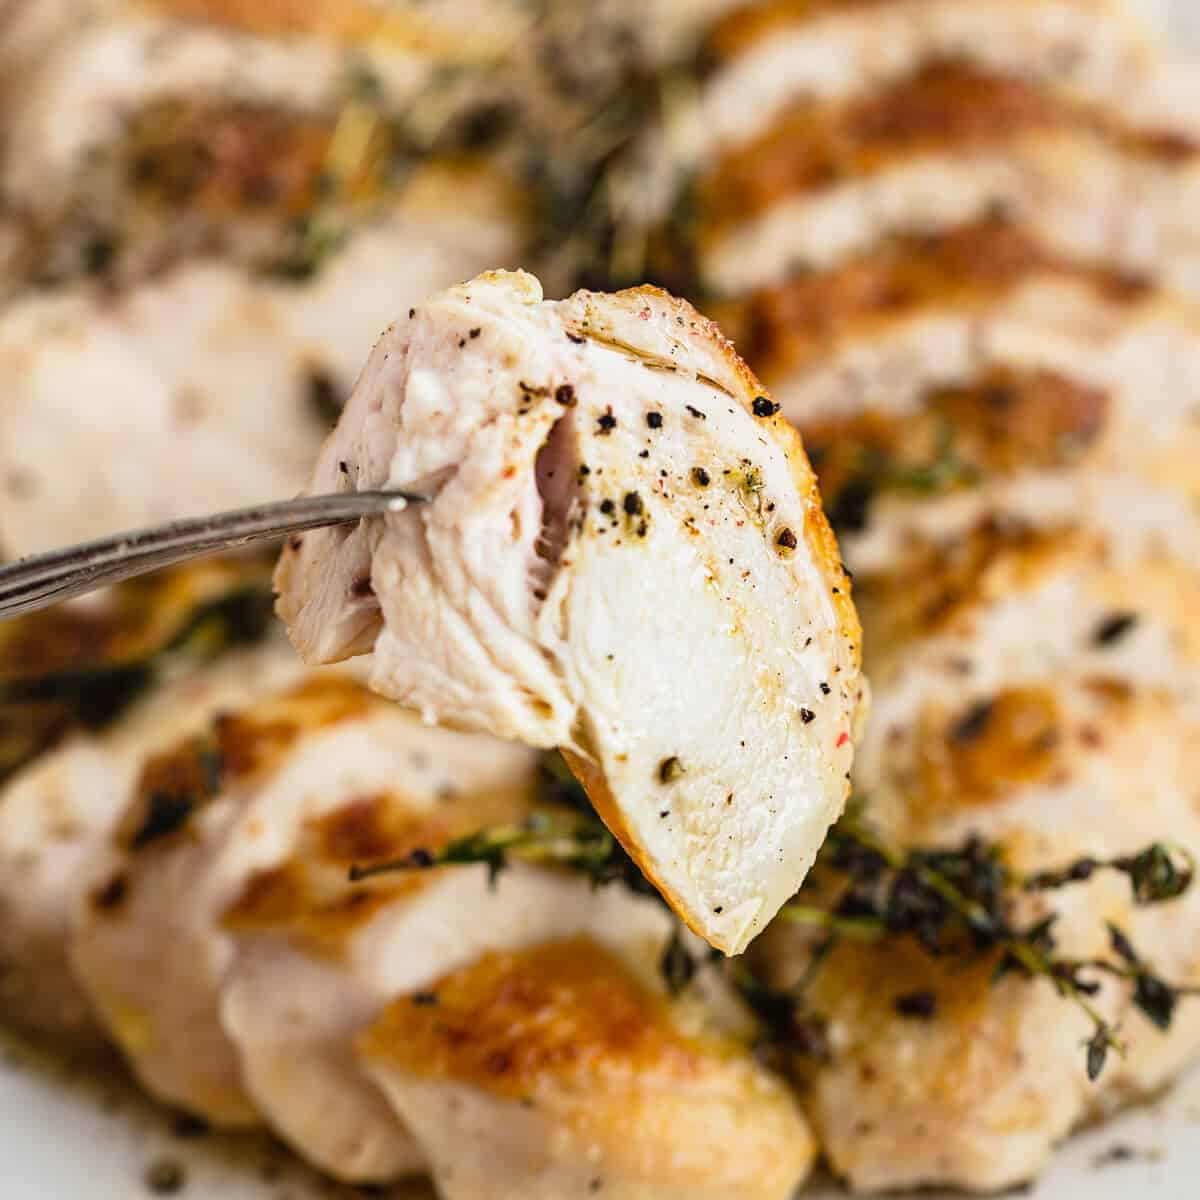
Roasting or baking chicken breast is one of the simplest and healthiest ways to cook it. Making it soft, tender and juicy can be a massive challenge. This recipe will teach you how to easily bake the most succulent chicken breast using minimal effort for maximum results.
It's easy to get right every time and delicious with simple sides like mashed potatoes, Georgian salad or creamed spinach.
Jump to:
- How do you keep chicken from drying out in the oven?
- Why brine chicken before baking or roasting?
- Why sear chicken before baking?
- What internal temperature to cook it to
- How long does it take to bake a chicken breast at 400°F or 200°C?
- Why rest it after baking
- Useful equipment for this recipe
- Ingredients needed
- How to brine it?
- Cooking instructions
- How to make brown butter
- Frequently asked questions
- Variations
- Serving suggestions
- Related recipes
- Recipe
- Comments
How do you keep chicken from drying out in the oven?
When I eat chicken, I want it to be of good quality and properly prepared.
There are a few important ways to ensure a succulent, juicy breast every time you cook it.
- Brining it.
- Pan searing it before baking in the oven.
- Cooking it to the correct internal temperature.
- Resting it before eating.
Why brine chicken before baking or roasting?
Brining is a simple process where you submerge food into salted water. By brining meat you can season the meat throughout. Especially useful when making roasted leg of lamb or other larger cuts of meat that's impossible to season all the way through.
This is thanks to a process called osmosis.
The second benefit of this is that it will retain more moisture when cooked. This is because the salt causes water retention within the protein fibres.
A real-life reverse example of this is when bodybuilders remove the salt from their diets before a show and reduce water intake. This way their muscles do not take up any extra water which would result in puffiness instead of a lean definition.
For the brine to work properly it has to be the correct percentage of salinity and the meat has to stay in the brine for a certain amount of time.
The correct percentage of salt in the brine should be 2%. That means 20 grams of salt for each kilogram or litre of water used.
That's because when half the salt moves into the meat after 12 hours, it will be perfectly seasoned throughout.
Anyone telling you to brine chicken in a 6% or higher brine for short periods of time, does not know what they're talking about and are basically just wasting your time and money.
Why sear chicken before baking?
When you place it into the oven without searing it first, the browning never happens before the outside of the meat starts to dry out.
Searing is an essential step in making sure it tastes as good as it possibly can. When searing meat the reducing sugars and amino acids go through a complex process called the Maillard reaction.
The result is a complex flavour that naturally makes humans salivate when detected in taste or smell. This in return makes you perceive the chicken as even juicier.
What internal temperature to cook it to
You only need to cook the chicken to an internal temperature of 63°C or 145°F and then let it rest. The residual heat will keep cooking the meat until it settles at around 67°C or 153°F. This is easily measured with a cheap temperature probe.
What about salmonella? Salmonella dies at 60°C and the time the breast spend at this temperature is long enough to make sure it's safe to eat while still extremely juicy.
There are tons of fairy tales about cooking chicken to temperatures above 70°C or 158°F.
That is simply not true. You will end up with a dry bird if you listen to that advice.
How long does it take to bake a chicken breast at 400°F or 200°C?
On average, a 200g or ½ pound chicken breast cooked from room temperature and seared before baking in the oven, will take about 10-15 minutes.
This time served as a guideline only and it may vary from one oven to the next. It also depends on the size and starting temperature of the breast.
It's strongly advised you use a kitchen thermometer to check the internal temperature of the meat to ensure it's properly cooked.
Why rest it after baking
When meat cooks the muscle fibres tense up. If we were to cut a piece of meat fresh from the oven we would lose a lot of juice.
Giving it time to relax after cooking ensures that most of the juice stays within the meat itself. Helping it to be even juicier.
Useful equipment for this recipe
Cast Iron Skillet
Wooden Chopping Board
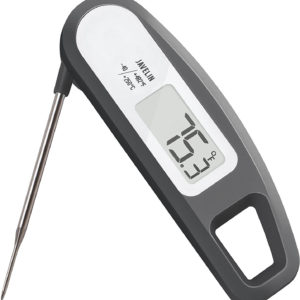
Temperature Probe
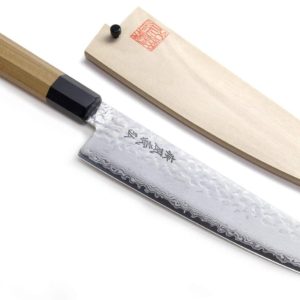
Gyuto Japanese Chefs Knife
Ingredients needed
I prefer my chicken skin-on but, you can remove it if you prefer. This method will ensure either skinless or skin-on breasts stays juicy and moist.
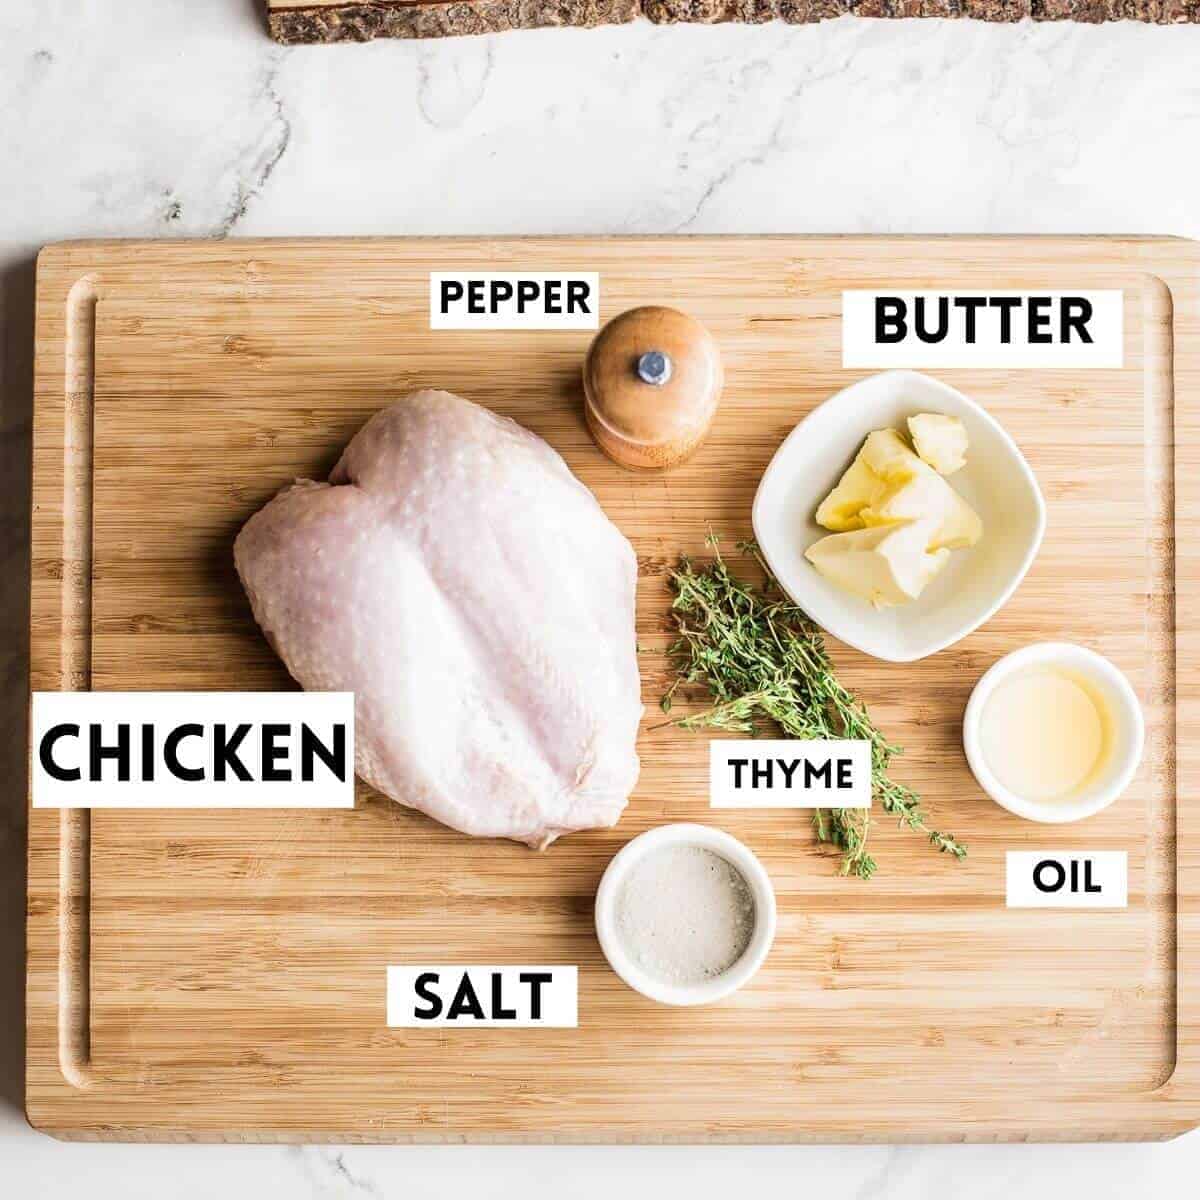
- Chicken - Nothing will save bad ingredients. Get the best you can afford. Skin-on or skin-off. Whichever you prefer. When using store-bought, I always look for blemishes on the skin and over-inflated breasts. Yes, that's correct. Low-quality chicken gets injected with sodium polyphosphate that increases the initial weight and size of the meat. This is all lost when you cook it at home. What you end up with is something half the size and tough as boots. Stay away. Avoid tears.
How to brine it?
- Measure 2 litres cold drinkable water and 40 grams (6,5 teaspoons) of fine sea salt. Stir it around until dissolved.
- Add 2 skin-on or skinless chicken breasts to the brine and close the container.
- Place in the fridge overnight or for 12 hours. For larger cuts of meat or whole chickens let it brine for 24 hours.
- When done, remove the breasts from the brine and pat it dry with a paper towel. Searing or roasting wet meat is impossible because water prevents it from caramelising. Simple as that.
Cooking instructions
For baked chicken to not be dried out and bland, we need to make sure the caramelisation happens first, followed by baking or roasting it in the oven afterwards.
This ensures a golden brown crispy skin that's loaded with umami flavours.
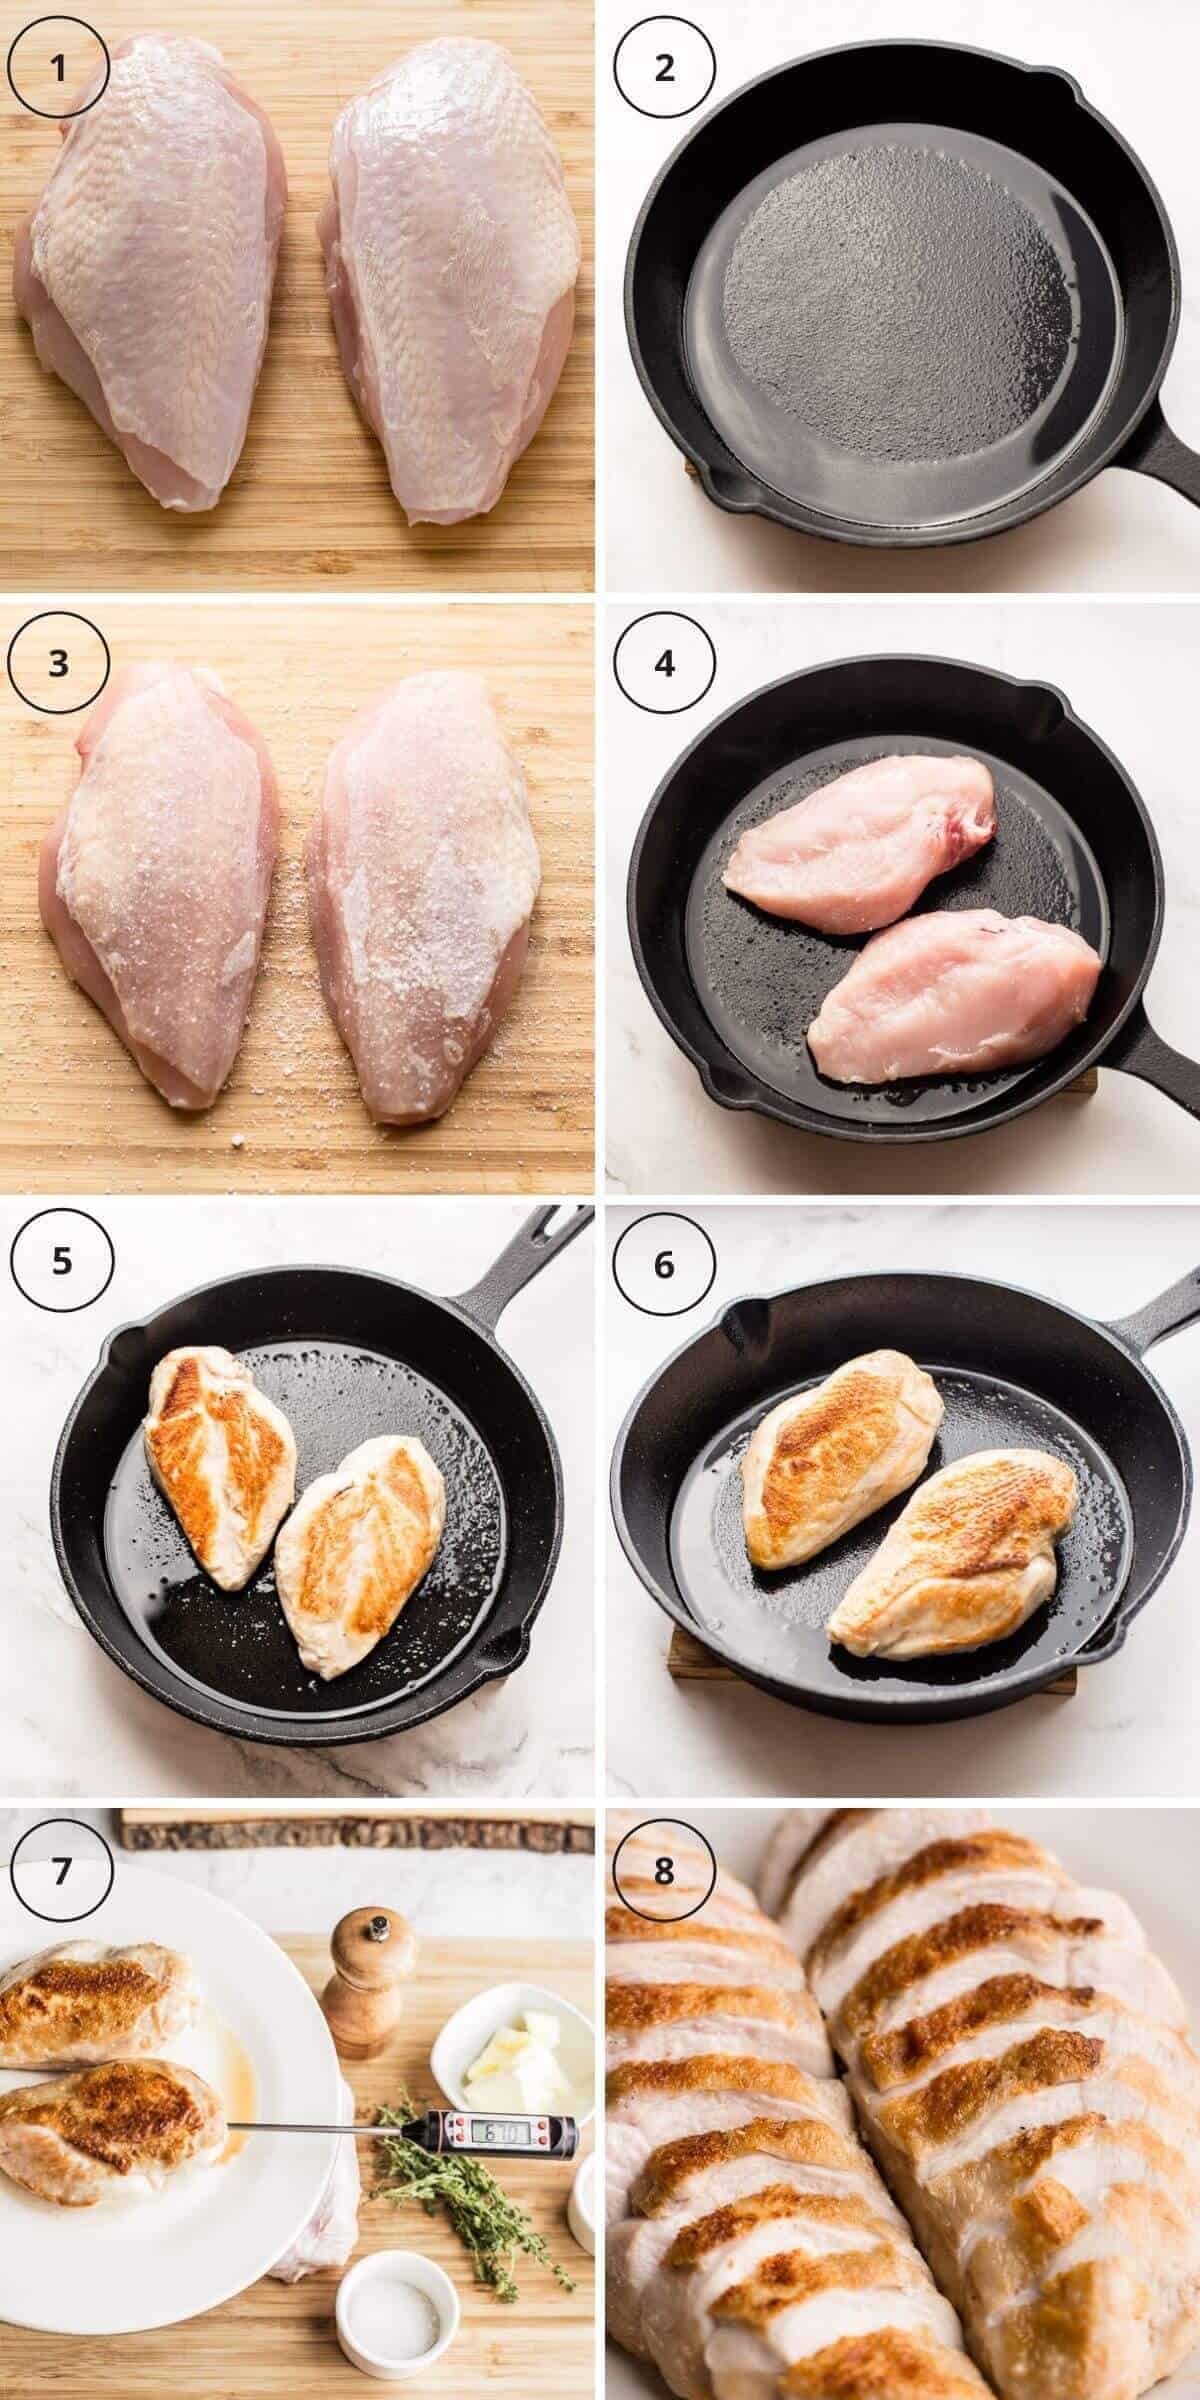
- Make sure your breasts are patted dry.
- Heat a skillet or pan on high heat with a bit of oil until smoking hot. Turn your oven to 200°C or 400°F.
- Lightly salt it on the side you will fry first.
- I used skin-on chicken. So, down goes the salted skin side into the hot pan.
- Give the pan a little shake to make sure the skin colours evenly without any bleak spots. Fry for about 2 minutes or until you have nice caramelisation on it.
- Flip and repeat on the other side. If you are cooking skin-on then flip back onto the skin and place skillet-and-all into the oven for 10 - 15 minutes. This time might vary as your oven is different to mine, your chicken could be bigger than mine. Cooking time is not reliable to get a perfect result. Use a temperature probe to accurately determine doneness.
- Check the internal temperature of the breasts after about 8 minutes by inserting the probe into the thickest part. Once the internal temperature reaches 63°C(145°F), remove it from the oven and let it rest for 5 minutes. While the chicken is resting it will continue to cook and settle at an internal temperature of around 67°C(153°F). If it goes above, it will dry out and be nasty.
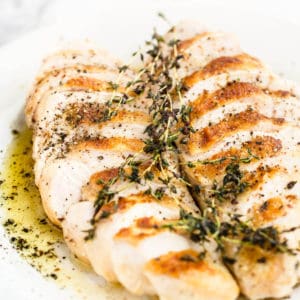
You can now slice and season a bit more with salt and pepper and dig straight in or you can give it some proper love and make a little thyme brown butter and finish with a little squeeze of lemon juice.
How to make brown butter
Making the butter also scoops up some of those rich roasty pan flavours left behind from the reduced chicken juices. It's simple and quick so I suggest giving it a go.
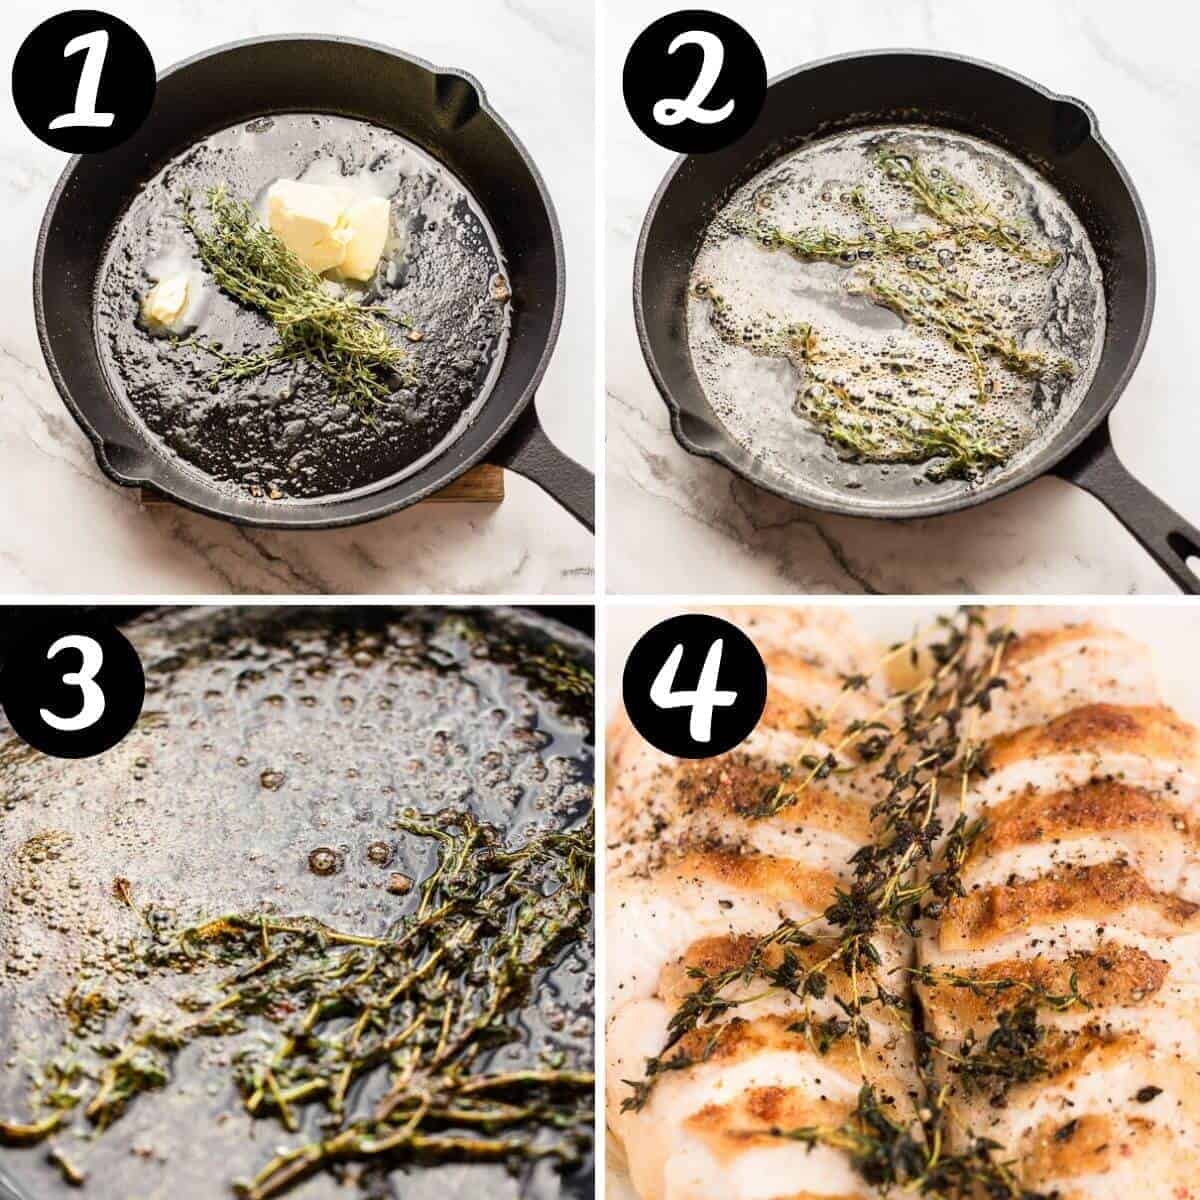
- Add 50g (3,5 tbsp) butter along with 3g(roughly 5) thyme sprigs into the skillet you fried the breasts in.
- Let the butter foam up.
- As soon as it starts to smell nutty and the foam subsides, remove it from the pan and pour over the sliced chicken.
Frequently asked questions
Salmonella starts dying at 60°C 140°F. We cook the chicken above that and for an extended period of time. Perfectly safe, juicy and delicious without any salmonella.
Store cooked in an airtight container in the fridge for up to 3 days or in the freezer for longer storage.
When you want to reheat it, defrost it overnight in the fridge and heat it to above 65°C or 149°F. Just remember that reheated chicken will not be as juicy as freshly cooked.
Covering in the oven will cause it to steam instead of bake. Sometimes when roasting the whole bird this can be beneficial to ensure it stays moist. When the chicken is almost done it gets uncovered and placed under the grill to crisp up the skin.
You can replace the boneless breast in the recipe with thighs or bone-on breast. Make sure the internal temperature reaches above 65°C or 149°F when cooking it.
Variations
- Add seasonings - Use spices like smoked paprika, cumin, coriander, and spice mixes. Add these after searing in a pan to ensure they don't burn and turn bitter.
- Give it a spice paste rub - Spice pastes like adjika, Indian curry paste or massaman curry paste can take this to a whole new level. Rub on just before putting it into the oven.
- Change the sauce - You can use another butter sauce like this mushroom garlic butter I use in my baked chicken Kiev or go for something fresh like salsa verde or chimichurri. If you want to have a bit of chicken and chilli then add some homemade or store-bought sriracha hot sauce. You can also glaze it and make it a Japanese baked chicken by using this sweet miso glaze or brushing with homemade teriyaki.
- Add toppings - Sprinkle with za'atar or this pistachio dukkah for spice, and crunch all in one or crumble up these Thai roasted cashews for a complete flavour explosion.
- Barbecue - Glaze with this chocolate bbq sauce 5 minutes before it's done for a bbq you will love forever.
Serving suggestions
- Vegetable and sides - Creamy mashed potatoes, steamed spinach or creamed spinach. Broccoli, bok choy or this sweet miso roasted eggplant. Don't forget perfectly cooked fluffy rice.
- Salads - Serve with a classic Caesar salad, authentic Greek salad, tahini coleslaw or Moroccan couscous for a light lunch or dinner any day of the week.
- Appetizers - Serve with other light dishes like this pea feta and mint dip. This Moroccan baked eggplant zaalouk or these roasted romano peppers.
- Wraps - Use these homemade soft flour tortillas and make sandwich wraps with chipotle guacamole, salad leaves and ripe tomatoes for a delicious snack.
Related recipes
This site contains affiliate links. I may earn a tiny commission on qualifying purchases at no extra cost to you. By bookmarking these links you help support the upkeep of this site.
If you found this post helpful or have learned something, comment, subscribe, and follow me on social platforms for more tasty recipes.
Recipe
Oven Baked Chicken Breast
Ingredients
Instructions
- Make sure the chicken breast is patted dry.
- Heat a skillet or pan on high heat with a bit of oil until smoking hot. Turn your oven to 200°C or 400°F.
- Lightly salt the chicken on the side you will fry first.
- I used skin-on chicken. So, down goes the salted skin side into the hot pan.
- Give the pan a little shake to make sure the skin colours evenly without any bleak spots. Fry for about 2 minutes or until you have nice caramelisation on it.
- Flip and repeat on the other side. If you are cooking skin-on then flip back onto the skin and place skillet-and-all into the oven for 10 - 15 minutes. Now, this time might vary as your oven is different to mine, your chicken could be bigger than mine and you might have started cooking your chicken breast from a different temperature than mine. Use a temperature probe to accurately determine doneness.
- Check the internal temperature of the chicken after about 8 minutes by inserting the probe into the thickest part. Once the internal temperature reaches 63°C(145°F), remove it from the oven and let it rest for 5 minutes. While the it's resting it will continue to cook and settle at an internal temperature of around 67°C(153°F). If it goes above, it will dry out.
Notes
- You can skip the brining step and just follow the rest of the instructions. Brining is optional but cooking it correctly is key to juicy chicken.
- Cooked chicken can be store in the fridge wrapped air-tight. It will last for about 4 days or can be frozen for up to 3 months.
- Use leftovers to make butter chicken or coconut chicken curry.






Cooking Mama
This is the best skin on chicken breast recipe! It turned out perfectly tender and juicy by following all your directions, including brining, although I did rinse the breasts before patting dry. And my daughter wanted me to add paprika, thyme and black pepper and a pinch more salt to the breasts after putting them skin side down for baking. So perfect!