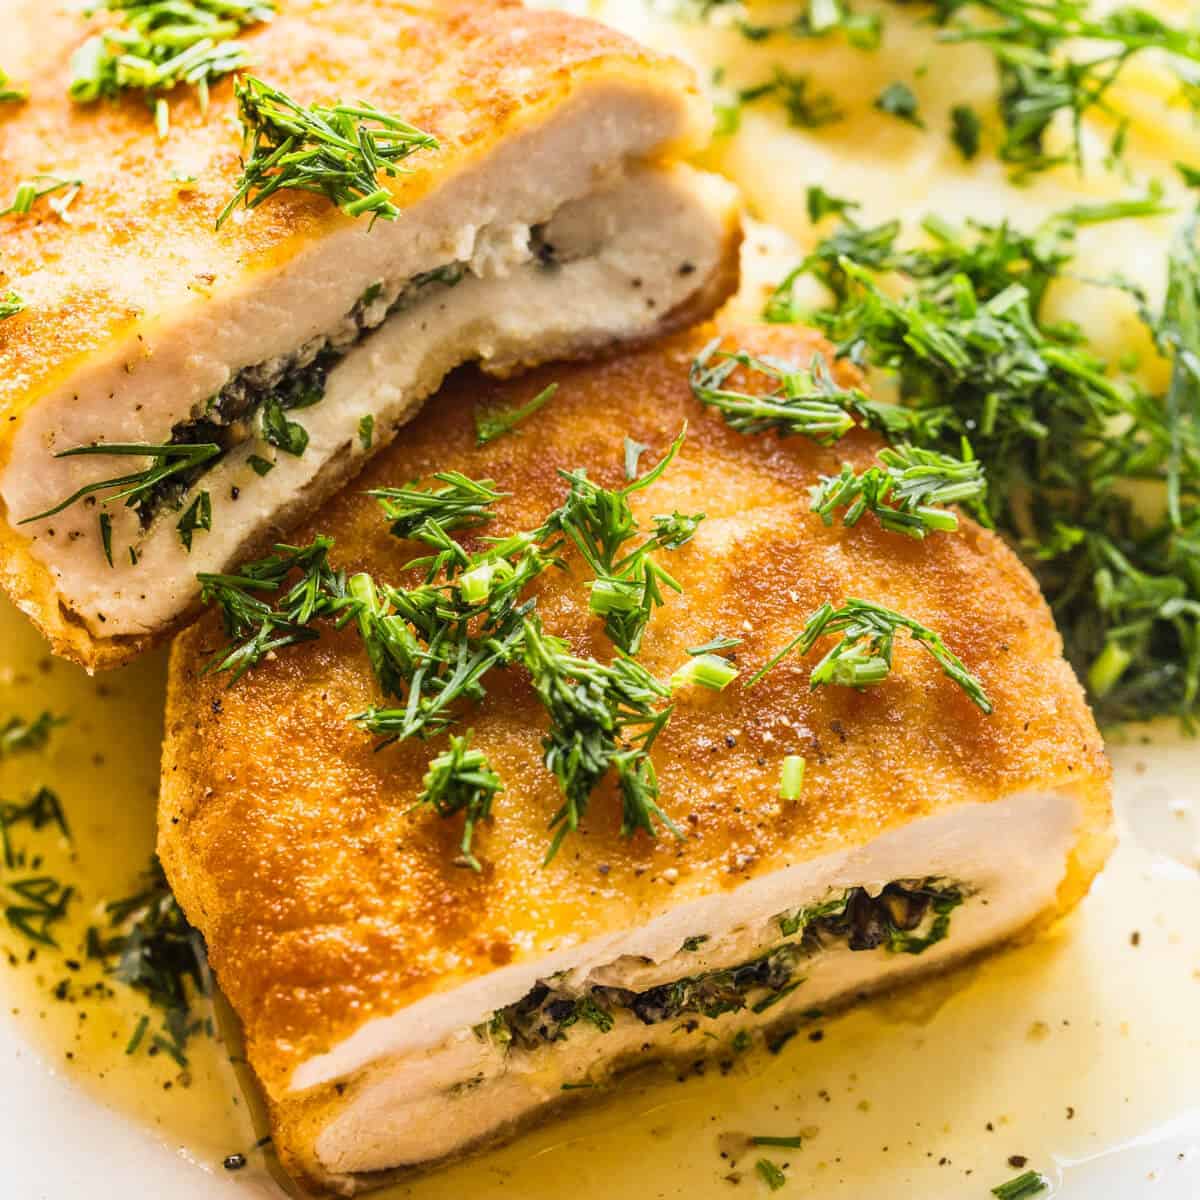
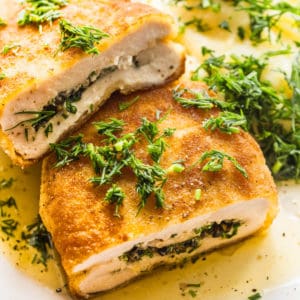
What's not to like about chicken Kiev? It's crispy, soft and juicy, garlicky, buttery, and just plain delicious. It's the king of baked chicken breast and in a few simple steps, you can have this classic Russian dish too.
Perfect for lunch or dinner with creamy mashed potatoes or a fresh Greek salad.
Jump to:
What is chicken kiev
Here's something you didn't know. Chicken Kiev does not come from Kiev. It's not even Ukrainian. Borscht is but, not Kiev. It's a Russian dish that originated somewhere in France but let's not get messed up in all that.
The important thing is that you should know how to cook the perfect breaded chicken dish and this is the one you want.
The perfect chicken Kiev must have a molten garlic butter centre, juicy soft chicken and then fried to perfection, coated in breadcrumbs.
It's the ultimate home-style cookery and an easy chicken recipe everyone should know how to cook.
Useful equipment
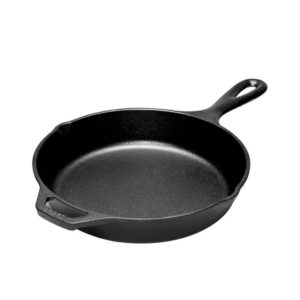
Cast Iron Skillet

Wooden Chopping Board
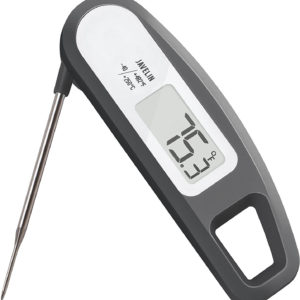
Temperature Probe
Electronic Kitchen Scales
Ingredients
There are a few key components to making the perfect Kiev and we are going to breeze through these because I'm getting hungry here.
- Chicken breast - Skinless and boneless.
- Butter - Good quality unsalted butter.
- Garlic - Fresh, not pre-chopped.
- Mushrooms(optional but recommended) - Regular button mushrooms.
- Herbs - Parsley.
- Breadcrumbs - Good quality like panko or homemade from old sourdough bread.
- Eggs - Any fresh or whole pasteurised eggs will do.
- Flour - Regular all-purpose flour.
- Seasoning - Salt and pepper.
- Oil - Frying oil with a high smoke point.
Amounts in recipe card.
How to make garlic butter
If you haven't read my recipe for this mushroom garlic butter then go have a read as it's full of useful information on how to use it in other dishes. If you just want classic garlic butter then simply leave out the mushrooms.
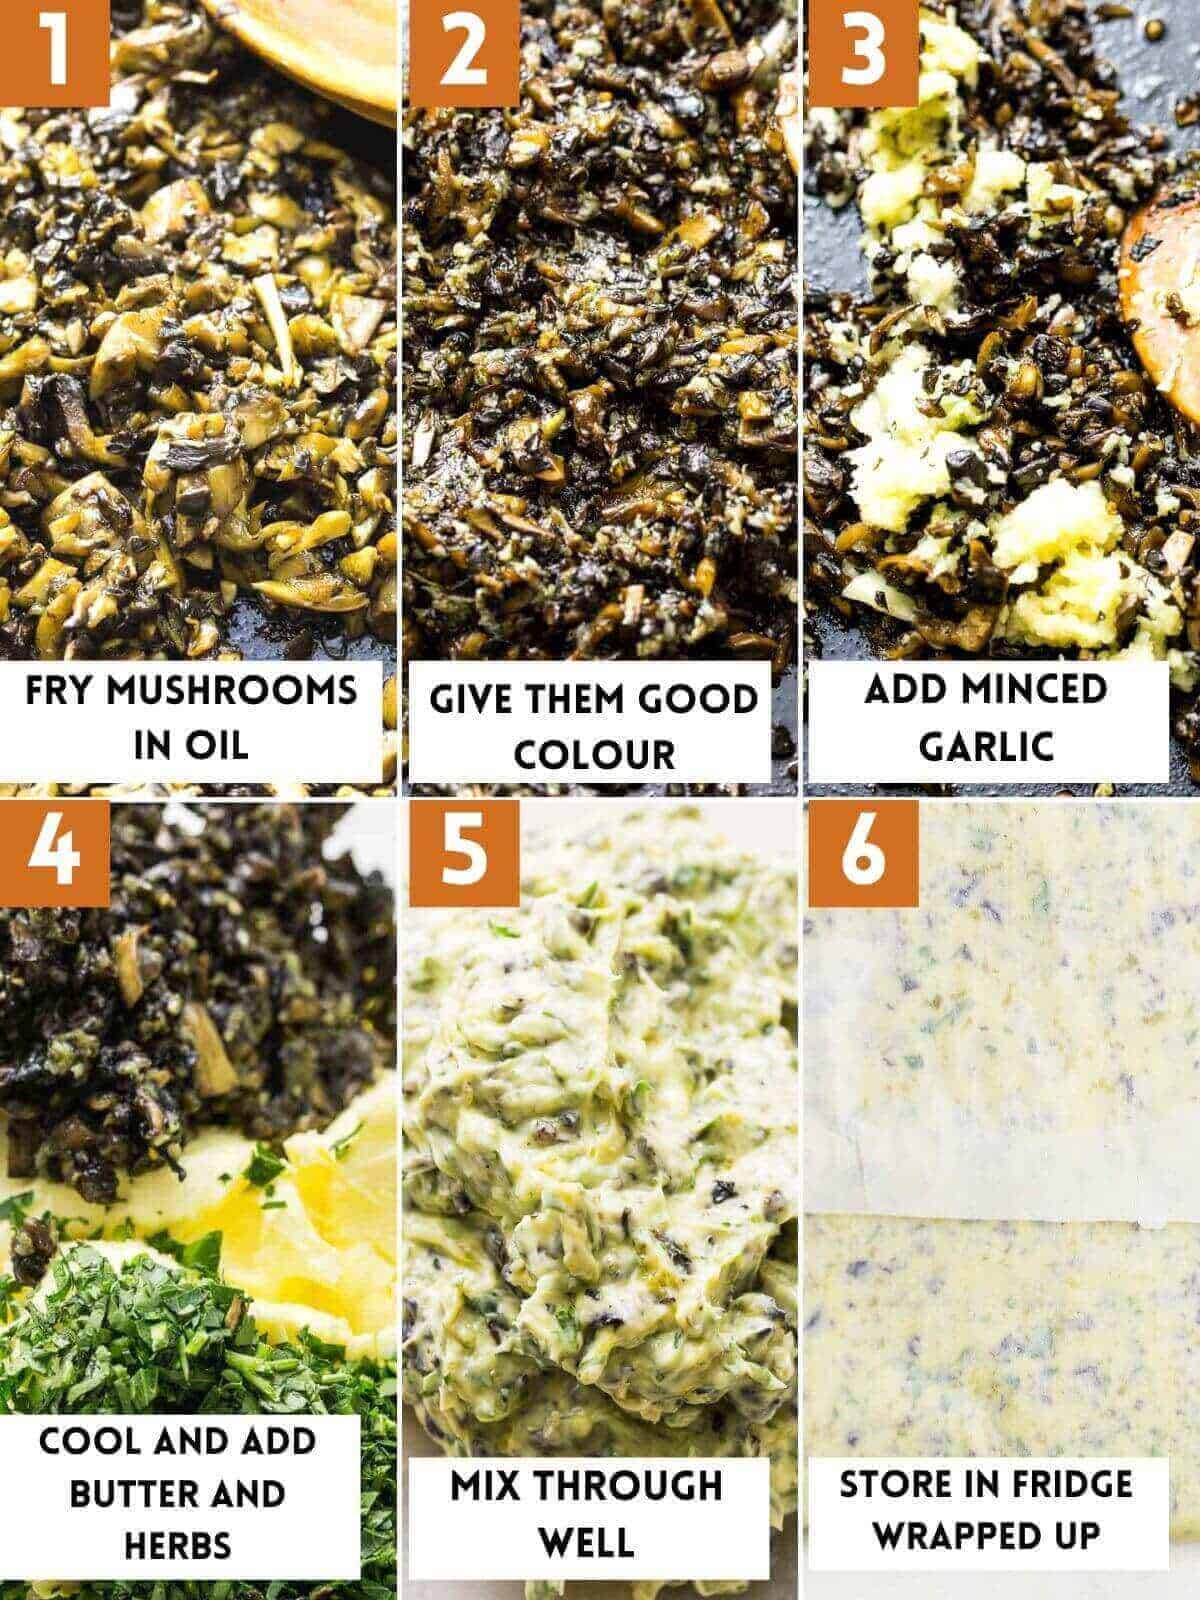
- Make sure your butter is at room temperature.
- Chop your mushrooms finely and mince or chop the garlic too.
- Heat a cast-iron skillet and add in some oil or butter.
- Cook the mushrooms until they are well browned.
- Turn down the heat to medium and add the garlic. Cooking and stirring for a minute or so just until they release their aroma. Do not colour them.
- Remove the pan from the stove, put the fried mushrooms and garlic in a separate bowl and let it cool to room temperature.
- Meanwhile, chop some parsley with a sharp knife.
- When the Mushroom mix has cooled down, add it to the room temperature butter along with the chopped parsley and seasoning if you are seasoning it.
- Once you have mixed it all together. Store it in the fridge wrapped up or do the following for easy portioning.
- Lay a piece of parchment flat on the table. Place the butter on the parchment and place another piece of parchment on top. roll out to 5mm thick and close the parchment so that you have a thick envelope of garlic butter. Store in the fridge until needed.
How to stuff and bread chicken
Stuffing and breading a piece of chicken is a very simple process that requires almost no skill.
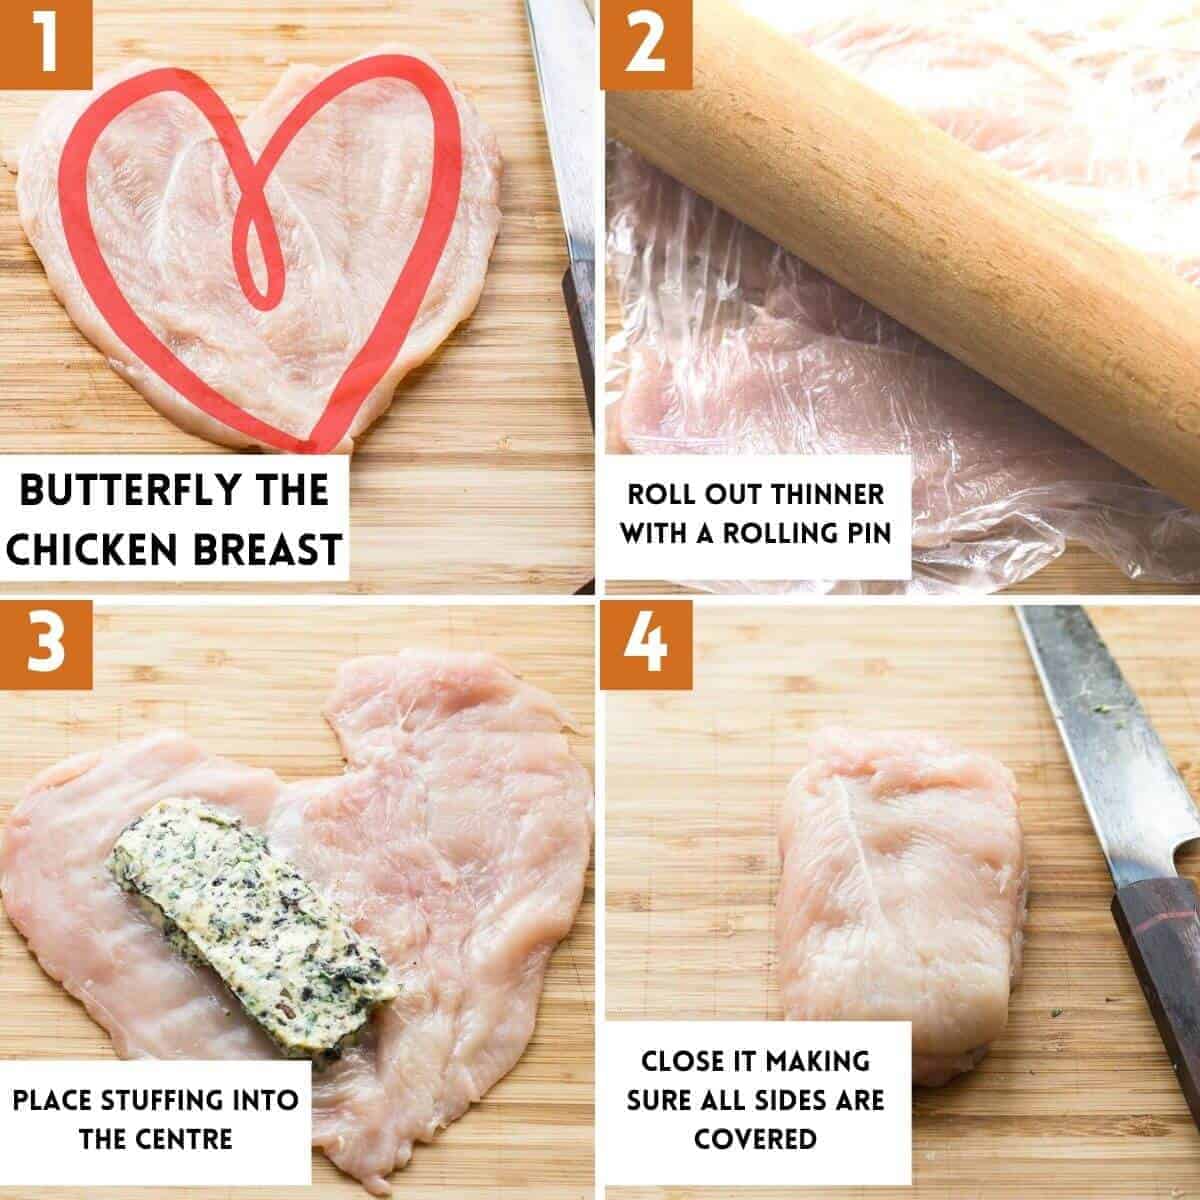
- Cut the chicken horizontally but do not cut it completely through. This is called butterflying.
- Once cut, place between two layers of plastic wrap or parchment lightly oiled. Gently roll out with a rolling pin.
- Cut a piece of the garlic butter you made and place in the middle of the rolled out chicken breast.
- Fold it close and make sure all the sides are covered and there is no butter sticking out anywhere. Otherwise, it will escape while we fry the chicken. Not what we want.
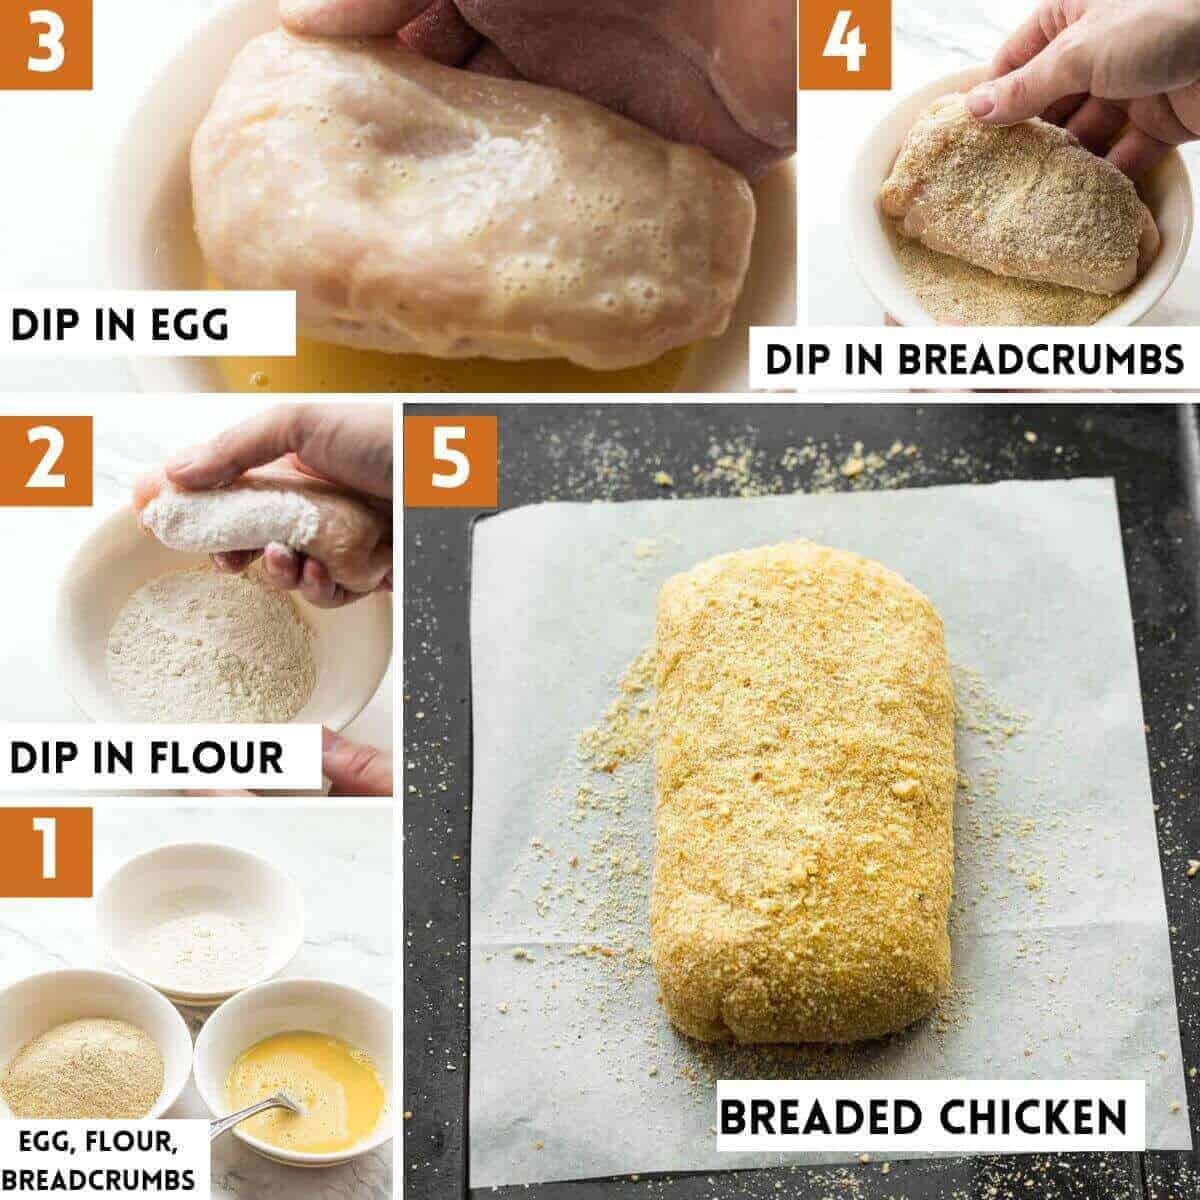
- Prepare a little breading station. You will need three bowls. One for seasoned flour, one for seasoned beaten egg mixed with equal amount of water or milk, and one with breadcrumbs. to season the flour and eggs simply add some salt and pepper.
- Cover the chicken with flour first then dip in the egg mixture and then into the breadcrumbs. Go back into the egg mixture and one last time into the breadcrumbs. This is called a double breading. Surprise surprise.
- Place the Kiev on a baking sheet or plate ready for frying or baking. You could also freeze it at this point if you are prepping ahead for another day.
How to cook it
- Heat the oven to 180°C or 356°F. We will finish cooking the chicken in the oven to make it easy for the average home cook. If you are a confident cook then go ahead and fry it till done on the stove.
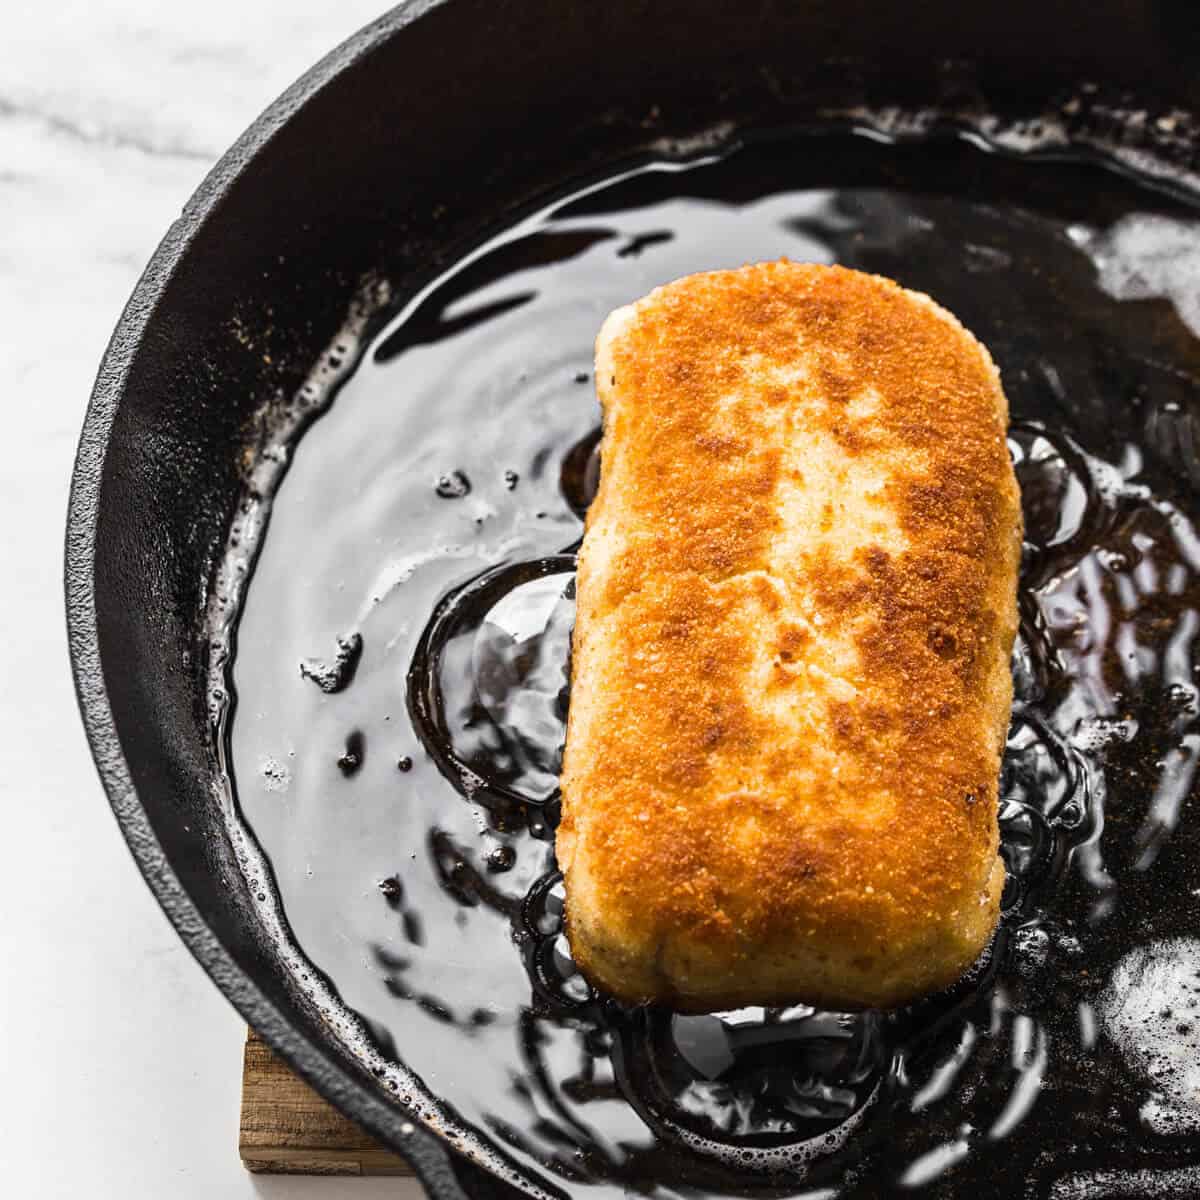
- Heat a suitably sized skillet and add frying oil so that it is 1 inch or 2,5cm deep. Measure the temperature with a thermometer so that it's 180°C or 356°F. Regulate the temperature of the oil by turning the higher or lower.
- When the oil is hot, carefully and away from you, place the Kiev into the hot oil. Cook it on one side until it has a nice golden colour and then flip cooking on the other side too.
- Once nicely browned on both sides, place onto a baking tray and into the preheated oven for 5 minutes. Check the internal temperature by sticking the thermometer needle into the top of the Kiev but not going all the way into the centre as the butter will run out. When it reads above 65°C or 140°F remove and let it rest for 5 minutes. If it's not there yet give it more time.
- Season with salt and pepper and dig in!
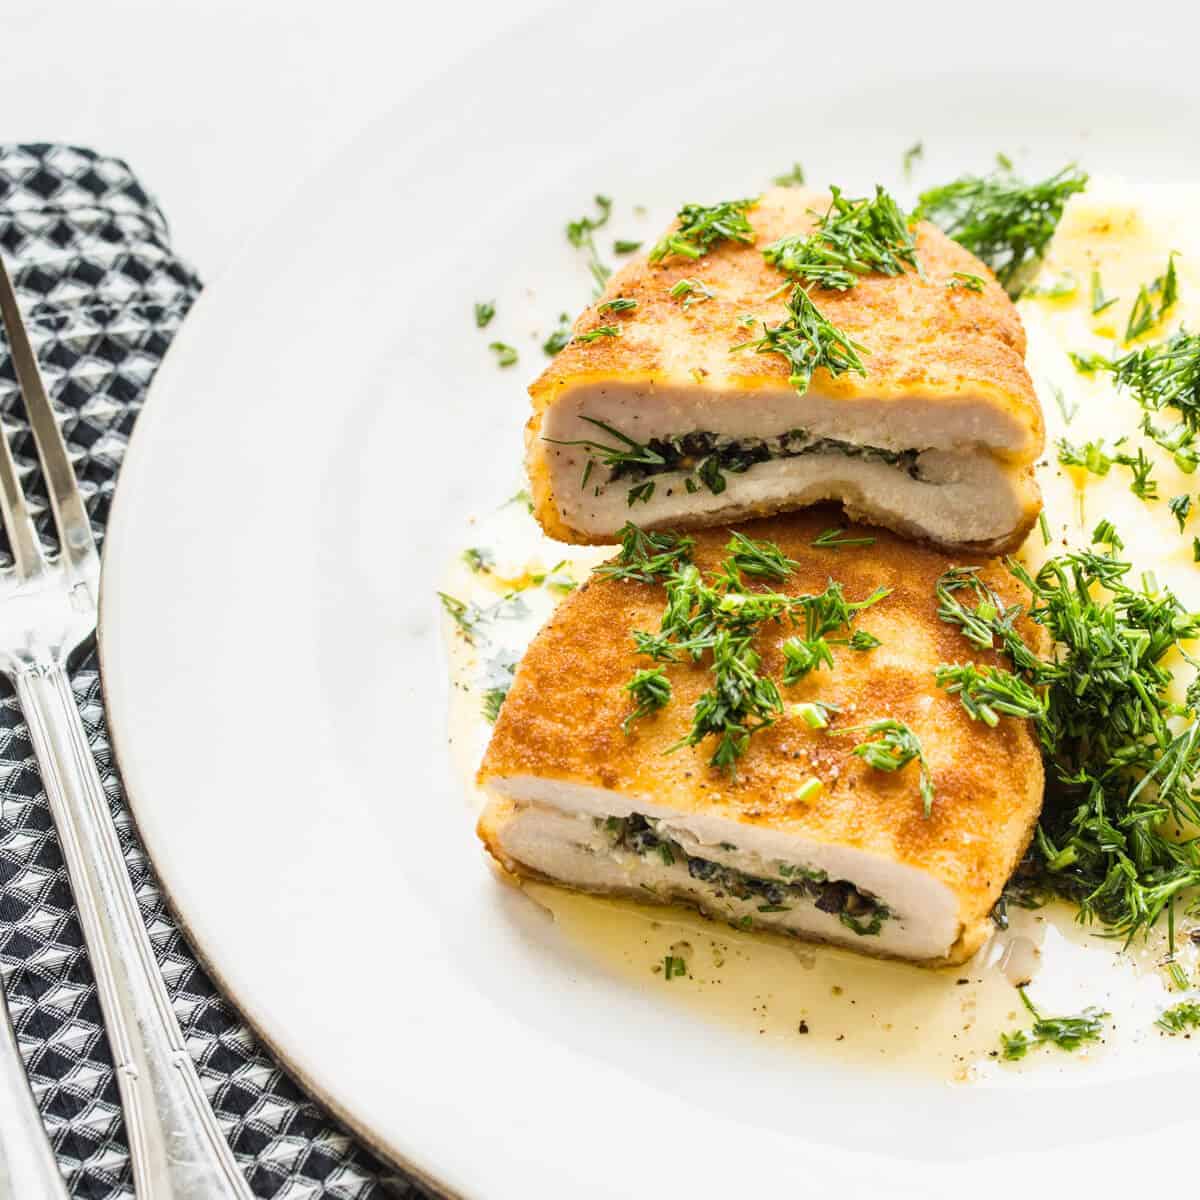
Serving suggestions
Chicken Kiev can be served with many sides. Below are some of my favourites.
- Mashed potatoes and chopped dill or parsley(My favourite).
- Creamed spinach or steamed spinach
- Roasted carrots and chanterelle mushrooms
- With sauerkraut and a bit of grain mustard
- Roasted broccoli or bok choi
- Simple Greek salad or Caesar salad
- Couscous or coleslaw
- Fluffy rice
Variations
- Add grated cheese to the butter and also some grated parmesan to the breadcrumbs.
- Add spiciness by adding in chilli or serve with homemade sriracha.
- You can remove the mushrooms if you don't like them or even add some truffle to make it more luxurious.
- You could use the same recipe but use pork, guinea fowl, or even fish instead of chicken.
Frequently asked questions
Yes. You can cook it in an air fryer with the same temperature setting as for the oven, spraying with oil and cook until done.
To bake chicken Kiev in the oven, set the oven to 200°C or 392°F. Drizzle or spray with oil or butter and bake.
Use a temperature probe. The internal temperature should be 65°C or 140°F.
Make sure to close the butter completely in the meat. No open or thin spots. Bread well with no naked chicken showing through. If needed, bread twice.
Related recipes
If you like this homestyle cooking recipe you will love the following:
- Chicken fried rice
- Persian lamb koftas
- Ribeye steak with chimichurri sauce
- Butter chicken
- Russian honey cake
- Spiced apple cake
This site contains affiliate links. I may earn a tiny commission on qualifying purchases at no extra cost to you. By bookmarking these links you help support the upkeep of this site.
If you found this post helpful or have learned something, comment, subscribe, and follow me on social platforms for more tasty recipes.
Recipe
Chicken Kiev
Ingredients
For the garlic butter
For the breading
- 250 g (2 ½ cups) breadcrumbs - note 2
- 1 (1) egg
- 50 g (¼ cups) water
- 60 g (½ cups) flour
- salt and pepper to taste
For the chicken and serving
- 4 (4) chicken breasts - note 3
- 500 g (2 ½ cups) oil - note 4
- 4 g (1 tablespoon) chopped dill - optional
- salt and pepper
Instructions
Garlic butter
- Make sure your butter is at room temperature.
- Chop the mushrooms finely and mince or chop the garlic too.
- Heat a cast-iron skillet and add in some oil or butter.
- Cook the mushrooms until they are well browned.
- Turn down the heat to medium and add the garlic. Cooking and stirring for a minute or so just until they release their aroma. Do not colour them.
- Remove the pan from the stove, put the fried mushrooms and garlic in a separate bowl and let it cool to room temperature.
- Meanwhile, chop some parsley with a sharp knife.
- When the Mushroom mix has cooled down, add it to the room temperature butter along with the chopped parsley and seasoning if you are seasoning it.
- Once you have mixed it all together. Store it in the fridge wrapped up or do the following for easy portioning.
- Lay a piece of parchment flat on the table. Place the butter on the parchment and place another piece of parchment on top. Roll out to 5mm thick and close the parchment so that you have a thick envelope of garlic butter. Store in the fridge until needed.
Preparing the chicken
- Cut the chicken horizontally but do not cut it completely through. This is called butterflying.
- Once cut, place between two layers of plastic wrap or parchment lightly oiled. Gently roll out with a rolling pin.
- Cut a piece of the garlic butter you made and place in the middle of the rolled out chicken breast.
- Fold it close and make sure all the sides are covered and there is no butter sticking out anywhere. Otherwise, it will escape while we fry the chicken. Not what we want.
- Prepare a little breading station. You will need three bowls. One for seasoned flour, one for seasoned beaten egg mixed with equal amount of water or milk, and one with breadcrumbs. To season the flour and eggs simply add some salt and pepper.
- Cover the chicken with flour first then dip in the egg mixture and then into the breadcrumbs. Go back into the egg mixture and one last time into the breadcrumbs. This is called a double breading. Surprise surprise.
- Place the kiev on a baking sheet or plate ready for frying or baking. You could also freeze it at this point if you are prepping ahead for another day.
Cooking and serving
- Heat the oven to 180°C or 365°F. We will finish cooking the chicken in the oven to make it easy for the average home cook. If you are a confident cook then go ahead and fry it till done on the stove.
- Heat a suitably sized skillet and add frying oil so that it is 1 inch or 2,5cm deep. Measure the temperature with a thermometer so that it's 180°C or 356°F. Regulate the temperature of the oil by turning the higher or lower.
- When the oil is hot, carefully and away from you, place the kiev into the hot oil. Cook it on one side until it has a nice golden colour and then flip cooking on the other side too.
- Once nicely browned on both sides, place onto a baking tray and into the preheated oven for 5 minutes. Check the internal temperature by sticking the thermometer needle into the top of the kiev but not going all the way into the centre as the butter will run out. When it reads above 65°C or 140°F remove and let it rest for 5 minutes. If it's not there yet give it more time.
- Season with salt and pepper. Serve immediately.
Notes
- Store airtight in the fridge for 4 days or 3 months in the freezer.
- Use your favourite store-bought breadcrumbs like panko or make your own by drying out old bread and blitzing in a food processor.
- You can make a mini kiev by using quail breasts. Make sure to remove the tender or small fillet whether using chicken or quail.
- Use a high smoke point oil for frying.







Leon
Great work! Thank you for sharing this information It gives me great pleasure to read this information.